Craft shows offer artisans and makers a fantastic opportunity to showcase their creations and connect with potential customers. A well-organized and visually appealing display can significantly impact your sales and leave a lasting impression on attendees. In this article, we’ll explore common mistakes made in craft show displays and provide four simple steps to enhance your presentation, with a focus on improving your tablecloth.
Mistake #1: Wrinkly Tablecloth
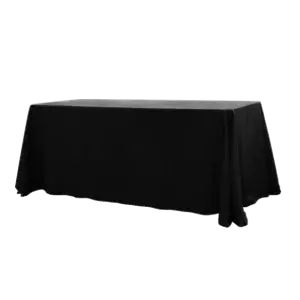
One of the most noticeable and easily avoidable mistakes in a craft show display is the use of a wrinkled tablecloth. A wrinkled tablecloth not only looks messy and unprofessional but also distracts from your products. To avoid this blunder:
- Choose the Right Fabric: Opt for a tablecloth made from a fabric that doesn’t wrinkle easily, such as polyester. Additionally, select a color that aligns with your brand and products, with neutral colors often being a safe choice.
- Prep the Tablecloth: Iron or steam your tablecloth at home to ensure it’s wrinkle-free. Store it in a way that minimizes creases during transport, like rolling it around a pool noodle or carefully folding it on top of your stock.
- Carry a Spray Bottle: Bring a spray bottle with you to the craft show, so you can easily mist your tablecloth with water and smooth out wrinkles as needed.
- Consider a Handheld Steamer: A handheld steamer can be a valuable investment if some of your products tend to wrinkle during transport. A quick steam at the craft show can make them look more polished.
Mistake #2: A Price List
While it’s essential to provide pricing information to your customers, a long price list displayed prominently on your table is not the ideal way to do it. Shoppers should be able to discern prices quickly and easily. Here’s why you should avoid a price list:
- Product Understanding: Customers may not be familiar with your product names, making it challenging to associate items on the list with the products they’re interested in.
- Shopping Complexity: Complex pricing lists make the shopping experience unnecessarily challenging. Keep it simple for shoppers by providing individual price tags or signs on each item.
- Missed Information: Shoppers at one end of your table may miss the price list at the other end, potentially discouraging them from inquiring about prices. Many shoppers won’t ask and might opt not to buy instead.
Instead of a lengthy price list, opt for price tags on each item. This ensures clarity, avoids confusion, and keeps your space uncluttered. You can also use small signs but be cautious about their placement to prevent misinterpretation.
Mistake #3: Stacks of Product
Stacking products too high or crowding them into your display space can discourage shoppers from engaging with your items. When products are difficult to access or appear unstable, customers may be reluctant to touch them. To create a more inviting display:
- Promote Interaction: Encourage shoppers to interact with your products by arranging them in an accessible manner. Use signage like “Please, pick me up!” or “Feel how soft I am” for products that benefit from touch.
- Balance is Key: Ensure your display strikes a balance between being approachable and appearing too perfect. Products should be easy to access without seeming too precious or intimidating.
- Lead by Example: Demonstrate your willingness to engage with customers by picking up products, passing them to shoppers, and encouraging them to explore your offerings.
Mistake #4: No Negative Space
A cluttered display with no negative space can overwhelm shoppers and prevent them from focusing on your products’ stories. Negative space, or blank space, allows customers to take in each product’s unique qualities. It’s like cleansing the palate between fragrances. Additionally, an overcrowded table leaves no room for customers to place their belongings while browsing. Provide your products and shoppers with some breathing room:
- Create Breathing Room: Arrange your products with enough space between them to allow shoppers to appreciate each item individually. Avoid overcrowding, even if you have limited space.
4 Steps to Improve Your Display:
Step 1: Remove: Begin by decluttering your display. Remove products, props, and fixtures that do not align with your brand, target market, or overall theme. Maintaining a clear and focused message is essential for effective visual storytelling.
Step 2: Hide: Some products should take a backseat and be displayed in a way that doesn’t draw too much attention. This allows you to highlight specific items or groupings effectively. Consider factors like color, shape, displayability, purpose, popularity, and profit when deciding which items to highlight and which to hide.
Step 3: Group: Organize your products into visually appealing groupings based on color, patterns, or compatibility. Ensure that these groupings are balanced and complement each other.
Step 4: Highlight: Select products to highlight at the highest points of your display. These should be show-stoppers or higher-priced items that grab customers’ attention.
How To Make Your Craft Show Display Look Great!In conclusion, crafting an effective display for your craft show is about more than just showcasing your products. It’s about telling a compelling visual story that engages shoppers, highlights your brand, and ultimately increases sales. By addressing common mistakes and following these four steps, you can transform your craft show display into a captivating and successful sales tool. Remember that improvement often comes through subtraction, refining your selection, and enhancing your visual storytelling.


















 5×5 Pop Up Tent
 6.5×6.5 Pop Up Tent
 10×10 Canopy Tent
 10×15 Canopy Tent
 10×20 Canopy Tent
 Canopy Options
 Blank Canopy Top
 Canopy Top
 Canopy Walls
 Canopy Side Skirt
 Blank Canopy
 Blank Canopy Kit
 Inflatable Canopy Tents 10×10
 Inflatable Canopy Tents 13×13
 Inflatable Canopy Tents 16×16
 Inflatable Canopy Tents 20×20
 Inflatable Canopy Tents 23×23
 Inflatable Canopy Tents 26×26
 Inflatable Spider Tents
 Inflatable Dome Tents
 Inflatable Eclipse Tents
 Inflatable Party Tent
 Inflatable Furniture
 Inflatable Pillar
 Single Pole Star Tents
 Double Pole Star Tents
 15FT Inflatable Arches
 20FT Inflatable Arches
 25FT Inflatable Arches
 30FT Inflatable Arches
 40FT Inflatable Arches
 50FT Inflatable Arches
 Custom Constant Arches
 Custom Sealed Arches
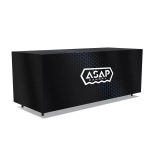 Fitted Table Covers
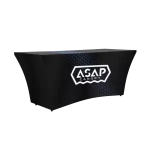 Stretch-Fit Table Covers
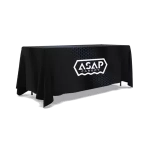 Loose Table Throws
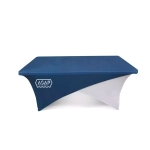 Cross-Over Stretch-Fit Table Cover
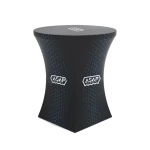 Round Stretch-Fit Table Cover
 Blank Table Throws
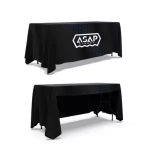 3-Sided Loose Table Throw
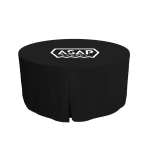 Round Fitted Table Covers
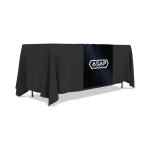 Table Runners
 Square Table Covers
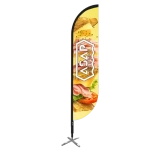 Feather Flags
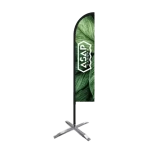 Blade Flags
 Feather Banner
 Blade Banner
 Teardrop Flags
 Teardrop Banner
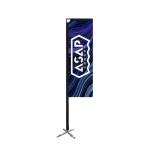 Rectangle Flags
 Rectangle Banner
 Mesh Event Banners
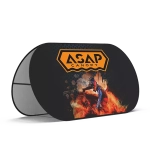 Pop Out Banner Horizontal
 Pop-Out Banner Vertical
 Trade Show Display
 Trade Show Display Kit
 Pop Up Trade Show Display
 Pop Up Trade Show Display Deluxe Kit
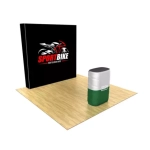 Pop Up Trade Show Display Kit
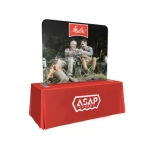 TableTop Displays Kit
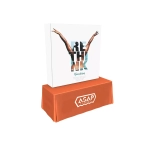 Pop Up Tabletop Display Kit
 Pop Up Tabletop Display
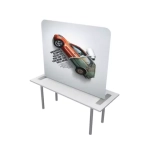 Tabletop Display
 Straight Trade Show Exhibit Booth
 Banner Stand
 Tent Accessories
 Flag Accessories
 Arch Accessories
 Trade Show Accessories
