1.How to set up a custom canopy tent 10×10?
Setting up a 10×10 custom canopy tent may vary slightly depending on the specific design and features of the tent. ASAP Canopy’s general steps for setting up a standard pop-up canopy tent of this size are as follows:
1. Select a Suitable Location:
Choosing the right location is crucial for a successful canopy setup. Ensure the ground is level to provide stability and prevent any tilting. Check for obstacles overhead, such as tree branches or power lines, and verify there are no utilities underground before securing the tent.
2. Unpack the Canopy:
When unpacking the canopy, take care to lay out all components systematically. Familiarize yourself with each part, including the frame, canopy top, stakes, and any accessories. Check for any signs of damage or wear before proceeding with the setup.
3. Extend the Frame:
For pop-up canopies, unlocking and extending the frame is typically a straightforward process. Ensure each leg clicks into place securely. If your tent has a traditional frame, assemble the pieces according to the manufacturer’s instructions, making sure all connections are tight.
4. Adjust the Height:
Most canopy tents allow for height adjustment. Consider the nature of your event and adjust the height accordingly. If you’re expecting guests of varying heights or need to accommodate specific space constraints, setting an appropriate height is essential.
5. Attach the Canopy Top:
Affix the canopy top to the frame, taking care to align the corners and edges correctly. Canopy tops often have Velcro straps, clips, or a combination of both for secure attachment. Smooth out any wrinkles or folds to achieve a taut and professional appearance.
6. Secure the Canopy:
Ensure the stability of your canopy by using the provided stake-down points and securing the tent to the ground with stakes or weights. This is especially important in windy conditions. Some canopies feature built-in pockets for weight bags that can be filled with sand or other heavy materials.
7. Check Stability:
After setting up the canopy, conduct a stability check by gently shaking the frame. Confirm that all components are securely locked in place. If you notice any wobbling or instability, double-check the height adjustment and connections.
8. Add Weights (if necessary):
In windy conditions or on surfaces where staking is not possible, consider adding weights to the legs of the canopy. This can include sandbags, water weights, or specially designed canopy weights. Distribute the weights evenly to maintain balance.
9. Secure Sidewalls (if applicable):
If your custom canopy comes with sidewalls, attach them securely to the frame using the provided fasteners. Sidewalls not only offer additional protection from the elements but also enhance the overall aesthetic of the setup.
10. Test for Stability Again:
Conduct a final stability check after adding any accessories or sidewalls. This step ensures that your custom canopy is well-prepared to withstand varying weather conditions and provide a reliable shelter for your event.
By following these detailed steps, you can set up your custom canopy tent with confidence, ensuring a professional and safe presentation for your event or promotion. Be sure to refer to the ASAP Canopy manufacturer’s instructions for specific guidance tailored to your canopy model.
2.Can I add my logo or branding to a 10×10 canopy tent?
Using advanced Unlimited Sublimation Printing, such as the printing technology mentioned by ASAP Canopy, is an excellent choice for achieving high-quality custom graphics on a canopy tent. Sublimation printing offers several advantages that make it a preferred option for creating vibrant and durable graphics. Here are some key benefits and considerations:
1. Unlimited Sublimation Printing:
ASAP Canopy’s use of Unlimited Sublimation Printing implies a capability to reproduce a wide range of colors, intricate details, and photorealistic images. This technology provides the freedom to create custom graphics without limitations on color variations, allowing for intricate and complex designs.
2. Vibrant and Full-Color Printing:
Sublimation printing excels in producing vibrant and full-color prints. The process allows for the infusion of inks into the fabric or material, resulting in graphics that are not only colorful but also have a smooth finish. This is particularly important for creating eye-catching and professional-looking designs on canopy tents.
3. Durability and Longevity:
Graphics produced through sublimation printing become a permanent part of the fabric, ensuring durability and longevity. The inks are resistant to fading, peeling, or cracking, making them well-suited for outdoor applications where the canopy may be exposed to various weather conditions.
4. Photorealistic Detail:
Unlimited Sublimation Printing excels in capturing photorealistic details. This is crucial for businesses or individuals looking to reproduce intricate logos, high-resolution images, or complex designs with fine details on their canopy tents.
5. Customization Without Restrictions:
The “unlimited” aspect of sublimation printing means there are no restrictions on the number of colors or the complexity of the design. This flexibility allows for creative expression and ensures that your canopy tent graphics can match your brand identity or promotional goals precisely.
6. Consistent and Professional Appearance:
Sublimation printing provides a consistent and professional appearance across the entire canopy surface. The colors are evenly distributed, and the graphics have a seamless integration with the fabric, creating a polished and high-end look.
7. Environmentally Friendly:
Sublimation printing is considered environmentally friendly as it generates minimal waste. It eliminates the need for screens, plates, or excess inks, making it a sustainable choice for businesses that prioritize eco-friendly printing practices.
8. Customization Options:
When working with a provider like ASAP Canopy, explore additional customization options such as adding logos, promotional messaging, or specific branding elements. Discuss design possibilities, placements, and any other features that can enhance the visual impact of your canopy tent.
9. Professional Printing Services:
While sublimation printing offers many benefits, achieving optimal results requires the expertise of professional printing services. Companies like ASAP Canopy, with a focus on advanced sublimation printing, can guide you through the design process, ensuring that your custom graphics meet the highest standards.
In summary, ASAP Canopy’s use of Unlimited Sublimation Printing is a top-notch option for achieving impressive and durable custom graphics on a canopy tent. It provides the versatility, vibrancy, and quality needed for creating visually appealing and long-lasting promotional displays or outdoor shelters. Always communicate your specific design requirements with the printing service to ensure that your canopy graphics meet your expectations and effectively represent your brand.
4.How can I clean and maintain my custom canopy tent 10×10?
Yes, many canopy tent manufacturers, including ASAP Canopy as mentioned, often offer full customization options, allowing you to order a custom canopy tent with a specific color preference. This customization extends to not only the main canopy but also the peaks and valances, providing a comprehensive and cohesive branding solution.
When ordering a custom canopy tent with specific color preferences, consider the following steps:
Contact the Manufacturer or Supplier: Reach out to ASAP Canopy or your chosen manufacturer or supplier to inquire about their customization options. This may include the availability of a wide range of colors for the canopy fabric, peaks, and valances.
Provide Pantone or CMYK Color Codes: If you have specific color requirements, provide the manufacturer with Pantone color codes or CMYK values for precise color matching. This ensures that the colors of your custom canopy align accurately with your brand or design specifications.
Discuss Design and Layout: Communicate your design preferences, including how you want the colors distributed on the canopy. Discuss whether you want a solid color, a combination of colors, or a custom pattern. Provide any logos, graphics, or branding elements that you want to be included in the design.
Confirm Full Customization: Ensure that the manufacturer supports full customization, as mentioned by ASAP Canopy. This typically includes the ability to print on all peaks and valances, allowing for a seamless and visually appealing presentation from all angles.
Review Design Proof: Before production begins, manufacturers often provide a design proof for your approval. Review this carefully to confirm that the color, layout, and any graphics meet your expectations. This step allows you to make adjustments before the actual printing process.
Consider Branding Elements: If you have specific branding elements, such as logos, slogans, or contact information, discuss how these can be incorporated into the canopy design. Ensure that the placement and visibility of these elements align with your promotional goals.
Ask About Additional Customization Options: In addition to color customization, inquire about any other customization options available. This may include the addition of sidewalls, flags, or other accessories that complement your custom canopy.
Confirm Production Time and Delivery: Once all details are finalized, confirm the production time and delivery schedule with the manufacturer. This is especially important if you have specific deadlines for events or promotions.
By following these steps and working closely with the manufacturer, you can order a custom canopy tent 10×10 that not only meets your color preferences but also effectively represents your brand or message. The ability to fully customize the canopy allows for a unique and attention-grabbing presence at various events and outdoor promotions.

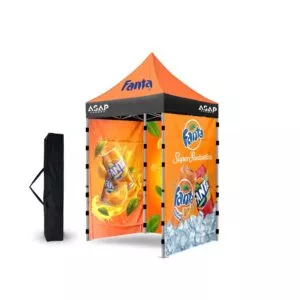
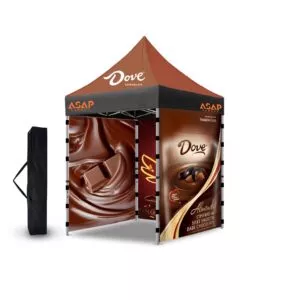




 5×5 Pop Up Tent
 6.5×6.5 Pop Up Tent
 10×10 Canopy Tent
 10×15 Canopy Tent
 10×20 Canopy Tent
 Canopy Options
 Blank Canopy Top
 Canopy Top
 Canopy Walls
 Canopy Side Skirt
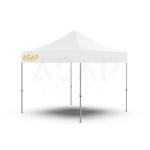 Blank Canopy
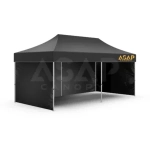 Blank Canopy Kit
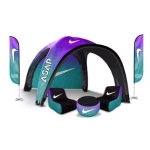 Inflatable Canopy Tents 10×10
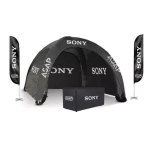 Inflatable Canopy Tents 13×13
 Inflatable Canopy Tents 16×16
 Inflatable Canopy Tents 20×20
 Inflatable Canopy Tents 23×23
 Inflatable Canopy Tents 26×26
 Inflatable Spider Tents
 Inflatable Dome Tents
 Inflatable Eclipse Tents
 Inflatable Party Tent
 Inflatable Furniture
 Inflatable Pillar
 Single Pole Star Tents
 Double Pole Star Tents
 15FT Inflatable Arches
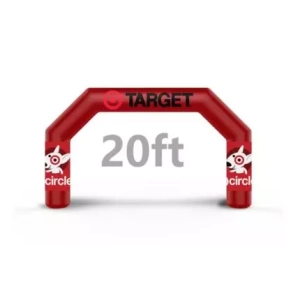
 20FT Inflatable Arches
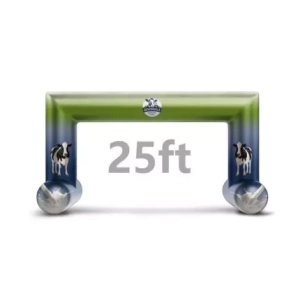
 25FT Inflatable Arches
 30FT Inflatable Arches
 40FT Inflatable Arches
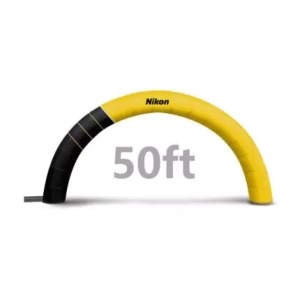
 50FT Inflatable Arches
 Custom Constant Arches
 Custom Sealed Arches
 Fitted Table Covers
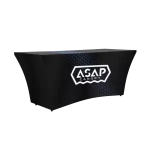 Stretch-Fit Table Covers
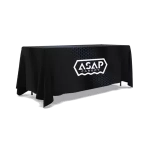 Loose Table Throws
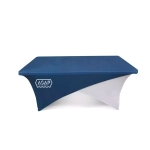 Cross-Over Stretch-Fit Table Cover
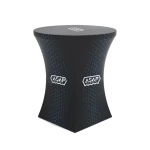 Round Stretch-Fit Table Cover
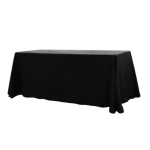 Blank Table Throws
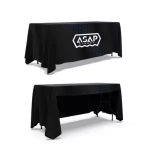 3-Sided Loose Table Throw
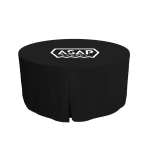 Round Fitted Table Covers
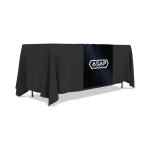 Table Runners
 Square Table Covers
 Feather Flags
 Blade Flags
 Feather Banner
 Blade Banner
 Teardrop Flags
 Teardrop Banner
 Rectangle Flags
 Rectangle Banner
 Mesh Event Banners
 Pop Out Banner Horizontal
 Pop-Out Banner Vertical
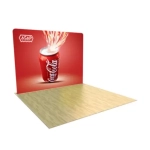 Trade Show Display
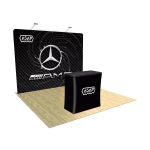 Trade Show Display Kit
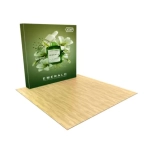 Pop Up Trade Show Display
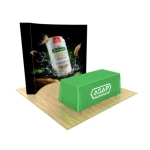 Pop Up Trade Show Display Deluxe Kit
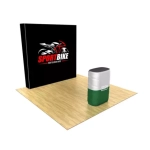 Pop Up Trade Show Display Kit
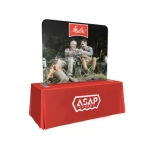 TableTop Displays Kit
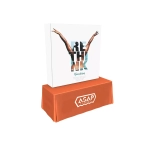 Pop Up Tabletop Display Kit
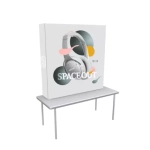 Pop Up Tabletop Display
 Tabletop Display
 Straight Trade Show Exhibit Booth
 Banner Stand
 Tent Accessories
 Flag Accessories
 Arch Accessories
 Trade Show Accessories
