


1.Are there any safety considerations for using inflatable start and finish line?
Inflatable start and finish lines work by using air pressure to create a visually appealing and structurally sound arch that marks the beginning and end points of a race or event. Here’s a step-by-step explanation of how they generally work:
- Material Selection:
- Inflatable start and finish lines are typically made from durable materials such as PVC (Polyvinyl chloride) or nylon. These materials are chosen for their strength, flexibility, and resistance to weather conditions.
- Inflation System:
- The inflatable arches are equipped with an inflation system, usually a blower or an air pump. This system is responsible for filling the arch with air and maintaining the desired pressure to keep the structure upright.
- Air Chambers and Tubes:
- The inflatable arch is divided into different air chambers or tubes. These chambers are connected, and air circulates through them to ensure an even distribution of pressure. This design contributes to the stability and shape of the arch.
- Inflation Process:
- To set up the inflatable start or finish line, the blower or air pump is connected to the arch, and air is forced into the chambers. As the arch inflates, it takes on the desired shape, forming the iconic arch structure that spans the race course.
- Securing the Arch:
- Once fully inflated, the arch needs to be secured to the ground to prevent it from moving or collapsing during the event. This is often done using tethers, stakes, or weights. Some inflatable arches have built-in anchor points for this purpose.
- Customization:
- Inflatable arches are often customizable to suit the specific event or sponsor branding. Event organizers can add logos, graphics, and other branding elements to enhance the visibility and recognition of the event.
- Event Usage:
- The inflatable start and finish lines serve as prominent markers for participants, guiding them at the beginning and end of the race. The vibrant and eye-catching design of the arches contributes to the overall atmosphere and excitement of the event.
- Deflation and Storage:
- After the event, the arch is deflated by releasing the air through the inflation system. Once deflated, it can be easily folded or rolled for compact storage. Proper deflation and storage contribute to the longevity of the inflatable.
- Transportability:
- One of the advantages of inflatable start and finish lines is their portability. They can be transported to different locations for various events, making them a versatile solution for race organizers.
In summary, inflatable start and finish lines leverage air pressure to create a visually striking and functional arch that serves as a key element in marking the course for races and events. The inflatable nature of these arches makes them easy to set up, dismantle, and transport.
3.Can inflatable Halloween archways be used indoors?
Yes, inflatable Halloween archways can typically be used indoors, but there are some considerations to keep in mind:
- Ceiling Height:
- Ensure that the indoor space where you plan to set up the inflatable Halloween archway has sufficient ceiling height. Measure the height of the arch when fully inflated to make sure it fits within the available space without touching the ceiling.
- Space Availability:
- Check if there is enough floor space to accommodate the size of the inflatable archway. It’s important to have a clear and unobstructed area to prevent any potential safety hazards or interference with other objects.
- Indoor Flooring:
- Consider the type of flooring indoors. Inflatable archways are often designed for outdoor use and may have stakes or tethers for stability. Indoors, you might need to use alternative methods, such as weights or sandbags, to secure the arch without damaging the flooring.
- Ventilation:
- Ensure that there is adequate ventilation in the indoor space. Inflatable archways typically have blowers that need access to fresh air. Be cautious about using inflatable items in enclosed spaces for an extended period to avoid overheating.
- Access to Power:
- Make sure there is a convenient and safe power source available for the blower that inflates the arch. Ensure that the power cord is placed in a way that doesn’t create tripping hazards.
- Event Regulations:
- Check with the venue or event organizers for any specific regulations regarding the use of inflatables indoors. Some venues may have restrictions or guidelines for setting up inflatable structures.
- Deflation and Storage:
- Plan for the deflation and storage of the inflatable archway after the event. Ensure there is enough space to safely deflate and pack away the arch.
- Weather Conditions:
- If weather conditions permit, using the inflatable arch outdoors might still be a viable option. Outdoor use can provide more flexibility in terms of space and ventilation.
Always refer to the manufacturer’s guidelines and recommendations for using inflatable archways indoors. Additionally, communicate with the venue management or event organizers to ensure compliance with any rules or regulations related to inflatable structures within indoor spaces.
4.Is customization possible for the inflatable goal post?
Yes, customization is often possible for inflatable goal posts. Many manufacturers and suppliers offer options for personalizing inflatable goal posts to meet specific preferences, branding needs, or promotional requirements. Here are some common aspects that can be customized:
- Colors:
- Users can often choose the colors of the inflatable goal post to match team colors, event themes, or branding preferences.
- Logos and Graphics:
- Inflatable goal posts can be customized with team logos, sponsor logos, or other graphics. This feature is particularly useful for sports events or promotional activities.
- Text and Messages:
- Users may add text or messages to the goal post, such as team names, event titles, or promotional slogans.
- Shape and Design:
- Depending on the manufacturer, there might be options for customizing the shape or design of the goal post within certain limits. This can include variations in the goal post’s overall appearance.
- Size:
- While the overall size may be predetermined by the manufacturer, customization options might include variations within a given size range to better suit specific needs.
- Materials:
- Depending on the manufacturer, there may be choices regarding the type of materials used in the construction of the inflatable goal post. This can impact factors such as durability and weather resistance.
- Inflation and Deflation Features:
- Some inflatable goal posts may have customizable features related to inflation and deflation mechanisms, allowing users to select the type of blowers or pumps that best suit their preferences.
When seeking customization for inflatable goal posts, it’s essential to communicate with the manufacturer or supplier to understand the available options, design specifications, and any additional costs associated with customization. Providing clear design specifications, including logos or graphics in the correct formats, can help ensure that the customization meets the desired expectations. Keep in mind that customization options may vary among different suppliers, so it’s advisable to explore these details during the purchasing or renting process.
5.How to make a Halloween archway?
Creating a Halloween archway can be a fun and rewarding DIY project to enhance the spooky atmosphere of your Halloween decorations. Here’s a simple guide on how to make a Halloween archway:
Materials Needed:
- PVC Pipe:
- Purchase PVC pipes and connectors to create the frame of the arch. The number and length of the pipes will depend on the size of the arch you want.
- Tarp or Plastic Sheeting:
- Choose a black or dark-colored tarp or plastic sheeting to cover the PVC frame and create the arch’s fabric backdrop.
- Zip Ties or Rope:
- Use zip ties or strong rope to secure the tarp to the PVC frame.
- Halloween Decorations:
- Gather Halloween-themed decorations such as fake spiderwebs, spiders, bats, ghosts, pumpkins, or any other spooky elements you’d like to add.
- String Lights:
- Optional but highly effective for creating a festive and illuminated archway. Choose orange or purple string lights to enhance the Halloween theme.
- Additional Decorative Items:
- Consider other decorative items like fake chains, skulls, or any other Halloween props you find fitting.
Steps:
1. Design and Measure:
- Plan the dimensions and shape of your archway. Consider the height, width, and any specific design elements you want to incorporate.
2. Build the PVC Frame:
- Assemble the PVC pipes and connectors to create the frame of the arch. Make sure the frame is sturdy and able to support the weight of the tarp and decorations.
3. Attach the Tarp:
- Drape the tarp over the PVC frame to create the backdrop for your arch. Use zip ties or rope to secure the tarp in place. Ensure the tarp is taut and covers the entire frame.
4. Decorate the Archway:
- Add your Halloween decorations to the arch. Attach them to the tarp using zip ties or hot glue, ensuring they are securely in place.
5. Add String Lights:
- If using string lights, weave them through the decorations on the archway. This adds a festive and illuminated touch to your Halloween creation.
6. Secure the Archway:
- If placing the archway outdoors, use stakes or other secure methods to anchor it to the ground. Indoors, ensure it is stable and won’t topple.
7. Optional Enhancements:
- Get creative with additional decorative items like fake spiderwebs, creepy cloth, or any other spooky elements you have in mind.
8. Illuminate:
- If you used string lights, plug them in to illuminate the archway. Consider using battery-operated lights for flexibility in placement.
9. Fine-Tune and Enjoy:
- Step back, assess your Halloween archway, and make any final adjustments. Once satisfied, step through your spooky creation and enjoy the eerie ambiance!
This DIY Halloween archway is customizable, allowing you to tailor it to your specific Halloween theme and preferences. Feel free to experiment with different decorations and lighting effects to create a unique and haunting entrance for your Halloween festivities.
6.Can I reuse my Halloween outdoor archway for multiple years?
You can typically reuse your Halloween outdoor archway for multiple years with proper care and storage. Here are some tips to ensure the longevity of your Halloween archway and its readiness for future use:
Storing Inflatable Halloween Archways:
If your Halloween archway is inflatable, specific care is needed to ensure its longevity:
- Deflate Completely:
- When deflating the inflatable archway, make sure it’s completely deflated before folding. Leaving any residual air can cause stress on the seams during storage.
- Fold Carefully:
- Fold the deflated archway carefully, following any instructions provided by the manufacturer. Avoid sharp folds or creases that could weaken the material over time.
- Consider Storage Bags:
- Some inflatable archways come with dedicated storage bags. If not, consider investing in a large, airtight bag to protect the inflatable from dust and pests during storage.
Enhancing Durability for Multiple Years:
- Reinforce Stress Points:
- Identify stress points on the frame or fabric where wear is more likely to occur. Reinforce these areas with additional fabric or extra layers to enhance durability.
- Weatherproofing:
- Apply a weatherproofing spray to the fabric of the archway. This extra layer can provide added protection against the elements, UV rays, and moisture.
- Use Protective Covers:
- If feasible, use protective covers or tarps to shield the archway from direct exposure to rain, snow, or sunlight when not in use. This is particularly beneficial for prolonging the life of outdoor decorations.
DIY Repair and Maintenance:
- Patch Small Tears:
- If you notice small tears or punctures in the fabric, address them promptly. Most Halloween archways are made from materials that can be easily patched using fabric repair kits.
- Inspect Frame Connections:
- Regularly check the connections and joints of the frame. Tighten any loose bolts or fasteners to maintain the structural integrity of the archway.
Seasonal Themes and Modifications:
- Adapt for Different Themes:
- One of the advantages of DIY archways is their adaptability. Consider making interchangeable decorations or fabric panels to switch themes from year to year.
- Incorporate New Elements:
- Keep your Halloween archway fresh by incorporating new decorative elements or props each year. This not only adds variety but also keeps the display exciting for returning visitors.
Community Engagement:
- Interactive Features:
- Consider adding interactive features to your archway, such as a speaker playing spooky sounds or a motion-activated element. This can create a more engaging and memorable experience.
- Collaborate with Neighbors:
- If you live in a community setting, collaborate with neighbors to create a cohesive and themed Halloween display. This fosters a sense of community spirit and enhances the overall neighborhood ambiance.
Safety Considerations:
- Regular Safety Checks:
- Before each Halloween season, perform thorough safety checks. Ensure that the archway is stable, secure, and free from any potential hazards for trick-or-treaters or visitors.
- Adapt for Accessibility:
- If you anticipate visitors with accessibility needs, make adaptations to ensure that the archway is easily navigable. Clear pathways and avoid any potential tripping hazards.
Environmental Considerations:
- Upcycling Materials:
- Consider using environmentally friendly materials when building or decorating your archway. Upcycling old Halloween decorations or using sustainable materials contributes to eco-conscious practices.
- Responsible Disposal:
- If at some point you decide to retire your Halloween archway, consider responsible disposal methods. Some materials may be recyclable, and others may be repurposed for other DIY projects.
By integrating these additional details and considerations, you can enhance the richness of the content and provide readers with a comprehensive guide on not only reusing Halloween outdoor archways but also ensuring their sustainability, safety, and adaptability over the years.
7.Can I use my Halloween archway inflatable for other occasions?
8.What size should I choose for my Halloween inflatable arch?
9.What themes or designs are available for Halloween entrance inflatables?
Halloween entrance inflatables come in a wide variety of themes and designs to suit different preferences and create a spooky or whimsical atmosphere. Here are some popular themes and designs that you may find available for Halloween entrance inflatables:
- Haunted House Entrance:
- Inflatable archways featuring haunted house designs with spooky doors, windows, and eerie details create a classic Halloween ambiance.
- Giant Jack-O’-Lantern Arch:
- A festive arch adorned with oversized smiling jack-o’-lanterns adds a cheerful and traditional Halloween touch to your entrance.
- Creepy Carnival or Circus:
- For a unique twist, some inflatables feature a creepy carnival or circus theme with haunted clowns, carnival tents, and carnival-inspired colors.
- Gothic Cemetery Gate:
- Create a haunted cemetery entrance with gothic archways, tombstones, and spooky skeletal details for a more macabre Halloween setting.
- Witches and Cauldrons:
- Inflatables featuring witches, cauldrons, and spellbinding details provide a witchy and enchanting vibe for your Halloween entrance.
- Haunted Castle Arch:
- Transform your entrance into a haunted castle with inflatable arches resembling medieval castle gates, complete with spooky towers and turrets.
- Ghostly Graveyard Entrance:
- A graveyard-themed inflatable arch with ghostly figures, tombstones, and foggy details sets the stage for a haunted cemetery experience.
- Pirate Ship Entrance:
- Create a spooky pirate-themed entrance with inflatable archways resembling haunted pirate ships, complete with ghostly pirates and skeleton crew.
- Spiders and Webs Arch:
- Inflatable arches featuring oversized spiders, webs, and other creepy-crawly details add a touch of arachnid-inspired horror to your Halloween setup.
- Zombie Apocalypse Entrance:
- Bring the undead to life with zombie-themed inflatable archways featuring brain-hungry zombies, tombstones, and apocalyptic details.
- Frankenstein’s Laboratory Arch:
- Create a mad scientist’s laboratory entrance with inflatables resembling Frankenstein’s lab, complete with bubbling potions, lightning effects, and other eerie elements.
- Giant Bat Cave Entrance:
- A bat-themed inflatable arch with giant bats, moonlit skies, and spooky silhouettes adds a nocturnal and mystical touch to your Halloween entrance.
- Alien Invasion Arch:
- For a sci-fi twist, some inflatables feature an alien invasion theme with UFOs, extraterrestrial creatures, and cosmic details.
- Candy Corn Wonderland:
- Create a whimsical and sweet entrance with inflatable archways featuring giant candy corn, lollipops, and other colorful candy-inspired designs.
- Classic Spooky Characters:
- Inflatables featuring classic Halloween characters such as witches, ghosts, vampires, and black cats in a festive and playful setting.
- Harvest Pumpkin Patch Entrance:
- Celebrate the harvest season with inflatable archways featuring pumpkins, fall leaves, and other autumn-inspired elements for a warm and inviting Halloween entrance.
When choosing a theme or design for your Halloween entrance inflatable, consider your overall Halloween decor, the desired atmosphere, and any specific preferences or themes you want to incorporate. With such a diverse range of options, you can find the perfect inflatable arch to suit your Halloween style and delight trick-or-treaters and guests alike.
10.What are some creative ways to enhance the Halloween blow-up archway setup?
Enhancing the Halloween blow-up archway setup involves adding creative touches to make it more unique, visually appealing, and immersive. Here are some creative ideas to elevate your Halloween blow-up archway decoration:
- Integrated Lighting:
- Illuminate the inflatable archway with strategically placed string lights or LED strips. Choose colors that complement the overall theme and create a spooky or magical ambiance.
- Fog Effects:
- Incorporate a fog machine near the base of the archway to create an eerie, misty atmosphere. The fog can add an extra layer of spookiness and enhance the overall Halloween experience.
- Themed Pathway:
- Extend the Halloween theme beyond the archway by creating a themed pathway leading up to it. Use Halloween-themed decorations, lanterns, or illuminated stakes to guide visitors toward the entrance.
- Interactive Sound Effects:
- Integrate a sound system to play spooky or atmospheric sounds as visitors approach the archway. Sounds of creaking doors, howling winds, or haunting music can enhance the overall Halloween experience.
- Projection Mapping:
- Use a projector to create dynamic visual effects on the inflatable archway. This can include animated scenes, creepy visuals, or even a countdown to Halloween night.
- Glow-in-the-Dark Paint:
- Apply glow-in-the-dark paint to specific elements of the archway. This can add an extra element of surprise during nighttime and enhance the overall visibility of the inflatable.
- Surrounding Props:
- Place additional Halloween props around the archway to create a thematic setting. This could include life-sized figures, tombstones, or other spooky decorations that complement the archway’s design.
- Themed Banners or Curtains:
- Hang themed banners or curtains on the sides of the archway. These can feature Halloween motifs, creepy images, or even messages to welcome visitors to your haunted domain.
- Customized Signage:
- Add a personalized touch by including a customized sign or plaque near the archway. This could feature a spooky welcome message, a Halloween-themed name for your entrance, or humorous warnings.
- Incorporate Seasonal Foliage:
- Surround the archway with autumn leaves, pumpkins, or other seasonal foliage to blend it seamlessly with the fall atmosphere. This adds a touch of nature to your Halloween setup.
- Create a Tunnel Effect:
- Place tall Halloween-themed decorations on either side of the archway to create a tunnel effect. This can make the entrance feel more enclosed and mysterious.
- Animated Props:
- Integrate animated props, such as moving skeletons or creatures, to bring the inflatable archway to life. These props can surprise and delight visitors as they approach.
- Balloon Clusters:
- Attach helium-filled Halloween-themed balloons to the archway. This not only adds a festive touch but also creates movement and visual interest.
- Glowing Eyes Effect:
- Attach or project glowing eyes onto the archway, creating an eerie and mysterious appearance. This simple yet effective addition can capture the attention of passersby.
- Create a Photo Spot:
- Designate an area around the archway as a photo spot. Add props like a spooky photo frame, a backdrop, or themed cutouts to encourage visitors to capture memorable Halloween moments.
Remember to consider the overall theme of your Halloween blow-up archway and coordinate additional decorations to enhance rather than overwhelm the setup. These creative ideas can help you transform your Halloween inflatable into a captivating and memorable entrance for trick-or-treaters and guests.


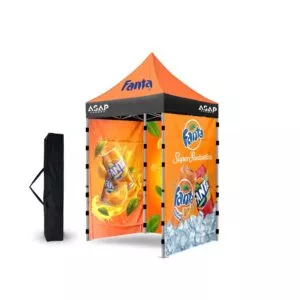
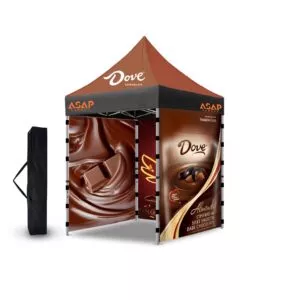
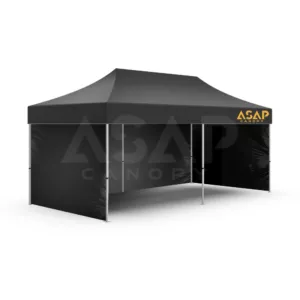
 5×5 Pop Up Tent
 6.5×6.5 Pop Up Tent
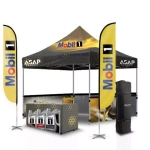 10×10 Canopy Tent
 10×15 Canopy Tent
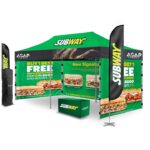 10×20 Canopy Tent
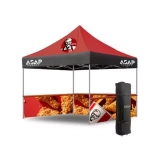 Canopy Options
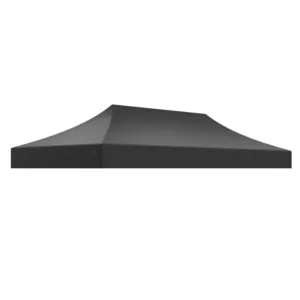
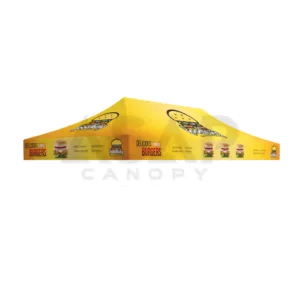
 Blank Canopy Top
 Canopy Top
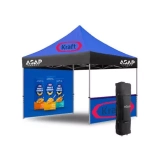 Canopy Walls
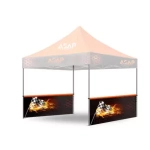 Canopy Side Skirt
 Blank Canopy
 Blank Canopy Kit
 Inflatable Canopy Tents 10×10
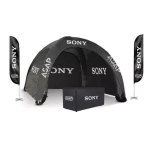 Inflatable Canopy Tents 13×13
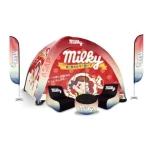 Inflatable Canopy Tents 16×16
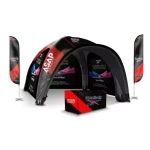 Inflatable Canopy Tents 20×20
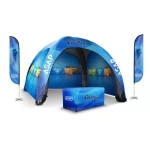 Inflatable Canopy Tents 23×23
 Inflatable Canopy Tents 26×26
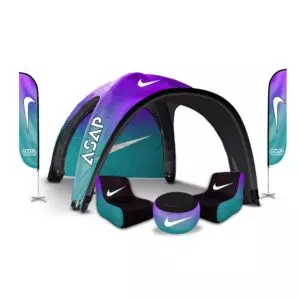
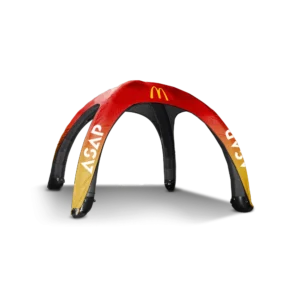
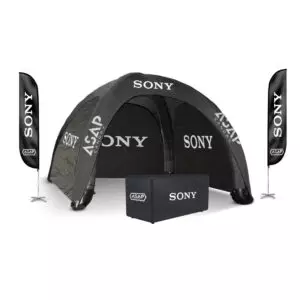
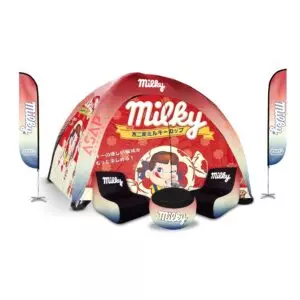
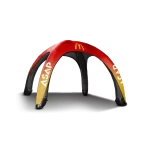 Inflatable Spider Tents
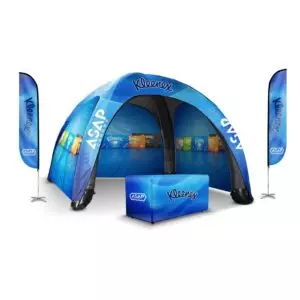
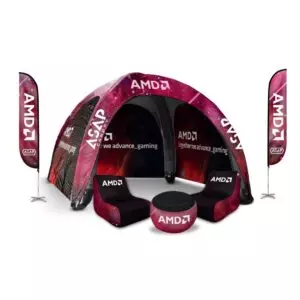
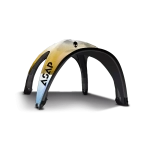 Inflatable Dome Tents
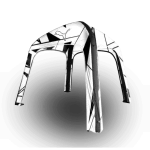 Inflatable Eclipse Tents
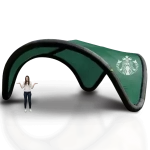 Inflatable Party Tent
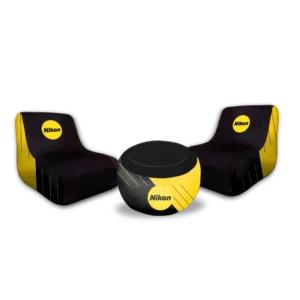
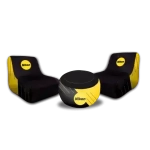 Inflatable Furniture
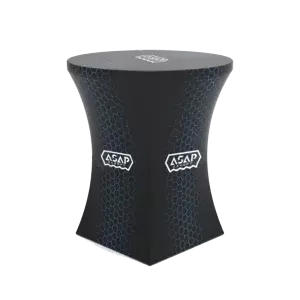
 Inflatable Pillar
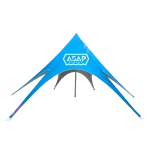 Single Pole Star Tents
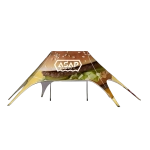 Double Pole Star Tents
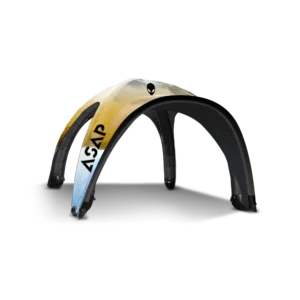
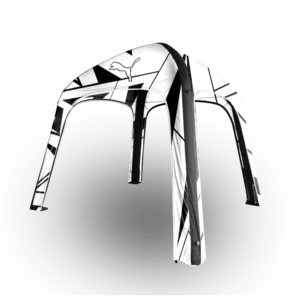
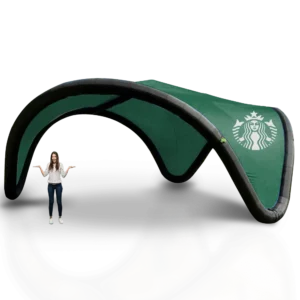
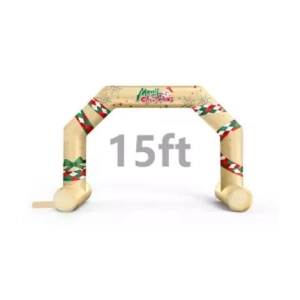
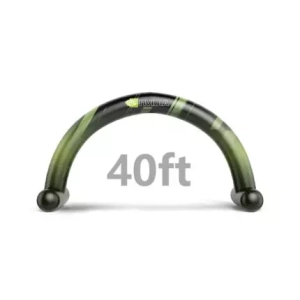
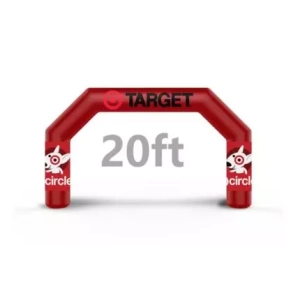
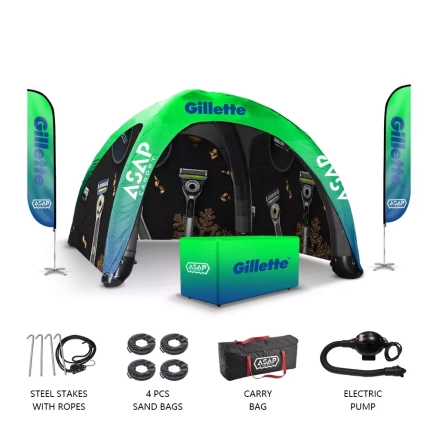
 15FT Inflatable Arches
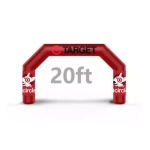 20FT Inflatable Arches
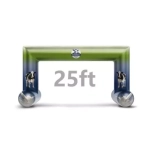 25FT Inflatable Arches
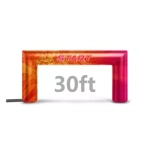 30FT Inflatable Arches
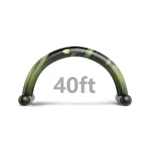 40FT Inflatable Arches
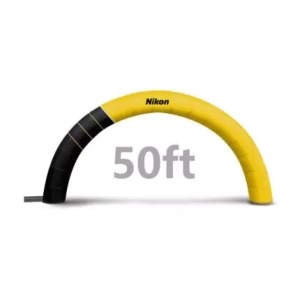
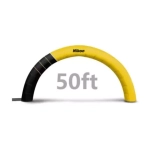 50FT Inflatable Arches
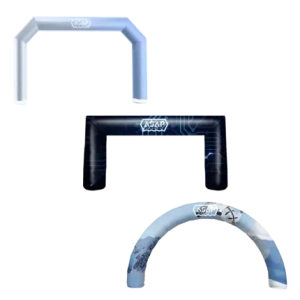
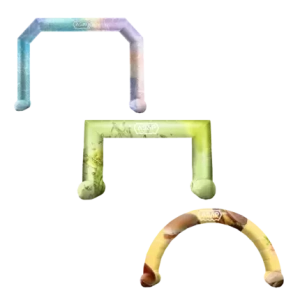
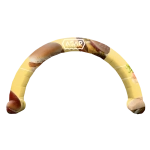 Custom Constant Arches
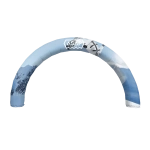 Custom Sealed Arches
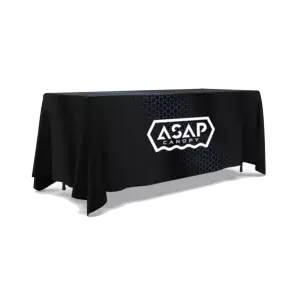
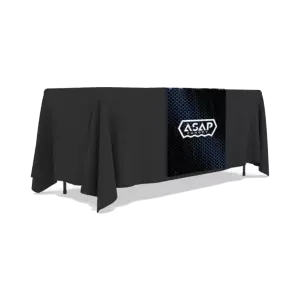
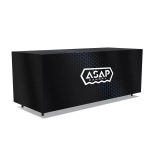 Fitted Table Covers
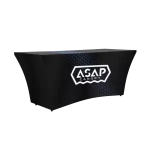 Stretch-Fit Table Covers
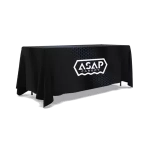 Loose Table Throws
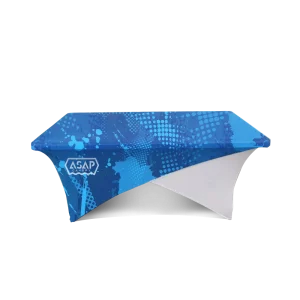
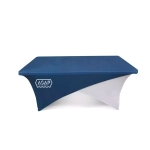 Cross-Over Stretch-Fit Table Cover
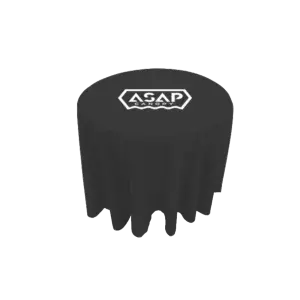
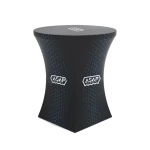 Round Stretch-Fit Table Cover
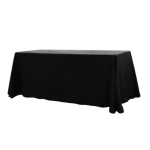 Blank Table Throws
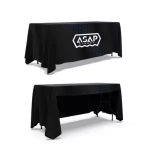 3-Sided Loose Table Throw
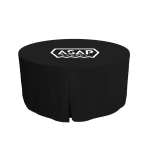 Round Fitted Table Covers
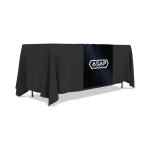 Table Runners
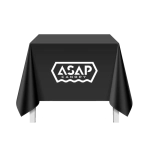 Square Table Covers
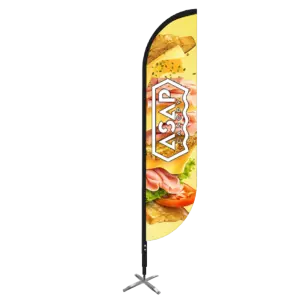
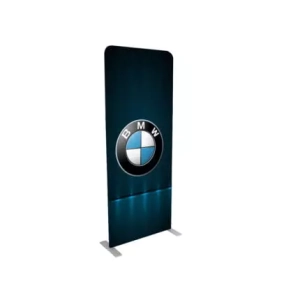
 Feather Flags
 Blade Flags
 Feather Banner
 Blade Banner
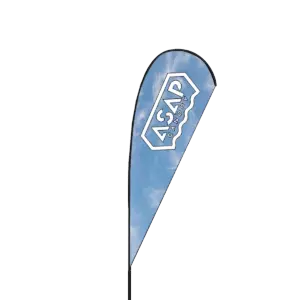
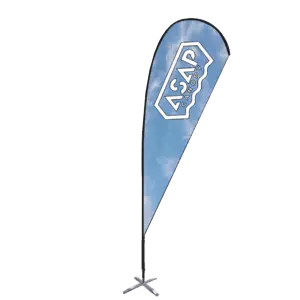
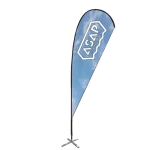 Teardrop Flags
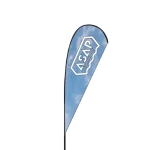 Teardrop Banner
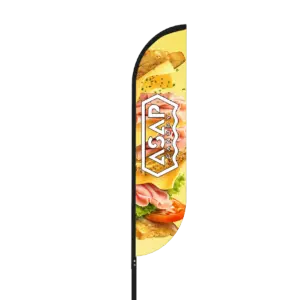
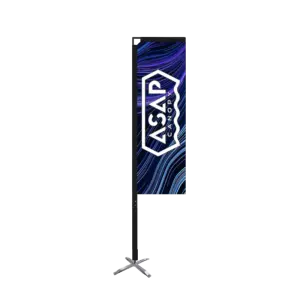
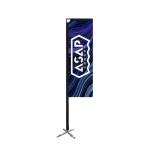 Rectangle Flags
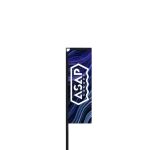 Rectangle Banner
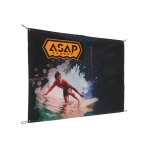 Mesh Event Banners
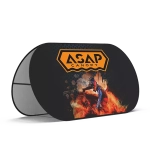 Pop Out Banner Horizontal
 Pop-Out Banner Vertical
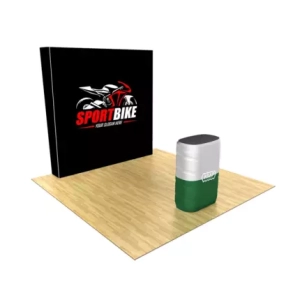
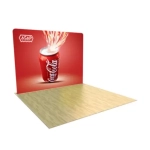 Trade Show Display
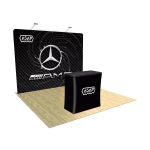 Trade Show Display Kit
 Pop Up Trade Show Display
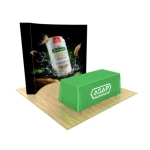 Pop Up Trade Show Display Deluxe Kit
 Pop Up Trade Show Display Kit
 TableTop Displays Kit
 Pop Up Tabletop Display Kit
 Pop Up Tabletop Display
 Tabletop Display
 Straight Trade Show Exhibit Booth
 Banner Stand
 Tent Accessories
 Flag Accessories
 Arch Accessories
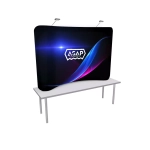 Trade Show Accessories
