How much does a trade booth cost?
How much does a 20×20 trade show booth cost?
he cost of a 20×20 trade show displays can vary widely depending on several factors, including the design complexity, materials used, additional features, and the vendor or company you choose. Trade show booth costs can range from a few thousand dollars to tens of thousands of dollars or more.
Here are some general estimates:
Basic Package: A basic 20×20 booth with a simple design, standard graphics, and basic materials might cost between $5,000 and $10,000.
Mid-Range Package: If you want a more customized design, higher-quality materials, and additional features such as interactive displays or technology integration, you could be looking at a cost range of $10,000 to $20,000.
High-End Package: For a premium, fully customized booth with high-quality materials, advanced technology features, and professional installation, costs can exceed $20,000 and go up significantly.
Remember that these are rough estimates, and actual costs can vary based on your specific requirements and the market conditions. Additionally, there may be additional costs for services like booth transportation, setup, dismantling, and storage.
It’s recommended to contact trade show booth suppliers or contractors for detailed quotes based on your specific needs and preferences. They can provide more accurate estimates based on the design and features you’re looking for in your 20×20 booth.

How much does a 20×20 pop up canopy cost?
The cost of a 20×20 pop-up canopy can vary depending on factors such as the brand, material quality, design features, and additional accessories. Pop-up canopies are generally more affordable than custom trade show booths, and their prices can range from a couple of hundred dollars to over a thousand dollars. Here’s a rough breakdown:
Basic Pop-Up Canopy: A simple 20×20 pop-up canopy with a lightweight frame, basic fabric, and minimal design might cost between $200 and $500.
Mid-Range Pop-Up Canopy: For a sturdier frame, better quality fabric, and additional features like sidewalls or custom printing, you might expect to pay between $500 and $1,000.
High-End Pop-Up Canopy: Premium pop-up canopies with heavy-duty frames, high-quality weather-resistant fabric, advanced design features, and customization options can cost over $1,000.
It’s important to consider the intended use of the pop-up canopy and your specific requirements when choosing a product. Additionally, some brands or retailers may offer packages that include accessories like sidewalls, carrying bags, or anchoring systems.
Prices may also vary based on sales, discounts, and the specific features offered by different manufacturers. When shopping for a 20×20 pop-up canopy, it’s recommended to compare prices, read reviews, and consider the warranty and customer support provided by the manufacturer.
How many people will a 20×20 canopy tent heavy duty seating?
The square footage of a 20×20 canopy tent is calculated by multiplying the length and width of the tent. For a 20×20 canopy tent, the calculation is as follows:
Square footage=Length×Width
Given that the length and width are both 20 feet:
Square footage=20 feet×20 feet=400 square feet

Is it worth getting a 2 bedroom inflatable tent?
Group Size and Composition: If you often camp or travel with a family or a larger group, having a 2-bedroom tent can provide more privacy and space. It allows for separate sleeping areas, which can be beneficial if there are different sleep schedules or if individuals prefer more personal space.
Flexibility: A 2-bedroom tent can offer more flexibility in terms of sleeping arrangements. It provides options for accommodating different group sizes, such as having one large sleeping area or dividing it into two separate rooms.
Comfort: Having multiple rooms in a tent can enhance comfort by allowing for better organization of belongings and creating distinct living spaces. This can be especially useful for longer camping trips.
Setup and Portability: Inflatable tents are known for their relatively quick and easy setup compared to traditional pole tents. Consider how important quick setup is for your camping style and whether the added features of a 2-bedroom tent align with your preferences.
Cost: Two-bedroom inflatable tents may be more expensive than their single-bedroom counterparts. Evaluate whether the additional features justify the cost based on your camping needs and how often you plan to use the tent.
Terrain and Weather Conditions: Consider the terrain and weather conditions of your typical camping locations. Ensure that the tent is suitable for the environments you plan to encounter, and that it provides the necessary protection and stability.
In summary, a 2-bedroom inflatable tent can be worth it if you frequently camp with a larger group or desire extra space and privacy. Assess your specific camping needs, the features offered by the tent, and your budget to determine if it’s the right choice for you.
How tall is a 16×16 canopy tent?
The height of a 16×16 canopy tent can vary depending on the specific model and design, as different manufacturers may offer tents with varying peak heights. However, canopy tents typically have a peak height that is measured from the ground to the highest point of the tent when it is set up.
For a standard canopy tent, the peak height is often in the range of 8 to 10 feet (approximately 2.4 to 3 meters). It’s essential to check the product specifications or contact the manufacturer or retailer for the exact peak height of the specific 16×16 canopy tent you are interested in purchasing.
The peak height is an important consideration, especially if you plan to use the canopy for events where people will be standing or moving around underneath. Always ensure that the tent provides sufficient headroom for your intended use.

What is the cost of 13 x 13 tent?
The cost of a 13×13 tent can vary depending on the type of tent, its features, brand, and where you purchase it. Here are some general price ranges based on common types of tents:
Pop-Up Canopy Tents: These are often used for outdoor events, markets, or as shade structures. A basic 13×13 pop-up canopy tent can range from $100 to $300. Higher-end or more durable models may cost more.
Camping Tents: If you are looking for a camping tent with a size of 13×13, prices can vary widely based on the brand, materials, and features. Budget models might start around $100, while more premium or specialized camping tents can range from $200 to $500 or more.
Party Tents: Larger party tents suitable for events may also come in a 13×13 size. Prices can start around $200 for basic models and go up to $1,000 or more for larger, more elaborate designs.
It’s important to note that these are general price ranges, and actual prices can vary based on factors like brand reputation, materials used, additional features, and the overall quality of the tent. Additionally, sales, promotions, and discounts may affect the final cost. When shopping for a specific 13×13 tent, it’s advisable to check with different retailers, read reviews, and compare features to ensure that you find a tent that meets your needs and budget.
How many square feet is a 13 x 13 canopy?
To calculate the square footage of a rectangular tent, you multiply the length by the width. For a 13×13 tent:
Square footage=Length×Width
Square footage=13 feet×13 feet
Square footage=169 square feet
So, a 13×13 tent has a total square footage of 169 square feet.
How do I choose a pop-up canopy?
For example choosing a pop-up canopy, especially a 10×20 pop-up canopy, involves considering several factors to ensure it meets your specific needs and preferences. Here are some key considerations:
Intended Use:
- Determine the primary purpose of the canopy. Is it for outdoor events, parties, trade shows, markets, camping, or other activities?
Size:
- Ensure that the 10×20 size is suitable for your needs and provides enough coverage for your intended use.
Material and Durability:
- Look for canopies made from durable and weather-resistant materials. Common canopy materials include polyester, polyethylene, or vinyl. Check for features like UV protection and waterproofing.
Frame Material:
- Canopy frames are often made from materials like steel or aluminum. Steel frames are generally more robust but heavier, while aluminum frames are lighter but may be less sturdy.
Ease of Setup:
- Pop-up canopies are designed for quick and easy setup. Check for user-friendly features like a collapsible frame, push-button adjustments, and a straightforward assembly process.
Portability:
- Consider the weight and portability of the canopy, especially if you plan to transport it frequently. Look for models that come with a carrying bag for convenience.
Stability and Wind Resistance:
- Evaluate the canopy’s stability in different weather conditions. Some canopies come with weighted bags or anchor systems to enhance stability. Ensure it is suitable for the wind conditions in your area.
Sidewalls and Accessories:
- Determine if you need sidewalls for added protection or privacy. Some canopies come with sidewalls, while others allow you to purchase them separately. Additionally, check if there are accessories available, such as lights, curtains, or mosquito netting.
Brand and Reviews:
- Consider reputable brands with positive customer reviews. Reading customer feedback can provide insights into the canopy’s performance and durability.
Budget:
- Establish a budget range based on your requirements. Canopy prices can vary, and it’s important to balance cost with the features you need.
Warranty:
- Check the warranty offered by the manufacturer. A longer warranty period can indicate confidence in the product’s quality.

How do you set up a 10×20 pop up tent?
Setting up a 10×20 pop-up tent generally involves a straightforward process, but it’s essential to follow the specific instructions provided by the manufacturer, as designs may vary. Here’s a general guide on how to set up a typical 10×20 pop-up tent:
Note: Before you start, make sure you have all the necessary components and that the area where you’re setting up the tent is clear of obstacles.
Unpack and Organize:
- Lay out all the components of the tent, including the frame, canopy top, and any accessories.
Extend the Frame:
- Unlock and extend the frame by pulling the legs and extending the arms until they lock into place. Most pop-up tents have a collapsible frame that can be extended easily.
Lock the Frame:
- Ensure that all frame legs are fully extended and locked into position. Most frames have push-button or pull-pin mechanisms to secure the legs.
Attach the Canopy:
- Place the canopy top over the frame, ensuring that it’s centered. Most canopies have Velcro straps, buttons, or other mechanisms to attach to the frame. Secure the canopy to the frame according to the manufacturer’s instructions.
Adjust the Height:
- Some pop-up tents allow you to adjust the height. If needed, adjust the height settings to your preference using the provided mechanisms.
Secure the Canopy:
- Use any included straps or attachments to secure the canopy to the frame further. This step helps ensure stability in different weather conditions.
Stabilize the Tent:
- If your tent comes with stakes or weights, use them to secure the tent to the ground. This is crucial for stability, especially in windy conditions.
Add Sidewalls (Optional):
- If your pop-up tent has sidewalls, you can attach them for added protection or privacy. Sidewalls are usually attached using zippers or Velcro.
Check Stability:
- Once the tent is set up, check its stability by gently pushing on the frame and ensuring that it’s securely anchored to the ground.
Secure Additional Accessories (if any):
- If you have added accessories like lights or decorations, secure them according to the manufacturer’s instructions.
Always refer to the specific instructions provided by the manufacturer for your pop-up tent model, as designs and setup procedures can vary. Following the manufacturer’s guidelines will ensure a safe and proper setup.
















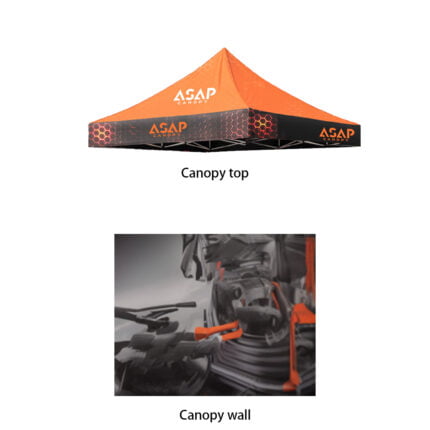
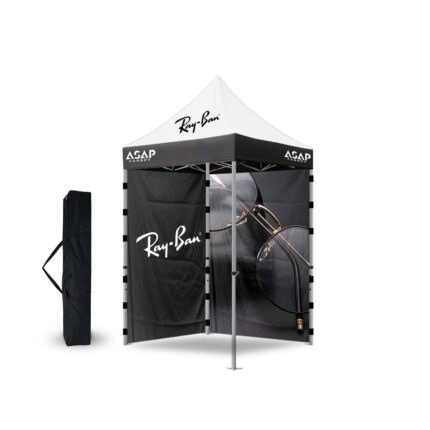

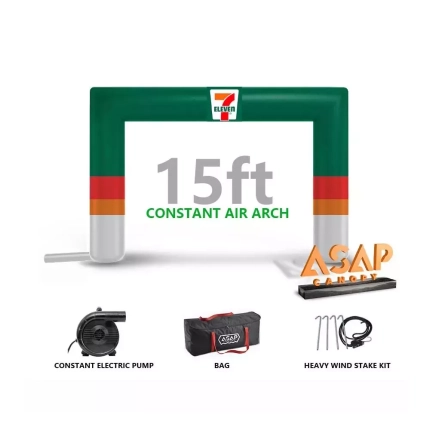
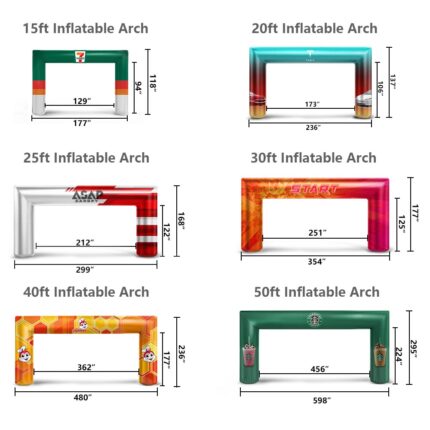


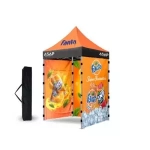 5×5 Pop Up Tent
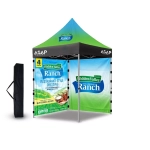 6.5×6.5 Pop Up Tent
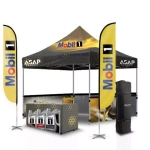 10×10 Canopy Tent
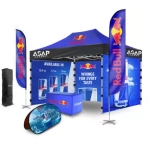 10×15 Canopy Tent
 10×20 Canopy Tent
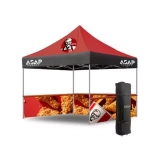 Canopy Options
 Blank Canopy Top
 Canopy Top
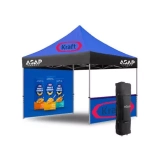 Canopy Walls
 Canopy Side Skirt
 Blank Canopy
 Blank Canopy Kit
 Inflatable Canopy Tents 10×10
 Inflatable Canopy Tents 13×13
 Inflatable Canopy Tents 16×16
 Inflatable Canopy Tents 20×20
 Inflatable Canopy Tents 23×23
 Inflatable Canopy Tents 26×26
 Inflatable Spider Tents
 Inflatable Dome Tents
 Inflatable Eclipse Tents
 Inflatable Party Tent
 Inflatable Furniture
 Inflatable Pillar
 Single Pole Star Tents
 Double Pole Star Tents
 15FT Inflatable Arches
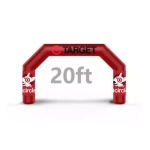 20FT Inflatable Arches
 25FT Inflatable Arches
 30FT Inflatable Arches
 40FT Inflatable Arches
 50FT Inflatable Arches
 Custom Constant Arches
 Custom Sealed Arches
 Fitted Table Covers
 Stretch-Fit Table Covers
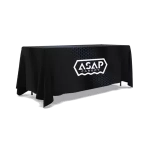 Loose Table Throws
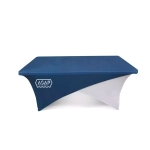 Cross-Over Stretch-Fit Table Cover
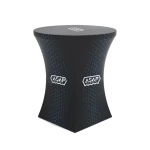 Round Stretch-Fit Table Cover
 Blank Table Throws
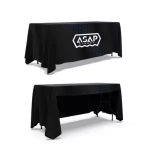 3-Sided Loose Table Throw
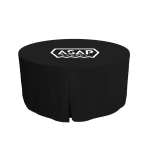 Round Fitted Table Covers
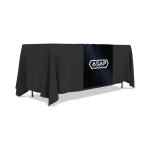 Table Runners
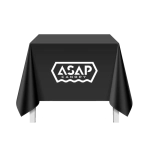 Square Table Covers
 Feather Flags
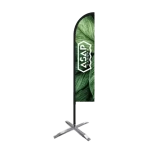 Blade Flags
 Feather Banner
 Blade Banner
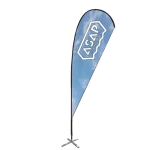 Teardrop Flags
 Teardrop Banner
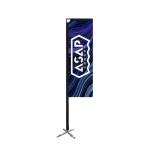 Rectangle Flags
 Rectangle Banner
 Mesh Event Banners
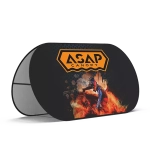 Pop Out Banner Horizontal
 Pop-Out Banner Vertical
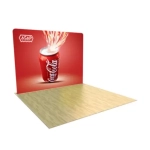 Trade Show Display
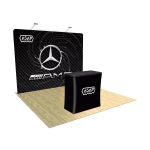 Trade Show Display Kit
 Pop Up Trade Show Display
 Pop Up Trade Show Display Deluxe Kit
 Pop Up Trade Show Display Kit
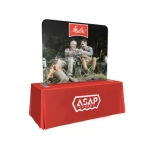 TableTop Displays Kit
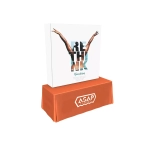 Pop Up Tabletop Display Kit
 Pop Up Tabletop Display
 Tabletop Display
 Straight Trade Show Exhibit Booth
 Banner Stand
 Tent Accessories
 Flag Accessories
 Arch Accessories
 Trade Show Accessories
