Anchoring a 20×10 Tent: A Comprehensive Guide
Introduction
When it comes to hosting outdoor events, such as sports tournaments, festivals, or corporate gatherings, having a reliable and sturdy shelter is essential. One of the most popular options for these occasions is a 20×10 tent, which offers ample space and versatility. However, with its larger surface area, ensuring the tent is properly anchored to withstand wind and weather conditions becomes even more crucial. In this comprehensive guide, we’ll delve into the intricacies of anchoring a 20×10 tent, exploring the recommended weight requirements, anchoring methods, and best practices to keep your tent secure and your event running smoothly.
Understanding the Importance of Anchoring
Before we dive into the specifics of anchoring a 20×10 tent, it’s essential to understand the significance of proper anchoring. Tents, particularly larger ones like the 20×10, have a significant surface area exposed to wind forces. If not anchored correctly, these forces can cause the tent to become unstable, potentially leading to damage or even complete collapse. Proper anchoring not only ensures the structural integrity of the tent but also provides safety for those seeking shelter beneath it.
The Weight Factor: How Much is Needed?
According to industry standards and engineering calculations, a 20×10 tent from reputable manufacturers like ASAP CANOPY requires a minimum of 370 pounds of ballasting (anchoring weight) to achieve a certified wind rating of 35 miles per hour (mph). This weight requirement is significantly higher than that of smaller tents, such as 10×10 or 10×15 models, which typically require around 200 pounds of ballasting for the same wind rating.
It’s important to note that the weight requirement for a 20×10 tent is specific to the tent’s size and design. Larger tents, like a 13×26, may require even more weight, up to 400 pounds, to achieve a similar wind rating. Additionally, the recommended weight is calculated for a tent without any sidewalls attached. Adding sidewalls can further increase the surface area exposed to wind, potentially necessitating additional anchoring weight.
Anchoring Methods: Staking and Footplates
When it comes to anchoring a 20×10 tent, there are two primary methods: staking and using footplates. Both methods have their advantages and limitations, and the choice between them often depends on the surface conditions at the event site.
1. Staking:
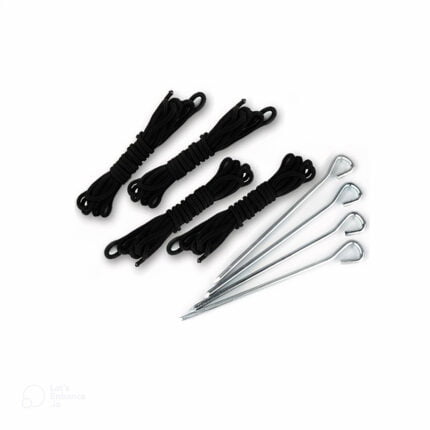
Staking is considered the preferred method of anchoring a tent, as it provides the most secure and stable anchoring solution. Most reputable tent manufacturers include a staking kit with their tents, designed specifically for the tent’s size and weight.
According to engineering calculations, a single, properly installed stake is equivalent to approximately 200 pounds of anchoring weight. This means that for a 20×10 tent, which typically has four corner stakes, the total anchoring weight provided by the staking kit is a staggering 800 pounds – more than double the recommended weight requirement.
Staking is an ideal solution when setting up on grass, dirt, or other soft surfaces that allow the stakes to be driven deeply into the ground. However, it may not be feasible on hard surfaces like concrete or asphalt, where driving stakes is not possible.
2. Footplates:
When staking is not an option, footplates become the preferred anchoring method for a 20×10 tent. Footplates are weighted bases that are designed to be placed over the tent’s leg poles, providing a stable and secure anchor point.
Most high-quality 20×10 tents come with six leg poles, meaning that six footplates would be required for optimal anchoring. Typically, footplates weigh around 50 pounds each, so six footplates would provide 300 pounds of anchoring weight – slightly shy of the recommended 370 pounds for a 20×10 tent.
To compensate for this slight weight deficiency, it’s recommended to add two additional footplates, bringing the total anchoring weight to 400 pounds – exceeding the recommended minimum by 30 pounds. This extra weight can provide added stability and peace of mind, especially in areas prone to strong gusts or variable wind conditions.
It’s important to note that while footplates are a reliable anchoring solution, they do come with an additional cost. When budgeting for your event, be sure to factor in the cost of renting or purchasing the necessary footplates to ensure proper anchoring of your 20×10 tent.
Best Practices for Anchoring a 20×10 Tent
In addition to understanding the weight requirements and anchoring methods, there are several best practices to follow when anchoring a 20×10 tent to ensure optimal safety and stability:
1. Distribute Weight Evenly:
When using footplates, it’s crucial to distribute the weight evenly across all leg poles. Uneven weight distribution can cause the tent to become unstable and increase the risk of collapse or damage.
2. Consider Surface Conditions:
The surface conditions at the event site can significantly impact the effectiveness of your anchoring method. On soft surfaces like grass or dirt, staking is typically the preferred option. However, on hard surfaces like concrete or asphalt, footplates may be the only viable solution.
3. Monitor Wind Conditions:
While a properly anchored 20×10 tent may be rated for winds up to 35 mph, it’s essential to monitor wind conditions continuously during the event. If winds exceed 40 mph, it’s recommended to take down the tent as a precautionary measure, even if it appears stable. Safety should always be the top priority.
4. Secure Sidewalls:
If your 20×10 tent has sidewalls, it’s crucial to secure them properly to prevent them from becoming a sail in windy conditions. Follow the manufacturer’s instructions for attaching and anchoring the sidewalls to ensure the overall stability of the tent.
5. Inspect Anchoring Regularly:
Periodically inspect the anchoring system during the event to ensure that stakes or footplates have not become dislodged or shifted. Promptly address any issues to maintain the tent’s stability.
Choosing the Right Tent and Anchoring System
When planning an outdoor event that requires a 20×10 tent, it’s essential to choose a high-quality tent from a reputable manufacturer. Reputable brands like ASAP CANOPY employ professional engineers to design and certify their tents for specific wind ratings, ensuring safety and stability when properly anchored.
Additionally, it’s crucial to select an anchoring system that is compatible with your chosen tent. Most manufacturers offer staking kits and footplates specifically designed for their tents, ensuring a secure and reliable anchoring solution.
Conclusion
Anchoring a 20×10 tent correctly is a crucial aspect of ensuring the safety and success of any outdoor event. By understanding the recommended weight requirements, anchoring methods, and best practices, you can confidently set up your tent and provide a sturdy and secure shelter for your guests or participants.
Remember, while a properly anchored 20×10 tent may be rated for winds up to 35 mph, it’s always advisable to monitor wind conditions closely and take necessary precautions if winds exceed 40 mph. Safety should be the top priority when hosting any outdoor event.
By following the guidelines and recommendations outlined in this comprehensive guide, you’ll be well-equipped to anchor your 20×10 canopy tent securely, allowing you to focus on delivering a successful and memorable event for all involved.
20×10 Tent Display: Creating an Impactful Trade Show Presence
Branded Pop Up Tents:10x20ft Pop Up Canopy
Canopy For Business | 10×20 Commercial Canopy Tent For Sale
Pop Up Tent Company:10x20ft Fire Retardant Canopy Tents
Pop Up Tent With Logo – 10×20 Trade Show Tents With Logo
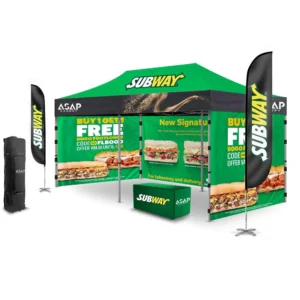
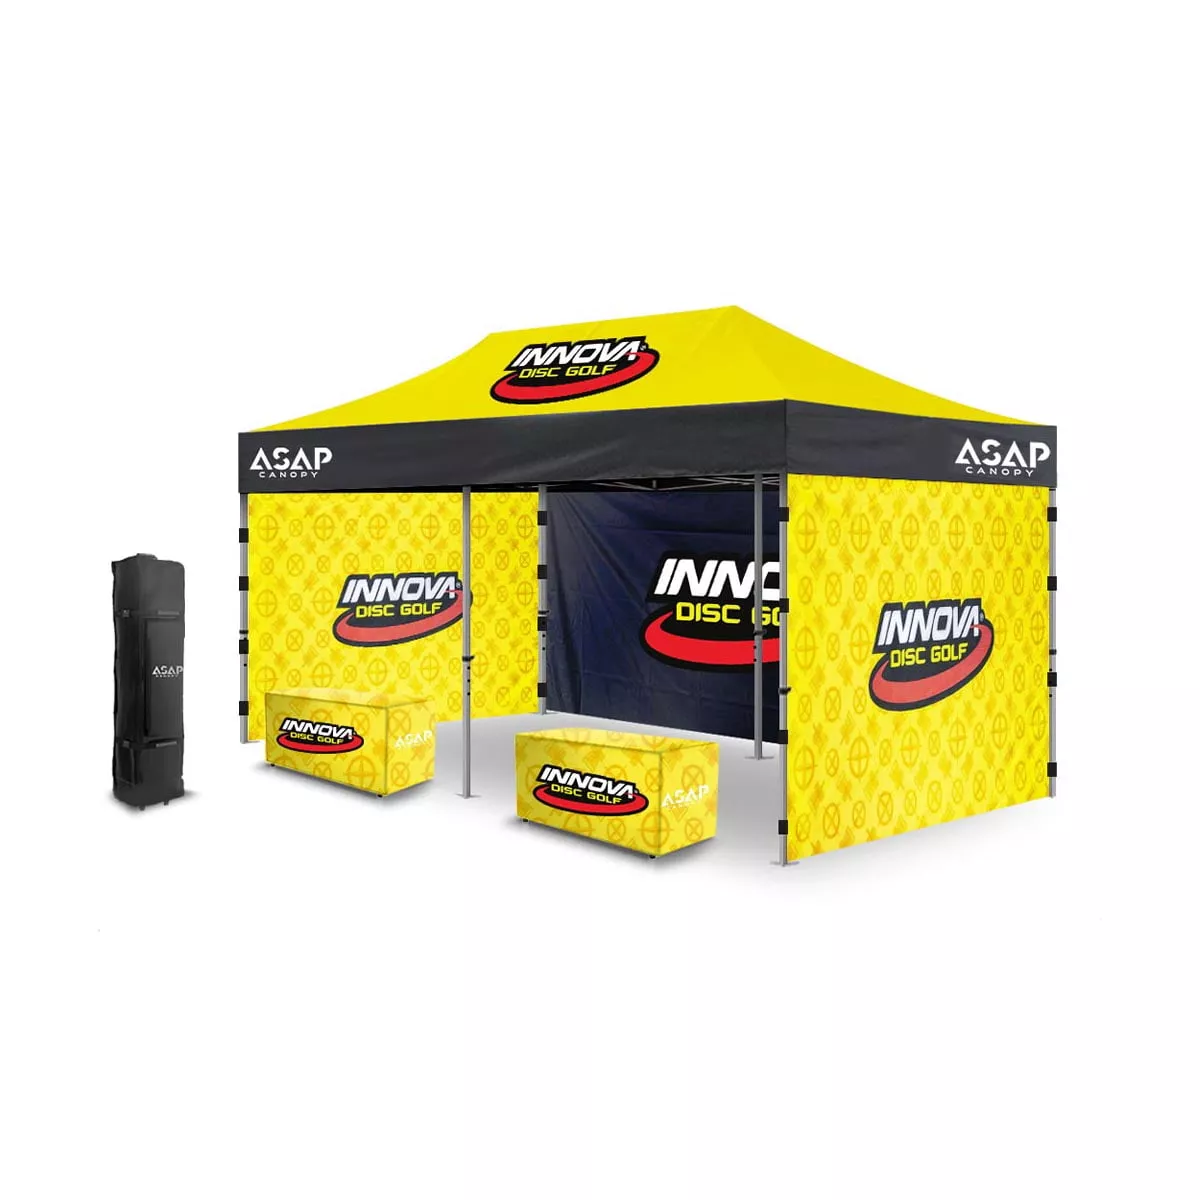
In the bustling world of trade shows and exhibitions, having a captivating and memorable presence is essential for capturing the attention of potential customers and standing out among competitors. One of the most effective ways to achieve this is by utilizing a 20×10 tent as your display space. This versatile and spacious tent offers a unique opportunity to showcase your products, services, and brand in a visually striking and immersive manner.
Advantages of a 20×10 Tent Display
1. Ample Space: With a footprint of 200 square feet, a 20×10 tent provides ample space to create an engaging and interactive display area. This allows you to showcase a wide range of products, set up engaging demonstrations, and even incorporate seating or meeting areas for more personalized interactions with attendees.
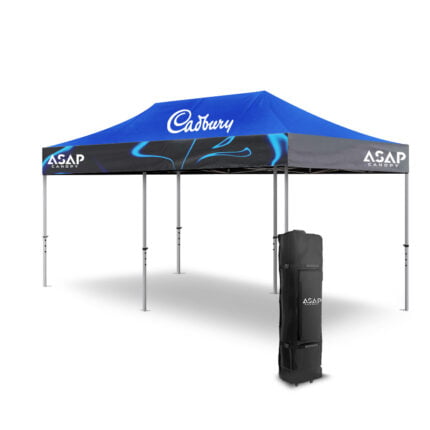
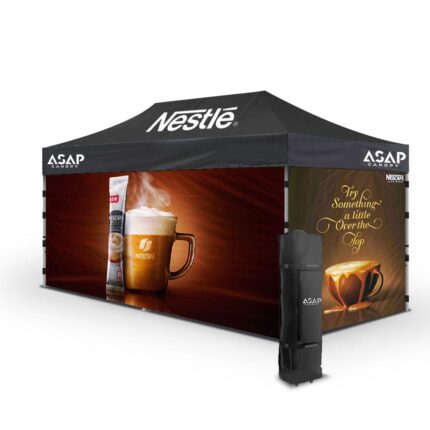
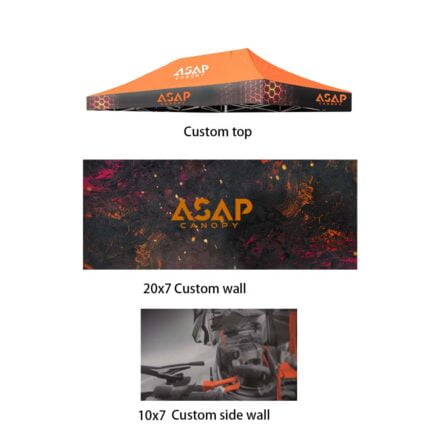
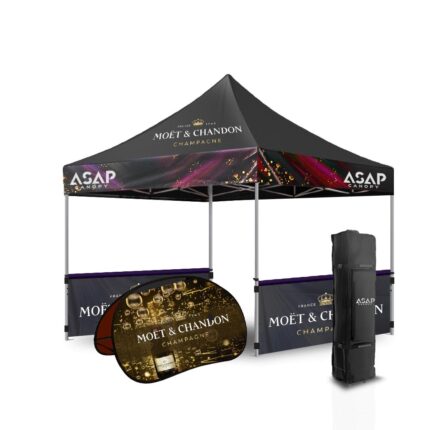
2. Customizable Branding: The large canopy surface of a 20×10 tent serves as a blank canvas for your branding efforts. You can print your company logo, promotional messages, or eye-catching graphics directly onto the canopy, creating a striking visual impact and ensuring your brand is instantly recognizable from afar.
3. Controlled Environment: Unlike open-air booths, a 20×10 tent offers a semi-enclosed and controlled environment. This allows you to regulate factors such as lighting, temperature, and noise levels, ensuring a comfortable and inviting atmosphere for your visitors.
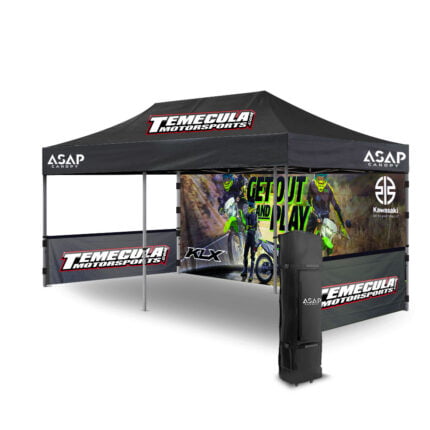
4. Versatility: With the option to add sidewalls, flooring, and other accessories, a 20×10 tent can be transformed into a fully immersive and customized display space that aligns perfectly with your brand’s identity and messaging.
Creating an Impactful Display
To truly leverage the potential of a 20×10 tent display, it’s essential to approach the design and layout with a strategic mindset. Here are some tips to help you create an impactful and memorable trade show presence:
1. Define Your Goals: Before diving into the design process, clearly define your goals for the trade show. Are you aiming to generate leads, launch a new product, or simply increase brand awareness? Understanding your objectives will help you tailor your display to achieve the desired results.
2. Develop a Compelling Layout: Utilize the ample space of the 20×10 tent to create an engaging and intuitive layout. Consider incorporating dedicated product display areas, interactive demonstration zones, and comfortable seating or meeting areas for one-on-one interactions with visitors.
3. Incorporate Multimedia Elements: Enhance your display by incorporating multimedia elements such as video presentations, touchscreen displays, or virtual reality experiences. These interactive elements can captivate attendees and provide a more immersive and engaging experience with your brand.
4. Optimize Lighting and Acoustics: Proper lighting can dramatically enhance the visual appeal of your display, while strategic acoustic treatment can create a more comfortable and inviting environment. Consider investing in high-quality lighting solutions and sound-dampening materials to create an optimal atmosphere within your tent.
5. Train Your Staff: Your team members are the face of your brand at the trade show. Ensure they are knowledgeable about your products, services, and the key messaging you want to convey. Provide them with comprehensive training and equip them with the skills to engage visitors effectively and create lasting connections.
6. Promote and Engage: Prior to the trade show, leverage social media and other marketing channels to promote your presence and generate excitement around your display. During the event, encourage visitors to share their experiences with your brand on social media, using hashtags and engaging content to amplify your reach.
By carefully planning and executing your 20×10 tent display, you can create a truly memorable and impactful trade show presence that captivates attendees, showcases your brand’s strengths, and ultimately drives business growth and success.














 5×5 Pop Up Tent
 6.5×6.5 Pop Up Tent
 10×10 Canopy Tent
 10×15 Canopy Tent
 10×20 Canopy Tent
 Canopy Options
 Blank Canopy Top
 Canopy Top
 Canopy Walls
 Canopy Side Skirt
 Blank Canopy
 Blank Canopy Kit
 Inflatable Canopy Tents 10×10
 Inflatable Canopy Tents 13×13
 Inflatable Canopy Tents 16×16
 Inflatable Canopy Tents 20×20
 Inflatable Canopy Tents 23×23
 Inflatable Canopy Tents 26×26
 Inflatable Spider Tents
 Inflatable Dome Tents
 Inflatable Eclipse Tents
 Inflatable Party Tent
 Inflatable Furniture
 Inflatable Pillar
 Single Pole Star Tents
 Double Pole Star Tents
 15FT Inflatable Arches
 20FT Inflatable Arches
 25FT Inflatable Arches
 30FT Inflatable Arches
 40FT Inflatable Arches
 50FT Inflatable Arches
 Custom Constant Arches
 Custom Sealed Arches
 Fitted Table Covers
 Stretch-Fit Table Covers
 Loose Table Throws
 Cross-Over Stretch-Fit Table Cover
 Round Stretch-Fit Table Cover
 Blank Table Throws
 3-Sided Loose Table Throw
 Round Fitted Table Covers
 Table Runners
 Square Table Covers
 Feather Flags
 Blade Flags
 Feather Banner
 Blade Banner
 Teardrop Flags
 Teardrop Banner
 Rectangle Flags
 Rectangle Banner
 Mesh Event Banners
 Pop Out Banner Horizontal
 Pop-Out Banner Vertical
 Trade Show Display
 Trade Show Display Kit
 Pop Up Trade Show Display
 Pop Up Trade Show Display Deluxe Kit
 Pop Up Trade Show Display Kit
 TableTop Displays Kit
 Pop Up Tabletop Display Kit
 Pop Up Tabletop Display
 Tabletop Display
 Straight Trade Show Exhibit Booth
 Banner Stand
 Tent Accessories
 Flag Accessories
 Arch Accessories
 Trade Show Accessories
