


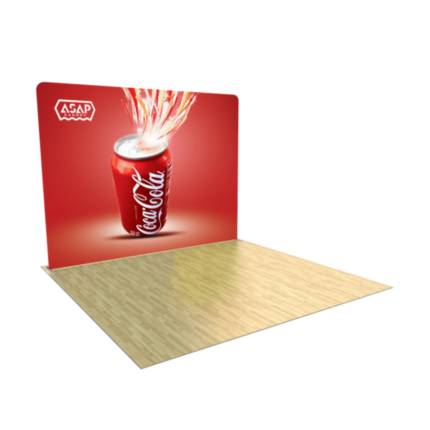


Guide to Setting Up a Fabric Tube Background for Trade Show
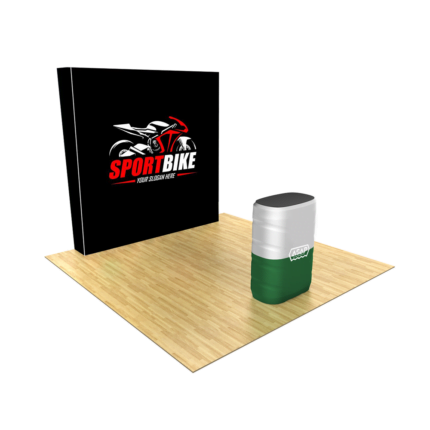
When it comes to trade shows and exhibitions, creating an eye-catching booth can make all the difference. A fabric tube background is an excellent choice for adding visual appeal and professionalism to your trade show stand. In this guide by ASAP Canopy, we’ll walk you through the steps to set up a stunning fabric tube backdrop.
Why Choose a Fabric Tube Background?
Fabric tube backdrops are popular among trade show exhibitors for several reasons:
- Portability: These backdrops are lightweight and easy to transport, making them ideal for trade shows, expos, and other events.
- Quick Assembly: Setting up a fabric tube background is a breeze, saving you time and effort during the busy event setup.
- Customizable: You can fully customize your backdrop with your brand’s graphics, logos, and colors to create a visually appealing display.
- Professional Appearance: A well-designed fabric tube backdrop adds a touch of professionalism to your booth, attracting more visitors.

Setting Up Your Fabric Tube Backdrop: A Comprehensive Step-by-Step Guide
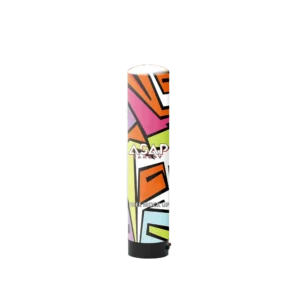
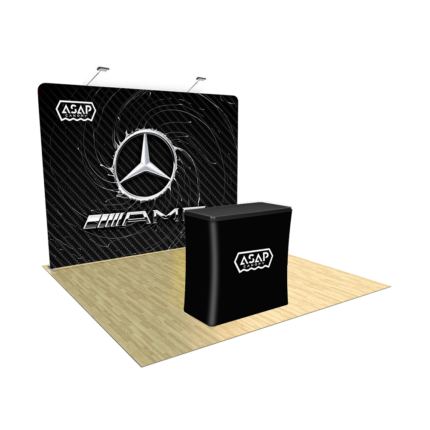
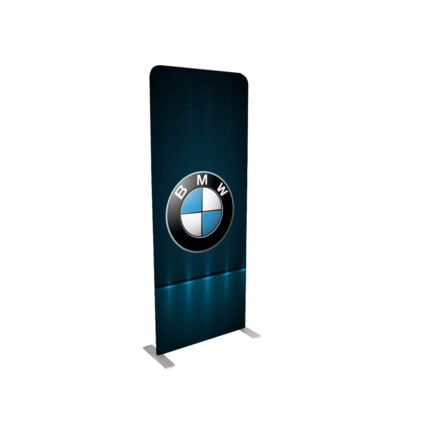
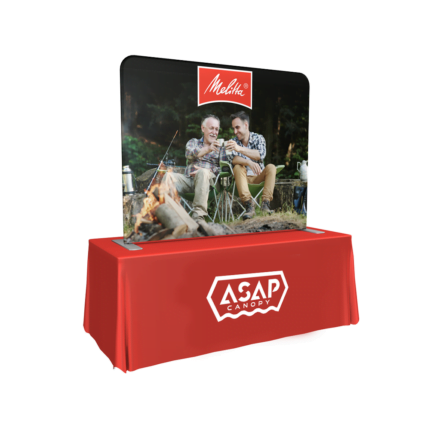
Fabric tube backdrops, also known as tension fabric displays, have become a popular choice for trade shows, conferences, and other events due to their sleek and modern appearance, ease of setup, and portability. These backdrops consist of a collapsible frame and a stretch fabric graphic that slips over the frame like a pillowcase, creating a wrinkle-free, seamless display.
Whether you’re a seasoned exhibitor or new to the trade show circuit, setting up a fabric tube backdrop can be a straightforward process with the right guidance. In this comprehensive guide, we’ll walk you through each step, from unpacking your kit to adding the finishing touches, ensuring a hassle-free setup and a professional, eye-catching display.
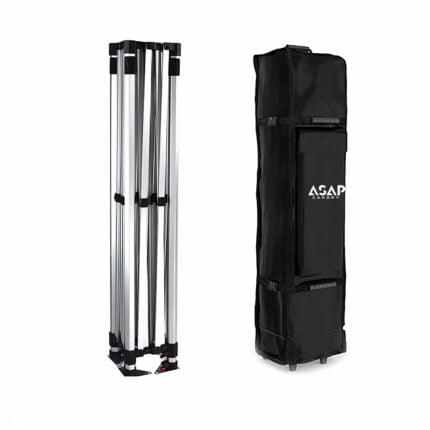
Step 1: Unpack Your Kit Before you begin, it’s essential to have all the necessary components laid out and organized. Your fabric tube backdrop kit should include the following items:
- Fabric graphic
- Collapsible frame
- Frame connectors
- Carrying bag or case
- Setup instructions (if provided)
Carefully remove all the components from the carrying bag or case, and lay them out on a flat, clean surface. This will allow you to identify and inspect each piece, ensuring nothing is missing or damaged before you proceed with the assembly.
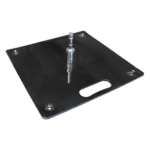
Step 2: Assemble the Frame The frame is the backbone of your fabric tube backdrop, and its proper assembly is crucial for a sturdy and visually appealing display. Follow these steps:
- Locate the frame pieces and connectors. Most frames consist of lightweight aluminum tubes that connect using twist-and-lock or snap-button mechanisms.
- Refer to the manufacturer’s instructions or setup diagram for guidance on assembling the frame in the correct order and orientation.
- Start with the base or bottom section of the frame, connecting the tubes securely using the provided connectors.
- Build upwards, adding the vertical and horizontal support tubes one by one, ensuring they are properly aligned and snapped or twisted into place.
- Double-check that all connections are tight and secure, as a wobbly frame can compromise the overall stability and appearance of your backdrop.
Pro Tip: If you’re setting up in a carpeted area, consider using carpet stabilizers or weights to provide extra stability for your frame.
Step 3: Attach the Fabric Graphic With the frame assembled, it’s time to add the star of the show – your fabric graphic. Follow these steps for a seamless installation:
- Orient the fabric graphic correctly, ensuring the printed side is facing outwards and the zipper or Velcro openings are at the top or bottom, depending on the manufacturer’s instructions.
- Gently stretch the fabric graphic over the top of the assembled frame, like slipping on a pillowcase.
- Work your way down, carefully pulling the fabric taut and evenly distributing it over the frame to avoid wrinkles or bunching.
- Once the fabric is in place, use the provided zipper, Velcro, or other fastening system to secure the graphic to the frame.
Pro Tip: For larger backdrops, consider enlisting the help of a colleague or event staff member to ensure a smooth and even fabric installation.
Step 4: Secure the Graphic After attaching the fabric graphic to the frame, it’s essential to ensure it’s securely fastened and taut for a polished, professional appearance. Follow these steps:
- Locate the zipper, Velcro, or other fastening system along the edges or bottom of the frame.
- Starting from one corner, slowly work your way around the frame, zipping, Velcroing, or fastening the fabric securely to the frame.
- Gently pull and adjust the fabric as needed, eliminating any remaining wrinkles or slack.
- Double-check that the fabric is evenly tensioned and centered on the frame, creating a smooth, wrinkle-free display.
Pro Tip: If you notice any stubborn wrinkles or puckering, carefully lift the fabric and readjust it before refastening.
Step 5: Adjust as Needed Once you’ve secured the fabric graphic to the frame, take a step back and examine your handiwork from different angles. This is the time to make any necessary adjustments to ensure a flawless finish. Here are a few things to look out for:
- Alignment: Ensure the graphic is centered and straight on the frame, with no noticeable skewing or misalignment.
- Tension: Check that the fabric is evenly tensioned across the entire frame, without any sagging or loose areas.
- Wrinkles: Carefully inspect the fabric for any remaining wrinkles or creases, and gently smooth them out by readjusting the fabric as needed.
- Lighting: If possible, turn on any available lighting to check for shadows or hotspots that may reveal any imperfections in the fabric’s appearance.
Pro Tip: Take a few photos of your setup from different angles and distances to get a better perspective on any areas that may need fine-tuning.
Step 6: Stand It Up With your fabric tube backdrop assembled and adjusted to perfection, it’s time to stand it up in your designated trade show booth area. Follow these steps:
- Identify the ideal location for your backdrop, considering foot traffic, lighting, and any potential obstructions or hazards.
- Carefully lift the assembled backdrop and stand it upright, ensuring it’s stable and level on the floor or carpeted surface.
- If necessary, use any provided stabilizers, weights, or feet to secure the frame and prevent it from tipping or shifting during the event.
- Double-check that the fabric graphic is still taut and wrinkle-free after standing the backdrop up.
Pro Tip: If you’re setting up on a hard surface, consider using rubber feet or floor protectors to prevent scratches or damage to the venue’s flooring.
Step 7: Add Lighting While your fabric tube backdrop is designed to be visually impactful on its own, strategic lighting can take your display to the next level. Consider adding the following lighting elements to enhance your booth’s overall aesthetic and draw attention to your backdrop:
- Spotlights: Position spotlights or track lighting to illuminate your backdrop from the front, creating a focal point and highlighting the vibrant colors and graphics.
- Backlighting: Install LED strip lights or other backlighting behind the fabric graphic to create a eye-catching, radiant glow that makes your display pop.
- Accent lighting: Use small LED accent lights or uplights to highlight specific areas of your backdrop or add depth and dimension to your overall booth design.
Pro Tip: Experiment with different lighting angles and intensities to achieve the desired effect, and be mindful of potential glare or hotspots that could detract from your display.
With these steps, you’re well on your way to a successful fabric tube backdrop setup that will leave a lasting impression on your trade show or event attendees. Remember, proper preparation, attention to detail, and a little creativity can go a long way in creating a visually stunning and professional display that effectively showcases your brand or product.
Stand Out at Your Next Trade Show with ASAP Canopy
A fabric tube background is a fantastic addition to your trade show stand, offering versatility, customization, and a professional appearance. Follow this guide to set up your backdrop effortlessly and make a lasting impression on trade show attendees. Explore ASAP Canopy’s range of fabric tube backdrops and other trade show solutions to elevate your booth to the next level.

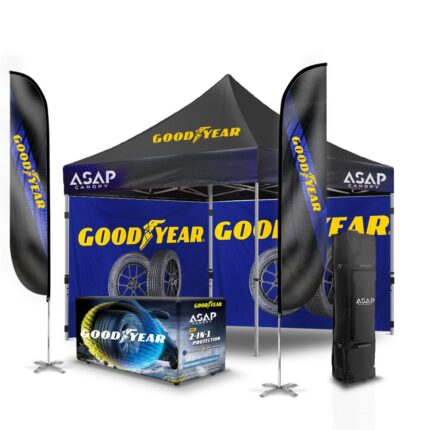

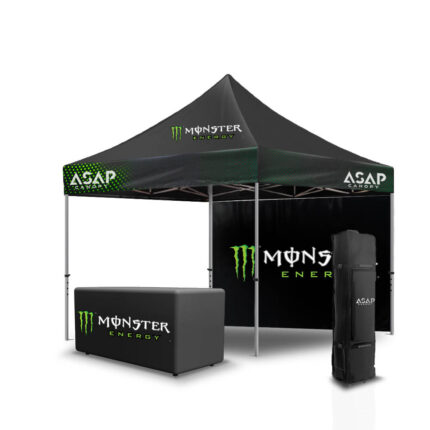

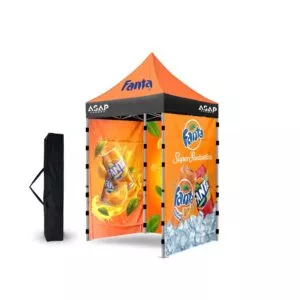
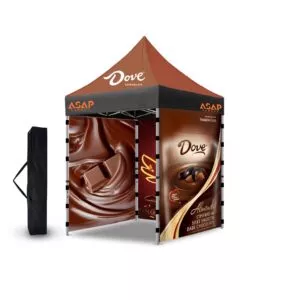
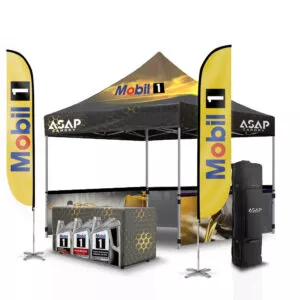
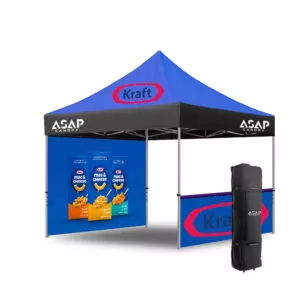
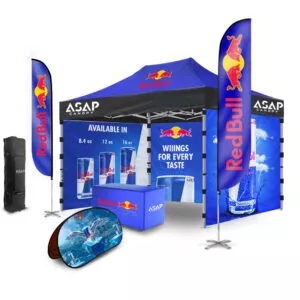
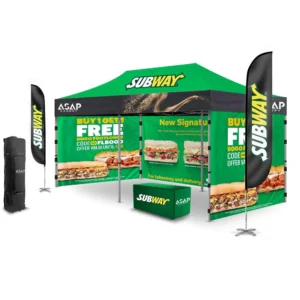
 5×5 Pop Up Tent
 6.5×6.5 Pop Up Tent
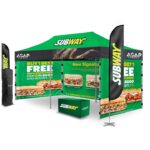 10×20 Canopy Tent
 Canopy Options
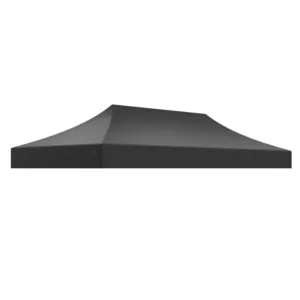
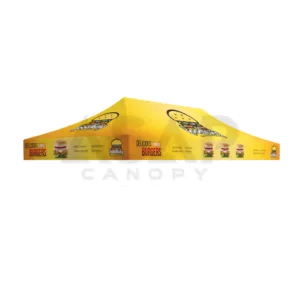
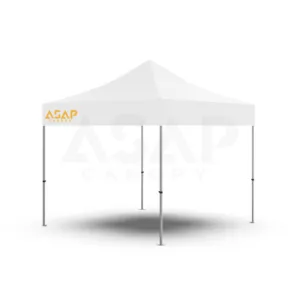
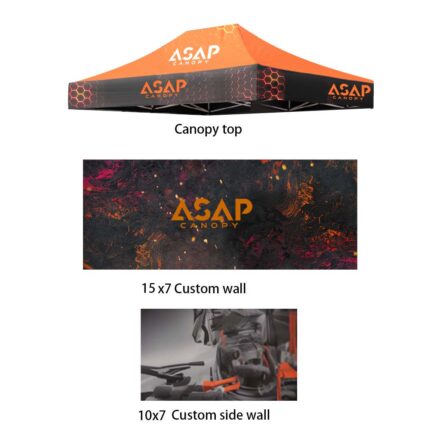
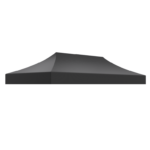 Blank Canopy Top
 Canopy Top
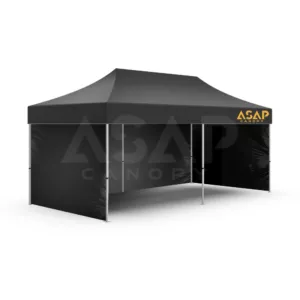
 Canopy Walls
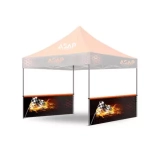 Canopy Side Skirt
 Blank Canopy
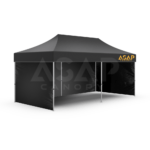 Blank Canopy Kit
 Inflatable Canopy Tents 10×10
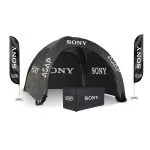 Inflatable Canopy Tents 13×13
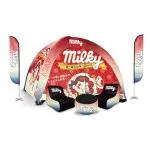 Inflatable Canopy Tents 16×16
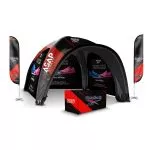 Inflatable Canopy Tents 20×20
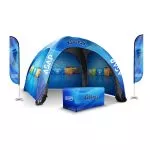 Inflatable Canopy Tents 23×23
 Inflatable Canopy Tents 26×26
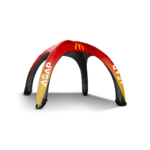 Inflatable Spider Tents
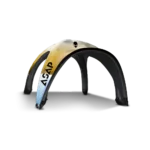 Inflatable Dome Tents
 Inflatable Eclipse Tents
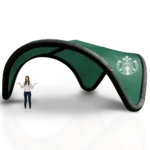 Inflatable Party Tent
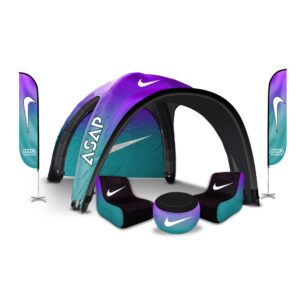
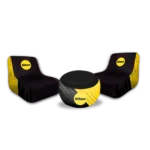 Inflatable Furniture
 Inflatable Pillar
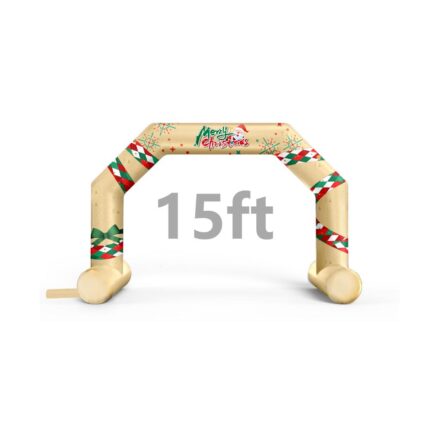
 15FT Inflatable Arches
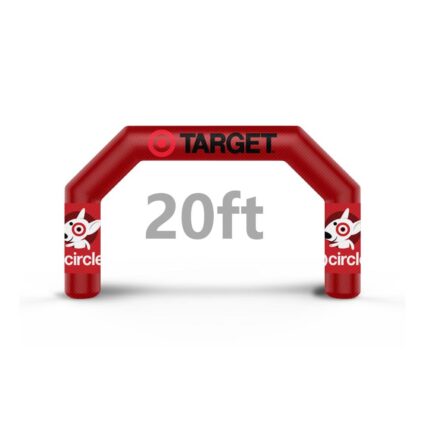
 20FT Inflatable Arches
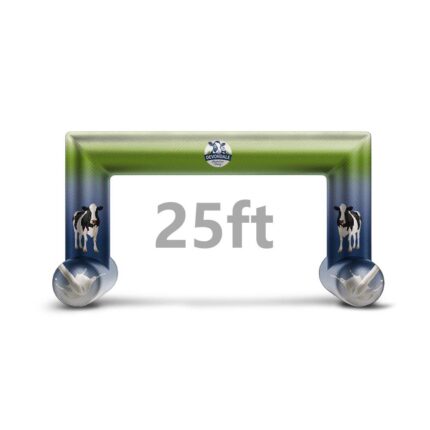
 25FT Inflatable Arches
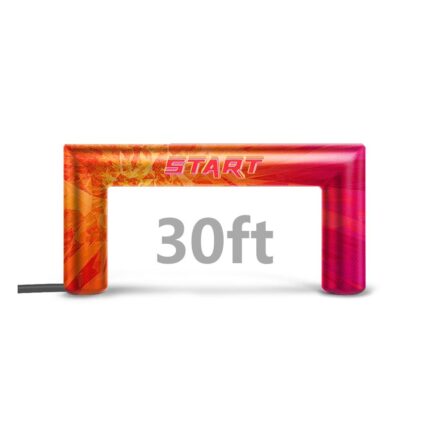
 30FT Inflatable Arches
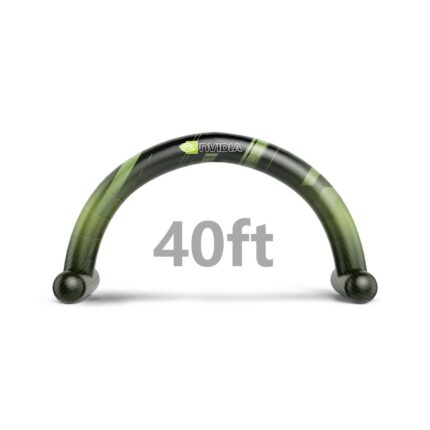
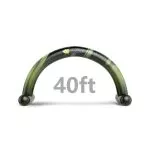 40FT Inflatable Arches
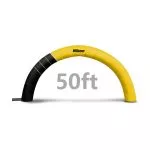 50FT Inflatable Arches
 Custom Constant Arches
 Custom Sealed Arches
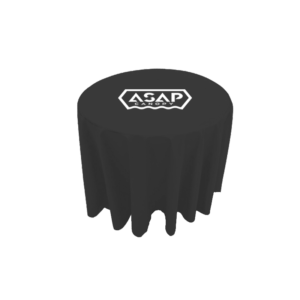
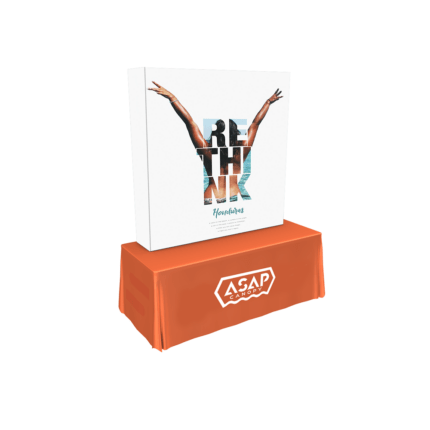
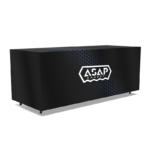 Fitted Table Covers
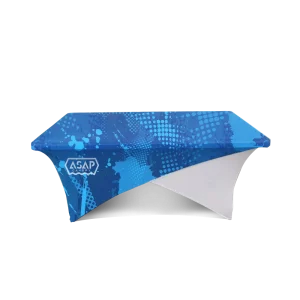
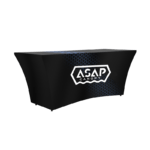 Stretch-Fit Table Covers
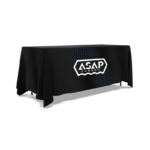 Loose Table Throws
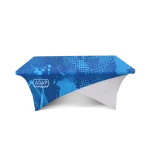 Cross-Over Stretch-Fit Table Cover
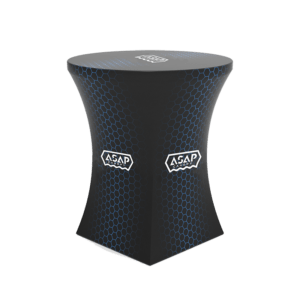
 Round Stretch-Fit Table Cover
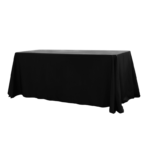 Blank Table Throws
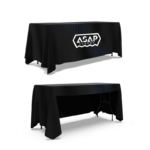 3-Sided Loose Table Throw
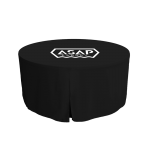 Round Fitted Table Covers
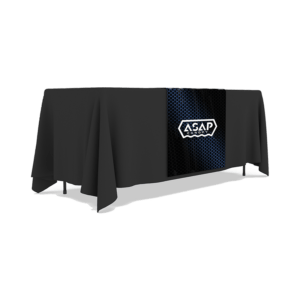
 Table Runners
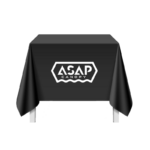 Square Table Covers
 Single Pole Star Tents
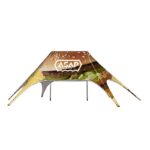 Double Pole Star Tents
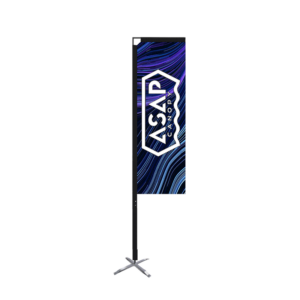
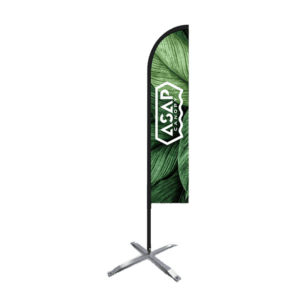
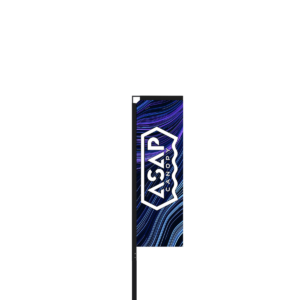
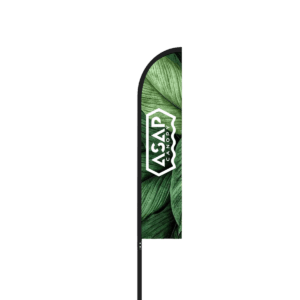
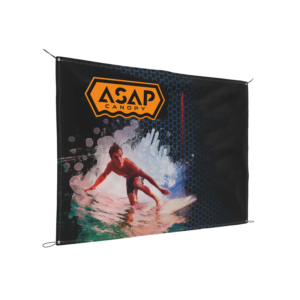
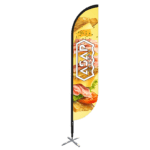 Feather Flags
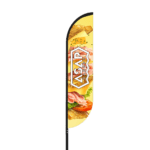 Feather Banner
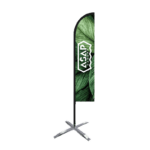 Blade Flags
 Blade Banner
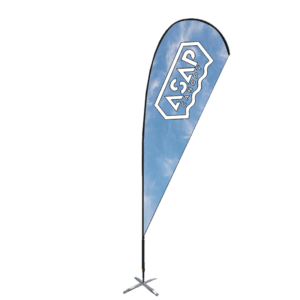
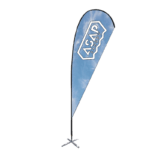 Teardrop Flags
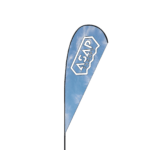 Teardrop Banner
 Rectangle Flags
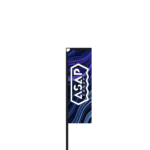 Rectangle Banner
 Mesh Event Banners
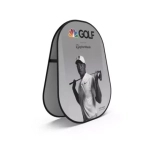 Pop Out Banner Horizontal
 Pop-Out Banner Vertical
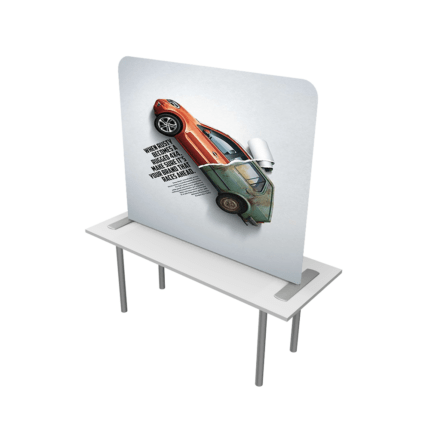
 Trade Show Display
 Trade Show Display Kit
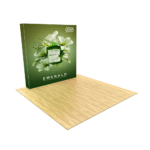 Pop Up Trade Show Display
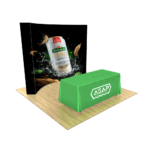 Pop Up Trade Show Display Deluxe Kit
 Pop Up Trade Show Display Kit
 TableTop Displays Kit
 Pop Up Tabletop Display Kit
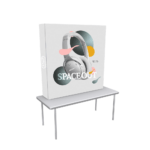 Pop Up Tabletop Display
 Tabletop Display
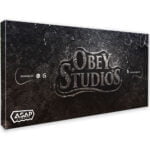 Straight Trade Show Exhibit Booth
 Banner Stand
 Flag Accessories
 Arch Accessories