


What elements are commonly featured in tent logos?
Tent logos often incorporate elements that represent the essence of camping, outdoor adventures, and shelter. Here are some common elements featured in tent logos:
1.Tent Silhouette:
A simple outline or detailed illustration of a tent is a straightforward and recognizable symbol associated with camping and outdoor activities.
2.Nature and Landscape:
Elements such as mountains, trees, rivers, or stars can be included to convey a connection with nature and the outdoors.
3.Sunrise/Sunset:
Depicting a sunrise or sunset can evoke a sense of tranquility and the experience of camping in natural settings.
4.Campfire:
Including a campfire can add a warm and inviting touch to the logo, symbolizing the gathering around the fire during camping trips.
5.Adventure Symbols:
Symbols like backpacks, compasses, binoculars, or hiking boots can convey the spirit of adventure and exploration associated with camping.
6.Tent Poles or Stakes:
Details like tent poles or stakes can be incorporated to emphasize the structure of the tent and reinforce the idea of shelter.
7.Earth Tones:
The use of natural and earthy colors, such as greens, browns, and blues, can create a visual connection to the outdoors.
8.Custom Fonts:
Choosing a font that reflects a rugged or outdoorsy aesthetic can enhance the overall theme of the logo.
9.Camping Gear:
Images of camping gear like sleeping bags, lanterns, or camping chairs can be included to highlight the variety of products or services offered.
10.Geometric Shapes:
Incorporating triangles or other geometric shapes can subtly represent the structure of a tent and add a modern touch to the logo.
11.Water Elements:
For logos associated with water-related camping activities, such as lakeside camping, a lake or water wave motif might be included.
When designing a tent logo, it’s essential to consider the brand identity, target audience, and the specific message the logo should convey. Additionally, a well-designed logo should be versatile and recognizable in various applications, such as signage, websites, and promotional materials.

What types of materials are commonly used for tent frame fittings?
Tent frame fittings are crucial components that connect and secure the various elements of a tent frame. Common materials used for tent frame fittings include:
1.Aluminum:
Lightweight and corrosion-resistant.
Commonly used in high-quality tent frame fittings.
Ideal for backpacking and portable tents.
2.Steel:
Provides strength and durability.
Heavier than aluminum but suitable for heavy-duty or commercial tents.
Resistant to bending or warping.
3.Plastic:
Lightweight and cost-effective.
Used in budget-friendly tents or for non-critical fittings.
May not be as durable as metal options.
4.Nylon:
Lightweight and flexible.
Often used for clips and buckles in tent frame designs.
Can offer good strength and resistance to wear.
5.Composite Materials:
Mixtures of materials like fiberglass or carbon fiber with resin.
Combines strength with lightweight properties.
Used in high-performance or specialty tents.
6.Zinc-Coated Steel:
Steel fittings coated with zinc for corrosion resistance.
Provides added protection against rust.
7.Brass:
Durable and corrosion-resistant.
Used in some specialty or high-end tent fittings.
Adds aesthetic appeal.
8.Anodized Aluminum:
Aluminum treated with anodization for increased corrosion resistance.
Offers a protective layer that enhances durability.
9.Die-Cast Metal Alloys:
Various metal alloys cast into specific shapes.
Combines the strength of metals with precise molding for fittings.
10.Stainless Steel:
Highly resistant to corrosion.
Used in high-performance tents or those exposed to harsh environments.
The choice of material often depends on factors such as the tent’s intended use, weight considerations, budget, and desired durability. High-quality tents may utilize a combination of these materials to optimize strength, weight, and performance.

Are there any specific maintenance or care instructions for prolonging the lifespan of a tent for a 10×10 canopy?
Yes, taking proper care of your tent for a 10×10 canopy is crucial for prolonging its lifespan. Here are some general maintenance and care instructions:
1.Cleaning:
Regularly clean your tent to remove dirt, debris, and any potential mold or mildew. Use a soft brush or sponge, mild soap, and lukewarm water. Never use harsh chemicals or machine washing, as it can damage the tent’s fabric and coatings.
2.Drying:
Always ensure your tent is completely dry before storing it. Set it up in a well-ventilated area to air-dry, avoiding direct sunlight if possible. Moisture can lead to mold and mildew growth, affecting both the fabric and the tent’s structural components.
3.Storage:
Store your tent in a cool, dry place. Avoid long-term exposure to sunlight, as UV rays can degrade the fabric over time. Fold the tent loosely to prevent creases and stress on seams, and store it in a breathable bag to prevent mildew.
4.Seam Sealing:
Check the seams regularly for any signs of wear or leakage. If necessary, reapply seam sealer to maintain waterproofing. Seam sealers come in various forms, including liquid and tape, and are available at outdoor gear stores.
5.Zippers:
Keep zippers clean and lubricated to prevent them from sticking or becoming damaged. Apply a silicone-based zipper lubricant to keep them functioning smoothly.
6.Ground Protection:
Use a ground tarp or footprint under your tent to protect the tent floor from abrasions and punctures. This additional layer can significantly extend the lifespan of the tent floor.
7.Pole Care:
Inspect tent poles for any signs of damage, such as bent or broken sections. Clean them with a damp cloth if needed, and make sure they are completely dry before storage.
8.Ventilation:
Allow for proper ventilation when using the tent. This helps prevent condensation inside the tent, which can lead to mold and mildew. Utilize windows, vents, and doors to enhance airflow.
9.Repairs:
Promptly address any tears, holes, or damage to the tent fabric. Most tents come with repair kits that include patches and adhesive. Follow the manufacturer’s instructions for proper repairs.
10.Follow Manufacturer’s Guidelines:
Always refer to the specific care and maintenance instructions provided by the tent’s manufacturer. Different tents may have unique features or requirements, so following these guidelines ensures optimal performance and longevity.

Are there any specific considerations for replacement bags when it comes to storing the tent for an extended period?
There are specific considerations for storing a tent in a replacement bag for an extended period. Here are some important factors to keep in mind:
1.Clean and Dry:
Before storing the tent in the replacement bag, make sure it is completely clean and dry. Remove any dirt, debris, or moisture to prevent mold and mildew growth during storage.
2.Ventilation:
Ensure that the replacement bag provides adequate ventilation. If the tent is stored in a damp environment, ventilation helps prevent condensation and maintains a dry environment inside the bag.
3.Loose Storage:
Avoid compressing the tent too tightly within the replacement bag. Folding it loosely or rolling it can help prevent creases and stress on seams. Overcompression can lead to fabric damage and affect the tent’s overall performance.
4.Avoid Sunlight Exposure:
Store the replacement bag in a cool, dark place away from direct sunlight. Prolonged exposure to UV rays can degrade the fabric over time and reduce its durability.
5.Protect Zippers:
Ensure that zippers are not under tension when stored. Consider leaving them partially open to relieve stress on the zipper components. Lubricate the zippers before storage to prevent them from sticking.
6.Store in a Dry Location:
Choose a storage location that is dry and free from extreme temperature fluctuations. Avoid basements or attics that may be prone to dampness or temperature extremes.
7.Elevate Off the Ground:
If possible, store the replacement bag off the ground. This precaution helps prevent moisture absorption from the floor and reduces the risk of damage to the tent fabric.
8.Check for Pests:
Before storing, inspect the replacement bag and tent for any signs of pests or insects. Use appropriate measures to ensure that the tent remains free from damage caused by pests during storage.
9.Regular Inspection:
Periodically check on the stored tent. Ensure that it remains in good condition, and address any issues promptly to prevent minor problems from escalating.
10.Follow Manufacturer’s Guidelines:
Always refer to the manufacturer’s guidelines for storing the tent in the replacement bag. Different tents and replacement bags may have specific recommendations for optimal storage conditions, and following these guidelines ensures the tent’s longevity and performance.

What are the key features of a collapsible tent, and how does it differ from traditional tents?
Collapsible tents, often referred to as pop-up tents or instant tents, have distinct features that set them apart from traditional tents. Here are the key features of a collapsible tent and how it differs from traditional tents:
1.Quick Setup:
One of the primary features is the quick and easy setup. Collapsible tents are designed to be assembled rapidly, usually requiring minimal effort compared to the more time-consuming process of setting up traditional tents with separate poles.
2.Pop-Up Mechanism:
Collapsible tents often incorporate a pop-up mechanism. This allows the tent to automatically take shape when removed from its storage bag, eliminating the need for manual assembly of poles and extensive setup steps.
3.Integrated Poles:
Collapsible tents typically have integrated or pre-attached poles. These poles are usually connected with a flexible structure that allows them to spring into place when the tent is unfolded.
4.Single-Person Setup:
Due to their design, collapsible tents can often be set up by a single person, making them convenient for solo campers or those who prefer a hassle-free setup process.
5.Compact and Lightweight:
Collapsible tents are known for their compact and lightweight design, making them easy to transport. They are suitable for activities such as backpacking, hiking, or any situation where portability is a key consideration.
6.Instant Teardown:
Similarly, collapsing or disassembling the tent is typically a quick and straightforward process. This is in contrast to traditional tents that may require careful disassembly of poles and a more methodical approach.
7.Limited Customization:
Collapsible tents may have limited customization options compared to traditional tents, as their design is focused on simplicity and speed of setup. This may mean fewer add-ons or features compared to more elaborate traditional tents.
8.Ventilation and Weather Resistance:
While collapsible tents vary in design, some may have mesh panels for ventilation and protection against insects. However, they may offer less weather resistance and durability compared to certain traditional tents designed for specific conditions.
9.Size and Shape:
Collapsible tents are often available in various sizes, from small one-person tents to larger family-sized options. Their shape may be influenced by the pop-up design, resulting in a dome or cabin-style structure.
10.Convenience:
The key advantage of collapsible tents is their convenience. They are ideal for campers who prioritize quick and easy setup without sacrificing too much on comfort. However, they may not offer the same level of customization or weather resistance as some traditional tents.
What are the key features to consider when selecting a tent canopy 10×20 for outdoor events?
When selecting a tent canopy for outdoor events, especially a 10×20 size, it’s important to consider various features to ensure it meets your specific needs. Here are key features to take into account:
1.Size and Capacity:
Ensure the 10×20 dimensions meet your space requirements.
Consider the number of people or activities you plan to accommodate under the canopy.
2.Frame Material and Design:
Check the frame material for durability. Common materials include steel and aluminum.
Consider the frame design (e.g., straight leg or slant leg) and its impact on stability and coverage.
3.Canopy Material:
Look for high-quality, weather-resistant canopy material (polyester or vinyl).
Consider the denier (fabric thickness) for durability, and check if it offers UV protection.
4.Water Resistance:
Ensure the canopy material is water-resistant or waterproof to provide protection during rain showers.
Check the seams and stitching for water-sealing features.
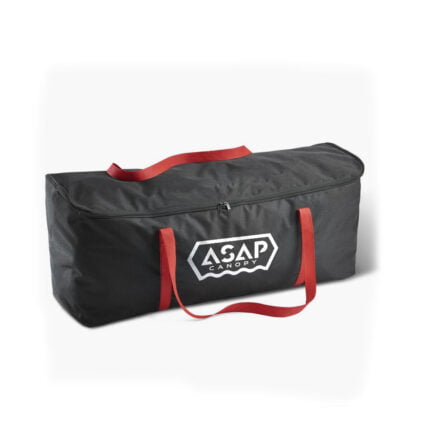
5.Portability and Storage:
Evaluate the weight and portability of the tent for ease of transportation.
Check if the tent comes with a carry bag for convenient storage and transport.
6.Ease of Setup:
Look for features like a pop-up or instant setup design for quick and easy installation.
Check if the tent comes with clear setup instructions or if it requires additional tools.
7.Stability and Anchoring:
Consider the tent’s stability in various weather conditions.
Check for anchoring options such as stakes, weights, or sandbags to secure the tent.
8.Ventilation:
Assess the canopy’s ventilation features, such as mesh panels, to improve airflow inside the tent.
Ventilation helps reduce condensation, especially during warmer weather.
9.Sidewalls and Accessories:
Check if the tent offers sidewalls for additional protection from wind, rain, or sunlight.
Explore available accessories like storage pockets, lighting options, or branding capabilities.
10.Brand Reputation and Reviews:
Research and consider the reputation of the brand or manufacturer.
Read user reviews to gain insights into the experiences of others who have used the specific tent model.
11.Warranty and Customer Support:
Check the warranty provided by the manufacturer to ensure coverage for potential issues.
Assess the availability and responsiveness of customer support in case assistance is needed.
By carefully considering these features, you can choose a 10×20 tent canopy that not only meets your immediate requirements but also provides reliable and durable shelter for your outdoor events.
How many people can comfortably fit inside a 13×13 tent, and what is the recommended use for this size of tent?
The number of people that can comfortably fit inside a 13×13 tent depends on the specific design and layout of the tent, as well as the intended use. Here are some general considerations:
1.Family Camping:
For family camping trips, a 13×13 tent can typically accommodate around 4 to 6 people, depending on the sleeping arrangements and the amount of gear stored inside.
2.Group Camping:
If used for group camping with minimal gear, a 13×13 tent may comfortably fit 6 to 8 people. However, it’s important to consider the available floor space and the need for personal space.
3.Events and Festivals:
For events, festivals, or outdoor gatherings, a 13×13 tent can provide shelter for a smaller group of people, such as around 10 to 15 individuals, depending on the tent’s design and purpose.
4.Tailgating or Outdoor Activities:
When used for tailgating or outdoor activities, a 13×13 tent can comfortably accommodate a group of people for socializing, providing shade, or shelter from light rain.
5.Vendor Booth or Market Stall:
Some 13×13 tents are designed for commercial use, such as vendor booths at fairs or market stalls. These tents can provide ample space for product displays and interaction with customers.
It’s important to note that these estimates are general guidelines, and the actual capacity may vary based on factors such as the tent’s interior layout, the inclusion of dividers, and the specific needs of the users. Additionally, consider the comfort level desired by the occupants, as more space allows for a more relaxed and comfortable experience.
Always refer to the manufacturer’s specifications and recommendations for the tent in question, as they often provide guidance on the intended use and maximum capacity. Keep in mind that while a tent may technically fit a certain number of people, users may prefer more space for a more comfortable camping or outdoor experience.
What features should be considered when selecting a team tent for sporting events or outdoor activities?
When selecting a team tent for sporting events or outdoor activities, various features should be considered to ensure it meets the specific needs of the team and provides a comfortable and functional space. Here are important features to consider:
1.Size and Capacity:
Determine the size of the team tent based on the number of team members and the equipment that needs to be accommodated. Consider the space required for team meetings and activities.
2.Ease of Setup:
Look for a team tent that is easy to set up, preferably with a simple and quick assembly process. Pop-up or instant setup tents can be convenient for rapid deployment.
3.Durability and Materials:
Choose a team tent made from durable materials that can withstand various weather conditions. High-denier polyester or reinforced PVC materials are commonly used for durability.
4.Frame Construction:
Consider the frame construction material, such as steel or aluminum, for stability and durability. Look for a sturdy frame that can withstand wind and other elements.
5.Portability:
Opt for a team tent that is portable and easy to transport. Check the weight, and consider whether the tent comes with a carrying bag for convenient storage and transportation.
6.Customization Options:
Check if the team tent can be customized with team logos, colors, or other branding elements. This can enhance team spirit and visibility during events.
7.Ventilation:
Ensure the team tent provides adequate ventilation. Look for tents with windows, mesh panels, or vents to allow air circulation, especially during warm weather.
8.Sidewalls and Privacy:
Evaluate whether the team tent comes with sidewalls for additional privacy or protection from the elements. Some tents may have detachable or roll-up sidewalls for flexibility.
9.Accessories Compatibility:
Consider if the team tent is compatible with additional accessories such as tables, chairs, or storage solutions. This enhances the overall functionality of the tent for team activities.
10.Visibility and Branding:
Choose a team tent with high visibility features, such as bright colors or reflective elements. Ensure that it provides a prominent space for team branding.
11.Weather Resistance:
Check the team tent’s weather resistance features, including waterproof coatings, taped seams, and reinforced zippers. This ensures protection during rain or inclement weather.
12.Stability and Anchoring:
Look for features that enhance stability, such as ground stakes, guy lines, or sandbags. These help secure the tent in different terrains and weather conditions.
13.Warranty and Customer Reviews:
Check the manufacturer’s warranty for the team tent to ensure product support. Additionally, read customer reviews to gain insights into real-world experiences with the tent.
Considering these features will help you choose a team tent that not only meets the immediate needs of the team but also provides a durable and comfortable space for various outdoor activities and events.
Can team tents be used in both outdoor and indoor settings, and are there any considerations for different environments?
Team tents are primarily designed for outdoor use, providing shelter and a gathering space for teams during various outdoor events, sports activities, or competitions. While they are not typically designed for indoor use, they can still be used in certain indoor settings with some considerations. Here are key points to consider:
1.Outdoor Use:
Weather Resistance: Team tents are designed with materials and features to withstand outdoor elements such as sun, rain, and wind. Look for weather-resistant materials, waterproof coatings, and proper ventilation for outdoor use.
Stability: Outdoor team tents often come with anchoring options such as stakes or sandbags to secure them to the ground. This helps ensure stability in different outdoor environments.
Visibility: Team tents used outdoors may have features like bright colors, team logos, or branding elements for high visibility during outdoor events.
Ventilation: Adequate ventilation features, such as windows or mesh panels, are crucial for maintaining airflow and comfort during outdoor use.
2.Considerations for Indoor Use:
Ceiling Height: Ensure that the ceiling height of the indoor space can accommodate the height of the team tent. Check for any obstructions, such as low-hanging fixtures, that may limit the use of the tent indoors.
Ventilation: While ventilation may not be as critical indoors, it’s essential to ensure that the indoor space has adequate airflow to prevent the tent from feeling stuffy.
Floor Protection: Indoor surfaces may be different from outdoor terrain. Consider using a protective layer, such as a tarp or flooring, to prevent damage to the tent floor and enhance stability.
Entrance and Exit: Check that there is a suitable entrance and exit strategy for the tent, especially if it’s placed in a confined indoor space.
Permission and Regulations: Confirm that using a team tent indoors complies with the rules and regulations of the indoor venue. Seek permission from venue authorities if necessary.
Customization: Indoor venues may have specific rules regarding branding and customization. Confirm whether team logos or branding on the tent comply with indoor venue regulations.
While team tents are designed for outdoor use, they can be adapted for certain indoor settings, such as gymnasiums or indoor sports facilities. It’s crucial to assess the specific indoor environment, consider logistical aspects, and ensure that the use of the tent aligns with the rules and guidelines of the indoor venue. Always follow the manufacturer’s guidelines and recommendations for the specific team tent model in question.
How does the frame construction of team pop-up tents impact their overall stability and durability?
The frame construction of team pop-up tents plays a crucial role in determining their overall stability and durability. Here are several factors to consider:
1.Material:
Steel Frames: Steel frames are known for their strength and durability. Tents with steel frames can withstand more substantial wind loads and provide robust support.
Aluminum Frames: Aluminum frames are lighter than steel but still offer good strength. They are resistant to rust, making them suitable for prolonged outdoor use.
2.Frame Design:
Straight Leg vs. Slant Leg: Straight leg frames provide a more spacious interior and better stability, while slant leg frames offer a more compact design and are suitable for certain space constraints.
3.Joint Connections:
The way joints are constructed and connected can impact the overall stability. Look for tents with reinforced and sturdy joint connections, such as welded joints or robust plastic connectors.
4.Frame Thickness:
A thicker frame is generally more durable and stable. Consider the gauge or thickness of the metal used in the frame construction, as it directly affects its strength.
5.Telescoping Legs:
Adjustable or telescoping legs allow for better customization of tent height and adaptability to different terrains, enhancing stability on uneven surfaces.
6.Cross-Bracing:
Tents with cross-bracing, additional supports between the legs or the frame, provide added stability, especially in windy conditions. This feature reinforces the structure.
7.Powder-Coating:
Powder-coating on the frame helps protect it from rust and corrosion, contributing to the durability of the frame over time, especially in outdoor settings.
8.Ease of Setup:
The design of the frame, including the pop-up mechanism, influences how quickly and easily the tent can be set up. Look for user-friendly features that streamline the assembly process.
9.Weight:
While a heavier frame may contribute to stability, it can impact portability. Consider the balance between weight and stability based on your specific needs for transportation and use.
10.Overall Build Quality:
The overall build quality, including the attention to detail in the frame construction, contributes to the durability of the pop-up tent. Check for quality craftsmanship and materials.
11.Manufacturer’s Specifications:
Always refer to the manufacturer’s specifications and guidelines for the tent. This includes recommended usage, weight capacities, and any specific instructions for frame maintenance.
A well-constructed frame enhances the stability and durability of a team pop-up tent, ensuring it can withstand various weather conditions and provide a reliable shelter for team activities. When choosing a pop-up tent, carefully evaluate these frame-related factors to select a tent that meets the specific needs of your team.


Custom Canopy Tent 10×20 | Collapsible Canopy Tent

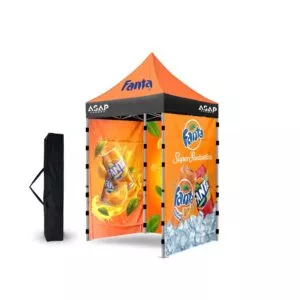
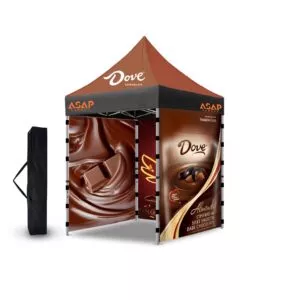
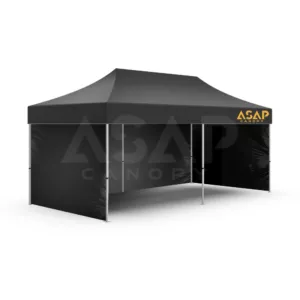
Custom Tents With Logo | 10×20 Canopy Tent With Sidewalls


Custom Heavy Duty 10×20 Portable Tents For Events


10x20ft Canopy Tent With Company Logo

 5×5 Pop Up Tent
 6.5×6.5 Pop Up Tent
 10×10 Canopy Tent
 10×15 Canopy Tent
 10×20 Canopy Tent
 Canopy Options
 Blank Canopy Top
 Canopy Top
 Canopy Walls
 Canopy Side Skirt
 Blank Canopy
 Blank Canopy Kit
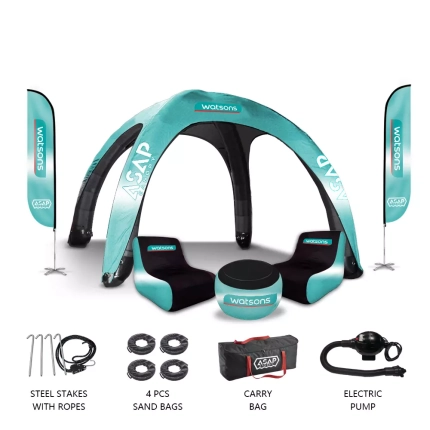
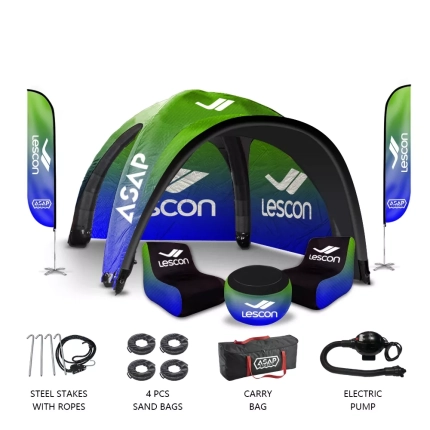
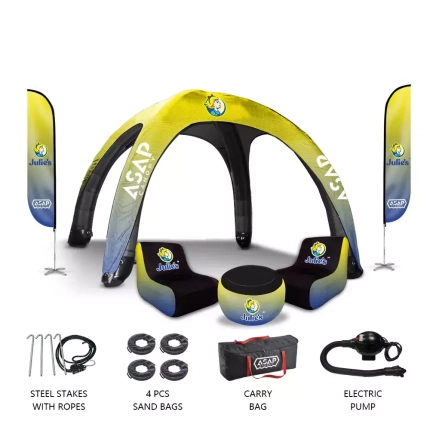
 Inflatable Canopy Tents 10×10
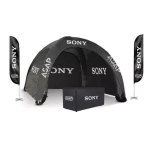 Inflatable Canopy Tents 13×13
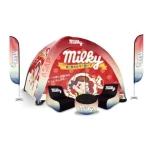 Inflatable Canopy Tents 16×16
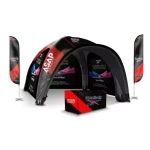 Inflatable Canopy Tents 20×20
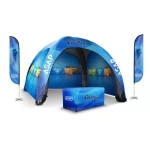 Inflatable Canopy Tents 23×23
 Inflatable Canopy Tents 26×26
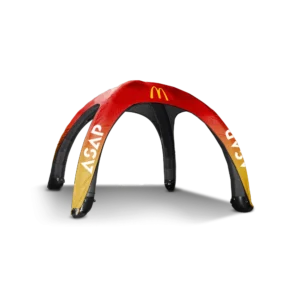
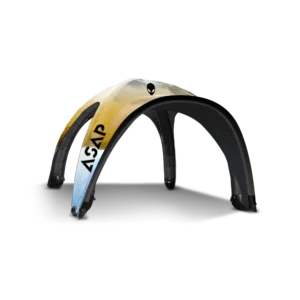
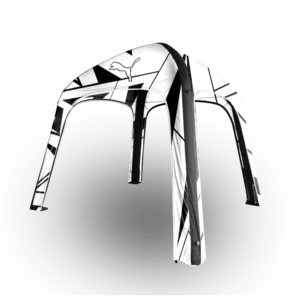
 Inflatable Spider Tents
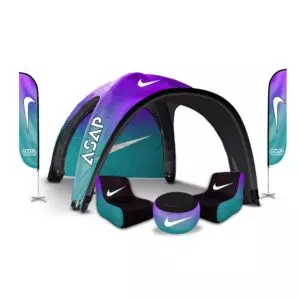
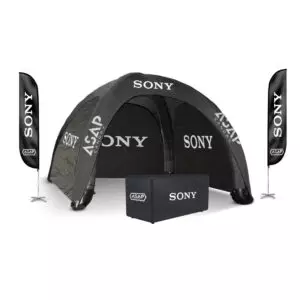
 Inflatable Dome Tents
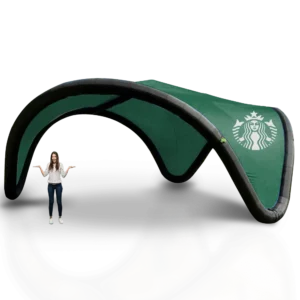
 Inflatable Eclipse Tents
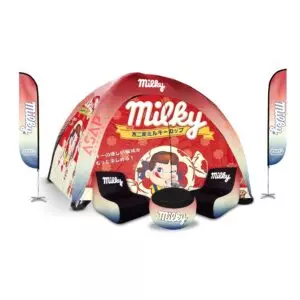
 Inflatable Party Tent
 Inflatable Furniture
 Inflatable Pillar
 Single Pole Star Tents
 Double Pole Star Tents
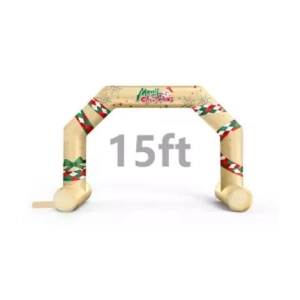
 15FT Inflatable Arches
 20FT Inflatable Arches
 25FT Inflatable Arches
 30FT Inflatable Arches
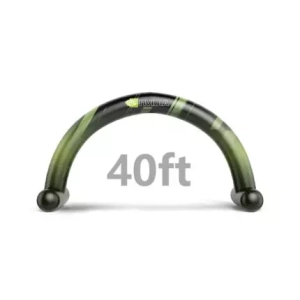
 40FT Inflatable Arches
 50FT Inflatable Arches
 Custom Constant Arches
 Custom Sealed Arches
 Fitted Table Covers
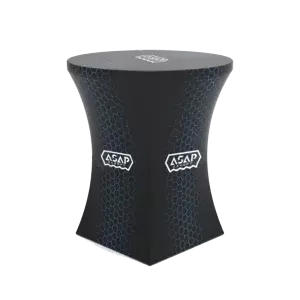
 Stretch-Fit Table Covers
 Loose Table Throws
 Cross-Over Stretch-Fit Table Cover
 Round Stretch-Fit Table Cover
 Blank Table Throws
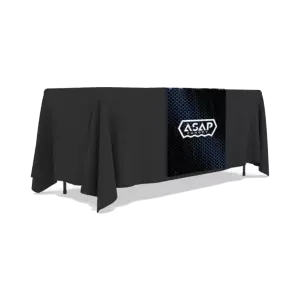
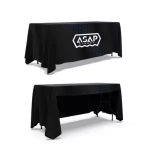 3-Sided Loose Table Throw
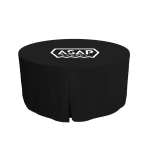 Round Fitted Table Covers
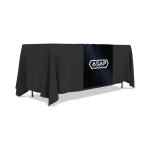 Table Runners
 Square Table Covers
 Feather Flags
 Blade Flags
 Feather Banner
 Blade Banner
 Teardrop Flags
 Teardrop Banner
 Rectangle Flags
 Rectangle Banner
 Mesh Event Banners
 Pop Out Banner Horizontal
 Pop-Out Banner Vertical
 Trade Show Display
 Trade Show Display Kit
 Pop Up Trade Show Display
 Pop Up Trade Show Display Deluxe Kit
 Pop Up Trade Show Display Kit
 TableTop Displays Kit
 Pop Up Tabletop Display Kit
 Pop Up Tabletop Display
 Tabletop Display
 Straight Trade Show Exhibit Booth
 Banner Stand
 Tent Accessories
 Flag Accessories
 Arch Accessories
 Trade Show Accessories
