


You may think that pop-up canopy tents, being temporary-use and lightweight tools, are also not very durable. But with ASAP CANOPY, rest assured that you would get tough and long-lasting pop-up tents.The polyester fabric we use, along with the main material for poles, is only obtained from the best suppliers in the market and quality-controlled to perfection by our experts.
Mastering the Art of 10×20 Party Tent Assembly Instructions
Setting up a 10×20 party tent can seem daunting at first, but with the right Tent Assembly Instructions and a bit of practice, it can become a seamless process. Whether you’re planning a backyard celebration, a wedding reception, or a corporate event, knowing how to properly assemble your tent is crucial for a successful gathering. Let’s dive into the step-by-step process of erecting your 10×20 party tent, ensuring you’re well-prepared for your next outdoor event.
Preparation: The Key to Smooth Assembly
Before you begin the actual assembly process, proper preparation is essential. This stage sets the foundation for a stress-free setup experience.
Choosing the Right Location
The first step in your tent assembly journey is selecting the perfect spot. Consider these factors:
Flat ground: Look for a level area to ensure stability.
Overhead clearance: Check for tree branches or power lines that might interfere.
Underground hazards: Be aware of sprinkler systems or utility lines.
Sun exposure: Consider the sun’s path if you’re looking to provide shade.
Accessibility: Ensure the location is convenient for guests and supplies.
Gathering Your Materials
Before you start, make sure you have all the necessary components:
Tent canopy
Frame pieces (typically labeled or color-coded)
Stakes
Guy ropes
Hammer or mallet
Tarp (optional, for ground protection)
Assembly instructions (specific to your tent model)
Work gloves (to protect your hands)
Having everything laid out and organized will save you time and frustration during the assembly process.
Step-by-Step 10×20 Party Tent Assembly Instructions
Now that you’re prepared, let’s walk through the assembly process in detail.
Step 1: Lay Out the Ground Cover
While not always necessary, using a tarp as a ground cover can protect your tent’s floor and provide an extra barrier against moisture. Here’s how to do it right:
Unfold the tarp in your chosen location.
Trim or fold the tarp so it’s slightly smaller than your tent’s footprint.
Ensure no edges stick out beyond the tent perimeter to prevent water collection.
Step 2: Unpack and Organize Tent Components
Carefully unpack your tent and lay out all components:
Spread the tent canopy flat on the ground cover.
Arrange frame pieces nearby, grouping similar parts together.
Place stakes, guy ropes, and any tools within easy reach.
Review the assembly instructions to familiarize yourself with the specific setup process for your model.
Step 3: Assemble the Tent Frame
Most 10×20 party tents use a similar frame structure:
Start with the roof frame:
Connect the roof peak connectors to create the central spine.
Attach side trusses to form the roof skeleton.
Add vertical legs:
Begin at one corner and work your way around.
Secure each leg to the roof frame using the provided pins or locking mechanisms.
Raise the frame:
With a partner, carefully lift the frame to its full height.
Lock all legs into their extended position.
Step 4: Attach the Canopy
With the frame erect, it’s time to add the canopy:
Drape the canopy over the frame, ensuring it’s centered.
Secure the canopy to the frame:
Use Velcro straps or ties at the corners and along the edges.
Work from the center outward to ensure even tension.
Attach any sidewalls or mosquito netting if included with your tent.
Step 5: Secure the Tent
Anchoring your tent is crucial for stability and safety:
Drive stakes through the base plates of each leg:
Use a hammer or mallet, angling stakes slightly outward for better hold.
Ensure stakes are fully embedded in the ground.
Attach and tighten guy ropes:
Connect ropes to the upper corners of the tent frame.
Extend ropes at a 45-degree angle from the tent.
Secure the other end of each rope with a stake, adjusting tension as needed.
Step 6: Final Adjustments
With the tent fully assembled, make these final tweaks:
Check and adjust the tension of the canopy.
Ensure all legs are perpendicular to the ground.
Verify that guy ropes are taut but not overstretched.
Double-check all connections and locking mechanisms.
Tips for a Successful 10×20 Party Tent Assembly
To make your tent assembly even smoother, consider these additional tips:
Practice at home: Set up your tent before the event day to familiarize yourself with the process.
Recruit help: Having at least one other person makes assembly much easier and safer.
Use proper lifting techniques: Bend at the knees and lift with your legs to avoid strain.
Be mindful of weather: Avoid setting up in high winds or heavy rain if possible.
Keep tools handy: Have a multi-tool or small toolkit nearby for any unexpected needs.
Label your components: If your tent doesn’t come with labeled parts, create your own system for easy identification in the future.
Maintenance and Care for Your 10×20 Party Tent
Proper care will extend the life of your tent and ensure it’s always ready for your next event.
After-Event Care
Clean the canopy: Brush off dirt and rinse with mild soap if necessary.
Dry thoroughly: Never pack away a damp tent to prevent mold and mildew.
Inspect for damage: Check for tears, loose seams, or bent frame pieces.
Make repairs promptly: Address any issues before storing the tent.
Storage Best Practices
Store in a cool, dry place: Avoid damp basements or hot attics.
Use the original bag or container if possible.
Avoid storing heavy items on top of the tent.
Keep frame pieces lightly lubricated to prevent rust.
Troubleshooting Common Issues
Even with careful assembly, you might encounter some challenges. Here’s how to address them:
Uneven ground: Use wooden boards under legs to level the tent.
Tight canopy fit: Leave the canopy in the sun briefly to allow the material to warm and stretch slightly.
Loose guy ropes: Regularly check and adjust tension, especially in changing weather conditions.
Leaks: Apply seam sealer to any problem areas to enhance water resistance.
Safety Considerations
While 10×20 party tents are generally safe, keep these points in mind:
Be aware of wind conditions: Take down the tent if high winds are expected.
Avoid open flames: Keep heat sources away from the tent material.
Clear the area: Ensure there are no tripping hazards around guy ropes and stakes.
Have an evacuation plan: In case of severe weather, know how to quickly and safely exit the tent.
Conclusion: Enjoying Your Perfectly Assembled 10×20 Party Tent
With these comprehensive instructions and tips, you’re now well-equipped to assemble your 10×20 party tent with confidence. Remember, practice makes perfect, and each time you set up your tent, you’ll become more efficient and skilled at the process. A well-assembled tent not only provides a functional space for your event but also adds to the overall ambiance and enjoyment of your guests.
As you become more comfortable with the assembly process, you might even find yourself looking for more opportunities to use your tent, expanding your event-hosting capabilities. Whether it’s a family reunion, a graduation party, or a community gathering, your 10×20 party tent will be the perfect shelter for creating lasting memories.
For more information on tent assembly and maintenance, as well as innovative tent designs, check out the ASAP CANOPY YouTube channel. Happy tent assembling, and may your next event be a resounding success under your perfectly pitched 10×20 party tent!
Purchase Entry: http://asapcanopy.com/category-canopies/
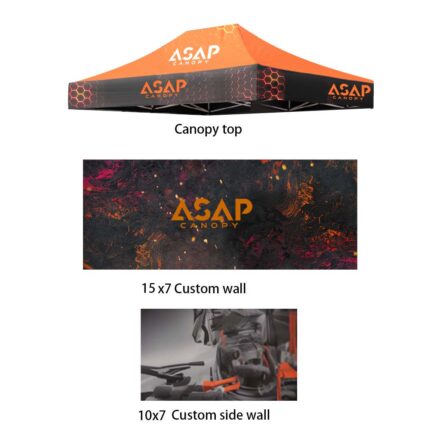
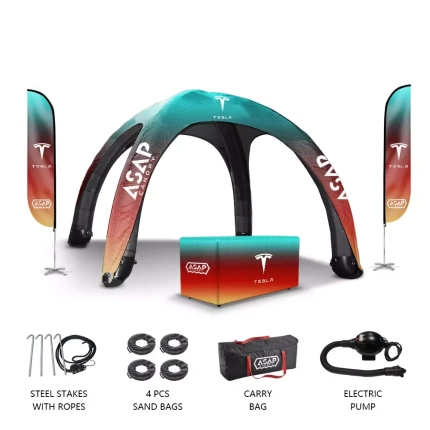
WHATS IN THE KIT:
10′ x 20′ Deluxe – 40mm Hexagonal Aluminium Canopy Frame
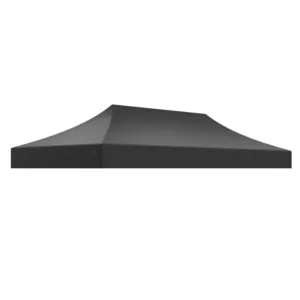
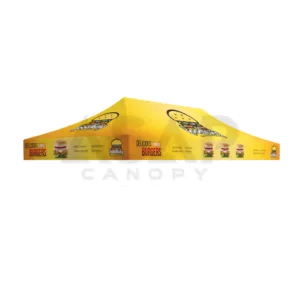
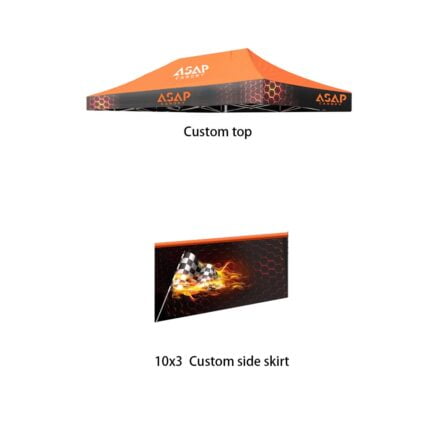
10′ x 20′ Dye Sublimated Print Canopy Top
4pcs 10′ x 3′ Dye Sublimated Print Canopy side skirts
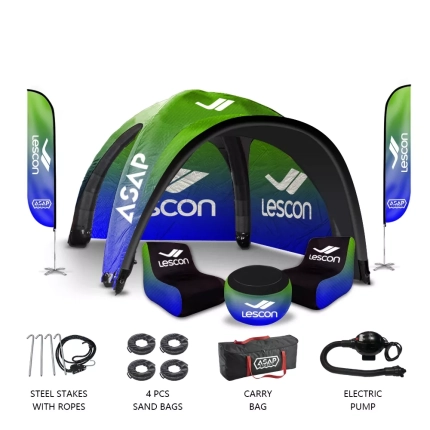
Light Weight Ground Stakes & Ropes
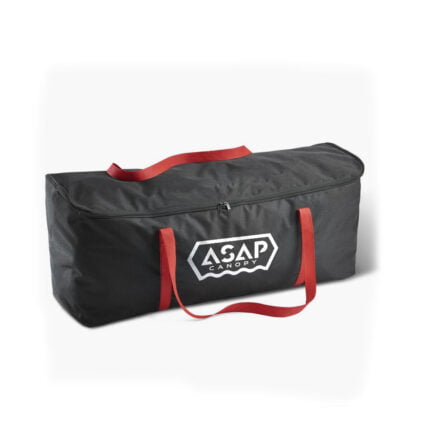
Portable 600D polyester Heavy Duty Wheel Bag
(4) Velcro Loop Added To Inside Of Valance Edge (Easy To Connect Full Walls)
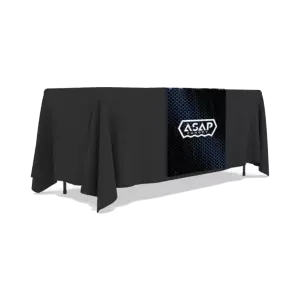
2pcs 6ft Fully Printed Branded Table Cover (Fitted Style- 4 Sided)
Half Walls Comes With Support Bar
PRODUCT HIGHLIGHTS:
✅600D Polyester Material
✅Unlimited Sublimation Printing
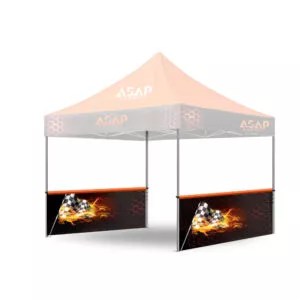
✅Print on all peaks and 17’valances
✅100% Waterproof/fireproof Canopy
✅Commercial grade aluminum frame
✅Free design visuals
✅12 month no fade UV guarantee.
✅Portable 600D polyester roller bag
✅UPF 50+ UV protection
✅Fast production
10×20 party tent assembly instructions
gazebo 10×20
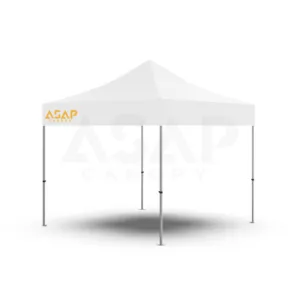
tent white
10 x 20 canopy pop up
10 x 20 car canopy
10×20 pop up tent with sides
20 by 10 tent
20 x 10 pop up tent
20×10 tents
heavy duty pop up canopy 10×20 with sidewalls
home depot outdoor tents
outdoor canopy home depot
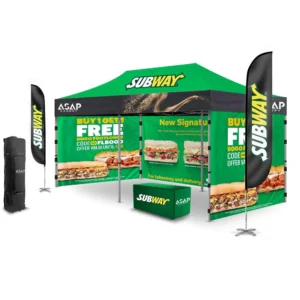
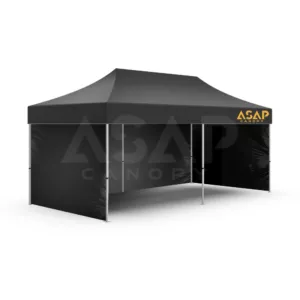
A 10′ x 20′ Canopy For All Of Your Business Needs
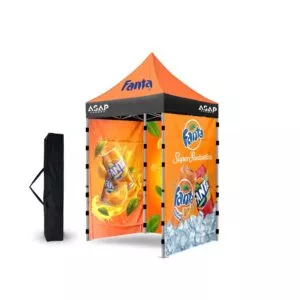
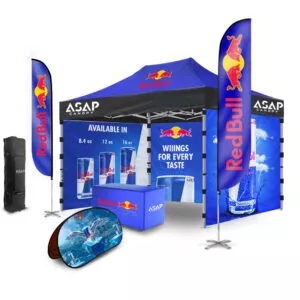
Introducing ASAP CANOPY’s 10x20ft Custom Design Canopy Tents, where imagination knows no bounds. Crafted with precision and creativity, our canopy tent design unleashes a world of possibilities for your outdoor events. With a simple pop-up mechanism, this versatile shelter effortlessly transforms any gathering into a captivating experience.
Equipped with sidewalls, our pop-up canopy tent with sidewalls offers you enhanced privacy and protection, shielding you and your guests from the elements with grace. Feel the warm embrace of the sun without its harsh effects, as our tent sun canopy filters out the unwanted rays, allowing you to savor the great outdoors.
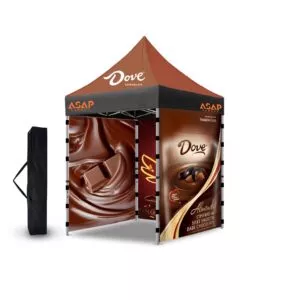
At ASAP CANOPY, we understand that each event is unique, and that is why we offer a myriad of canopy designs to suit your aesthetic vision. From vibrant patterns to elegant motifs, our custom design canopy tents redefine the notion of personalization.


 5×5 Pop Up Tent
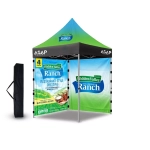 6.5×6.5 Pop Up Tent
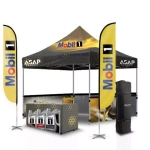 10×10 Canopy Tent
 10×15 Canopy Tent
 10×20 Canopy Tent
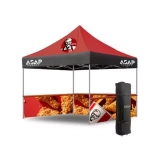 Canopy Options
 Blank Canopy Top
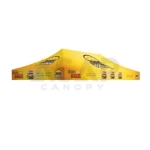 Canopy Top
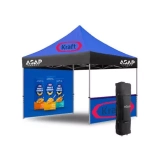 Canopy Walls
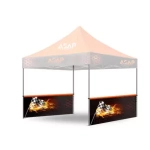 Canopy Side Skirt
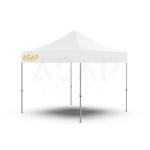 Blank Canopy
 Blank Canopy Kit
 Inflatable Canopy Tents 10×10
 Inflatable Canopy Tents 13×13
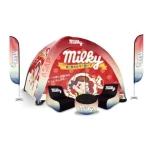 Inflatable Canopy Tents 16×16
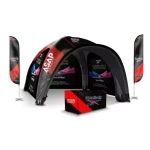 Inflatable Canopy Tents 20×20
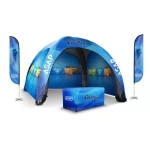 Inflatable Canopy Tents 23×23
 Inflatable Canopy Tents 26×26
 Inflatable Spider Tents
 Inflatable Dome Tents
 Inflatable Eclipse Tents
 Inflatable Party Tent
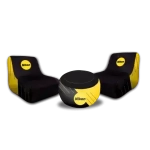 Inflatable Furniture
 Inflatable Pillar
 Single Pole Star Tents
 Double Pole Star Tents
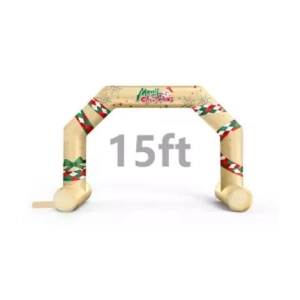
 15FT Inflatable Arches
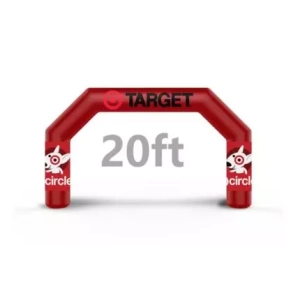
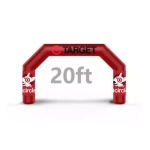 20FT Inflatable Arches
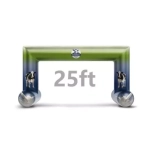 25FT Inflatable Arches
 30FT Inflatable Arches
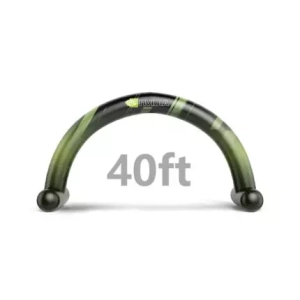
 40FT Inflatable Arches
 50FT Inflatable Arches
 Custom Constant Arches
 Custom Sealed Arches
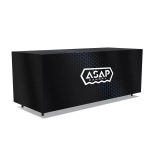 Fitted Table Covers
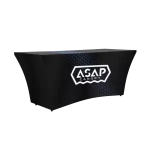 Stretch-Fit Table Covers
 Loose Table Throws
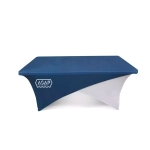 Cross-Over Stretch-Fit Table Cover
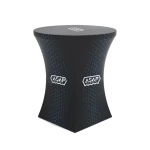 Round Stretch-Fit Table Cover
 Blank Table Throws
 3-Sided Loose Table Throw
 Round Fitted Table Covers
 Table Runners
 Square Table Covers
 Feather Flags
 Blade Flags
 Feather Banner
 Blade Banner
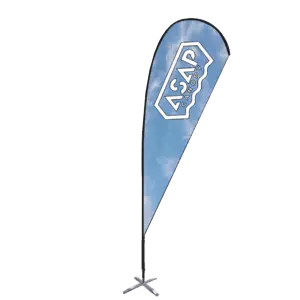
 Teardrop Flags
 Teardrop Banner
 Rectangle Flags
 Rectangle Banner
 Mesh Event Banners
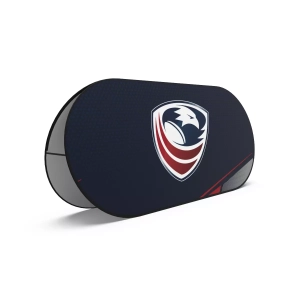
 Pop Out Banner Horizontal
 Pop-Out Banner Vertical
 Trade Show Display
 Trade Show Display Kit
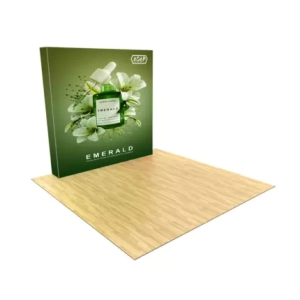
 Pop Up Trade Show Display
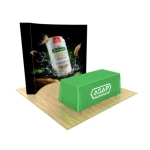 Pop Up Trade Show Display Deluxe Kit
 Pop Up Trade Show Display Kit
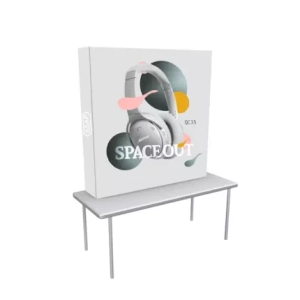
 TableTop Displays Kit
 Pop Up Tabletop Display Kit
 Pop Up Tabletop Display
 Tabletop Display
 Straight Trade Show Exhibit Booth
 Banner Stand
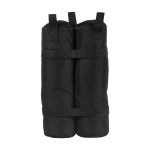 Tent Accessories
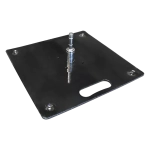 Flag Accessories
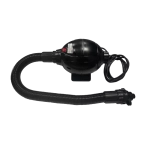 Arch Accessories
 Trade Show Accessories
