


Discover the ultimate guide to canopy tent with sidewalls. Learn how to choose, customize, and maximize your outdoor event presence with professional-grade tents.
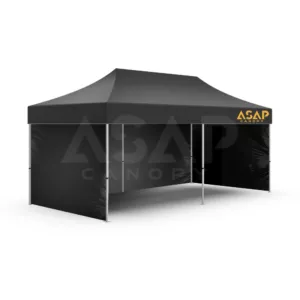
Think of ASAP CANOPY as outdoor event armor—specially designed to protect your brand, your team and your investment. All aluminum custom pop up tent model is engineered for lifetime use and backed by a lifetime warranty.
10 Powerful Benefits of Canopy Tents with Sidewalls for Events


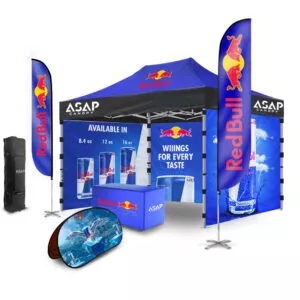
In the world of outdoor events and experiences, creating a memorable and professional image is essential. Whether you are hosting a company party, attending a trade show, or setting up a booth at a local expo, having the right equipment can go a long way. A versatile, durable, and customizable solution, the Canopy Tent with Sidewalls has revolutionized the marketing and organization of outdoor events.
If you invest in a custom canopy tent with sidewalls , you want to accomplish two things. First, you want to stand out with a beautiful, crisp, vibrant custom canopy. Second, you want a heavy-duty frame that is battle-tested and built to last.
As the only American-based custom canopy tent manufacturer—we make everything from the aluminum for the frame to the 600-denier polyester fabric for the canopy—we’ll protect your people and your brand at your next event.
In addition to traditional standard peak pop-up tents, ASAP CANOPY also offers a range of unique canopy designs with heavy-duty aluminum alloy frames for different looks and uses.
This comprehensive guide will explore everything you need to know about canopy tents with sidewalls, from their benefits and features to choosing the right model for your needs. We’ll delve into the world of custom designs, explore the various sizes and configurations, and offer insights on how to maximize your investment in these essential outdoor tools.
Why Choose a Canopy Tent with Sidewalls?


Types of Canopy Tents with Sidewalls
Choosing the Right Canopy Tent with Sidewalls

Features to Look for in a Quality Canopy Tent with Sidewalls

Look for tents with frames made from high-grade aluminum or steel. Aluminum frames offer a good balance of strength and lightweight portability, while steel frames provide maximum stability.
The canopy and sidewall fabric should be water-resistant and offer UV protection to ensure longevity and protect your team and products from the elements.
A quality canopy tent should feature an easy-to-use setup mechanism that allows for quick deployment, ideally by just one or two people.
Look for tents with adjustable leg heights to adapt to different terrains and event requirements.
Check that the tent has reinforced corners and stress points to prevent tearing and extend the life of the canopy.
Sidewalls should attach securely to the frame and feature high-quality zippers for easy access and closure.
Customization Options for Canopy Tents with Sidewalls


3. Sidewall Configurations
Choose from full sidewalls, half walls, or mesh walls to create the perfect balance of enclosure and openness for your events.

4. Accessory Integration
Look for tents that allow for the integration of accessories like counters, shelving units, and lighting systems to enhance functionality.
Canopy Tent with Sidewalls Models and Specifications

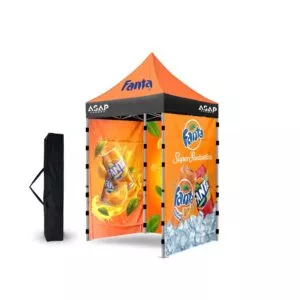
10x10 Canopy Tent with 1 Sidewall
10×10 Pop Up Tent Kit Contains:
10′ x 10′ Deluxe – 40mm Hexagonal Aluminum Canopy Frame,
10′ x 10′ Dye Sublimation Printed Canopy Roof,
1 Dye Sublimation Fully Printed Back Wall,
Lightweight Stakes and Ropes,
Portable 600D Polyester Heavy Duty Wheel Bag,
(4) Velcro Loops Added to Inside of Valance Edge (Easy to Attach to an Entire Wall).

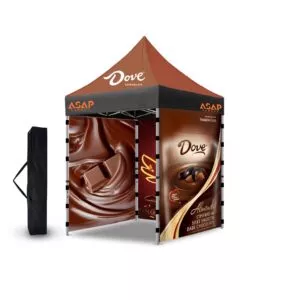
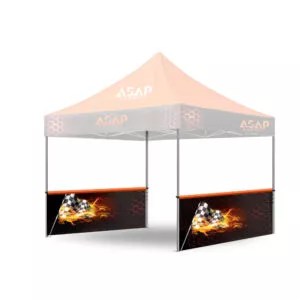
10x10 Canopy Tent with 2 Sidewalls
Custom 10×10 Canopy Tent Kit Contents:
10′ x 10′ Deluxe – 40mm Hexagonal Aluminum Canopy Frame,
10′ x 10′ Dye Sublimation Printed Canopy Roof,
2 Pieces of Dye Sublimation Fully Printed Back Walls,
Lightweight Stakes and Ropes,
Portable 600D Polyester Heavy Duty Wheel Bag,
(4) Velcro Loops Added to Inside of Valance Edge (Easy to Attach to Full Wall).

10x10 Canopy Tent with 3 Sidewalls
10×10 Custom Printed Event Shelter Tent Kit Contents:
10′ x 10′ Deluxe – 40mm Hexagonal Aluminum Canopy Frame,
10′ x 10′ Dye Sublimation Printed Canopy Roof,
3 Pieces of Dye Sublimation Fully Printed Back Walls,
Lightweight Stakes and Ropes,
Portable 600D Polyester Heavy Duty Wheel Bag,
(4) Velcro Loops Added to Inside of Valance Edge (Easy to Attach to an Entire Wall).

10x10 Canopy Tent with 4 Sidewalls
Custom 10×10 Awning with Company Logo Kit Contents:
10′ x 10′ Deluxe – 40mm Hexagonal Aluminum Awning Frame,
10′ x 10′ Sublimation Printed Awning,
4 Back Walls with Sublimation Full Print,
Lightweight Stakes and Ropes,
Portable 600D Polyester Heavy Duty Wheel Bag,
(4) Add Velcro Loops to the Inside of the Valance Edge (Easy to Attach to an Entire Wall).

10x15 Canopy Tent with 1 Sidewall
10x15ft Custom Printed Awnings WHATS IN THE KIT:
10′ x 15′ Deluxe – 40mm Hexagonal Aluminium Canopy Frame,
10′ x 15′ Dye Sublimated Print Canopy Top,
1pcs 15′ x 7′ Dye Sublimated Print Canopy back wall,
Light Weight Ground Stakes & Ropes,
Portable 600D polyester Heavy Duty Wheel Bag,
(4) Velcro Loop Added To Inside Of Valance Edge (Easy To Connect Full Walls).

10x15 Canopy Tent with 2 Sidewalls
10x15ft Pop Up Booth Tent WHATS IN THE KIT:
10′ x 15′ Deluxe – 40mm Hexagonal Aluminium Canopy Frame,
10′ x 15′ Dye Sublimated Print Canopy Top,
1pcs 15′ x 7′ Dye Sublimated Print Canopy back wall,
1pcs 10′ x 3′ Dye Sublimated Print Canopy side skirt,
Light Weight Ground Stakes & Ropes, Canopy Half wall Support Bar,
Portable 600D polyester Heavy Duty Wheel Bag,
(4) Velcro Loop Added To Inside Of Valance Edge (Easy To Connect Full Walls).

10x15 Canopy Tent with 3 Sidewalls
10x15ft Custom Made Canopies WHATS IN THE KIT:
10′ x 15′ Deluxe – 40mm Hexagonal Aluminium Canopy Frame,
10′ x 15′ Dye Sublimated Print Canopy Top,
1pcs 15′ x 7′ Dye Sublimated Print Canopy back wall,
2pcs 10′ x 7′ Dye Sublimated Print Canopy sidewalls,
Light Weight Ground Stakes & Ropes,
Portable 600D polyester Heavy Duty Wheel Bag,
(4) Velcro Loop Added To Inside Of Valance Edge (Easy To Connect Full Walls).

10x15 Canopy Tent with 4 Sidewalls
10x15ft Pop Up Booth Tents WHATS IN THE KIT:
10′ x 15′ Deluxe – 40mm Hexagonal Aluminium Canopy Frame,
10′ x 15′ Dye Sublimated Print Canopy Top,
2pcs 15′ x 7′ Dye Sublimated Print Canopy back wall,
2pcs 10′ x 7′ Dye Sublimated Print Canopy sidewalls,
Light Weight Ground Stakes & Ropes,
Portable 600D polyester Heavy Duty Wheel Bag,
(4) Velcro Loop Added To Inside Of Valance Edge (Easy To Connect Full Walls).

10x20 Canopy Tent with 1 Sidewall
Custom canopy tent 10×20 WHATS IN THE KIT:
10′ x 20′ Deluxe – 40mm Hexagonal Aluminium Canopy Frame,
10′ x 20′ Dye Sublimated Print Canopy Top,
1pcs 20′ x 7′ Dye Sublimated Print Canopy back wall,
Light Weight Ground Stakes & Ropes,
Portable 600D polyester Heavy Duty Wheel Bag,
(4) Velcro Loop Added To Inside Of Valance Edge (Easy To Connect Full Walls).

10x20 Canopy Tent with 2 Side Skirts
Pop Up Tents With Logo WHATS IN THE KIT:
10′ x 20′ Deluxe – 40mm Hexagonal Aluminium Canopy Frame,
10′ x 20′ Dye Sublimated Print Canopy Top,
1pcs 20′ x 7′ Dye Sublimated Print Canopy back wall,
2pcs 10′ x 3′ Dye Sublimated Print Canopy side skirts,
Light Weight Ground Stakes & Ropes, Half Walls Comes With Support Bar,
Portable 600D polyester Heavy Duty Wheel Bag,
(4) Velcro Loop Added To Inside Of Valance Edge (Easy To Connect Full Walls),
1pcs 6ft Fully Printed Branded Table Cover (Fitted Style- 4 Sided).

10x20 Canopy Tent with 3 Sidewalls
Custom Tent With Logo WHATS IN THE KIT:
10′ x 20′ Deluxe – 40mm Hexagonal Aluminium Canopy Frame,
10′ x 20′ Dye Sublimated Print Canopy Top,
1pcs 20′ x 7′ Dye Sublimated Print Canopy back wall,
2pcs 10′ x 7′ Dye Sublimated Print Canopy sidewalls,
Light Weight Ground Stakes & Ropes,
Portable 600D polyester Heavy Duty Wheel Bag,
(4) Velcro Loop Added To Inside Of Valance Edge (Easy To Connect Full Walls).

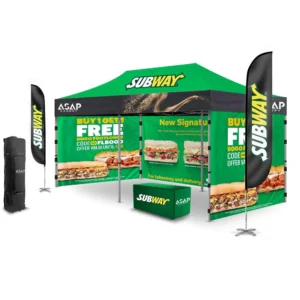
10x20 Canopy Tent with 4 Sidewalls
Pop Up Tent with Logo WHATS IN THE KIT:
10′ x 20′ Deluxe – 40mm Hexagonal Aluminium Canopy Frame,
10′ x 20′ Dye Sublimated Print Canopy Top,
2pcs 20′ x 7′ Dye Sublimated Print Canopy back wall,
2pcs 10′ x 7′ Dye Sublimated Print Canopy sidewalls,
Light Weight Ground Stakes & Ropes,
Portable 600D polyester Heavy Duty Wheel Bag,
(4) Velcro Loop Added To Inside Of Valance Edge (Easy To Connect Full Walls).

5x5 Canopy Tent with 1 Sidewall
WHATS IN 5x5ft Custom Pop Up Tents With Logo KIT:
5′ x 5′ Deluxe – Hexagonal Aluminium Canopy Frame,
5′ x 5′ Dye Sublimated Print Canopy Roof,
1pc Back Wall With Dye Sublimated Fully Printed,
Light Weight Ground Stakes & Ropes,
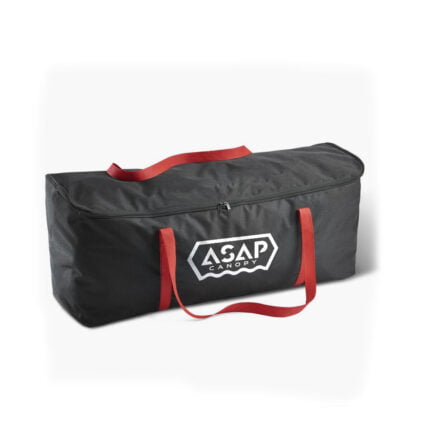
Black Nylon Carry Bag,
(4) Velcro Loop Added To Inside Of Valance Edge (Easy To Connect Full Walls).

5x5 Canopy Tent with 2 Sidewalls
5x5ft Custom Made Canopy Tents WHATS IN THE KIT:
5′ x 5′ Deluxe – Hexagonal Aluminium Canopy Frame,
5′ x 5′ Dye Sublimated Print Canopy Roof,
2pc Back Wall With Dye Sublimated Fully Printed,
Light Weight Ground Stakes & Ropes,
Black Nylon Carry Bag,
(4) Velcro Loop Added To Inside Of Valance Edge (Easy To Connect Full Walls).

5x5 Canopy Tent with 3 Sidewalls
5x5ft Best Custom Canopy Tent WHATS IN THE KIT:
5′ x 5′ Deluxe – Hexagonal Aluminium Canopy Frame,
5′ x 5′ Dye Sublimated Print Canopy Roof,
3pc Back Wall With Dye Sublimated Fully Printed,
Light Weight Ground Stakes & Ropes,
Black Nylon Carry Bag,
(4) Velcro Loop Added To Inside Of Valance Edge (Easy To Connect Full Walls).

5x5 Canopy Tent with 4 Sidewalls
5x5ft Customize Pop Up Tent WHATS IN THE KIT:
5′ x 5′ Deluxe – Hexagonal Aluminium Canopy Frame,
5′ x 5′ Dye Sublimated Print Canopy Roof,
4pc Back Wall With Dye Sublimated Fully Printed,
Light Weight Ground Stakes & Ropes,
Black Nylon Carry Bag,
(4) Velcro Loop Added To Inside Of Valance Edge (Easy To Connect Full Walls).

6x6 Canopy Tent with 1 Sidewall
Customized Canopy Tent WHATS IN THE KIT:
6.5′ x 6.5′ Deluxe – Hexagonal Aluminium Canopy Frame,
6.5′ x 6.5′ Dye Sublimated Print Canopy Roof,
1pcs Back Wall With Dye Sublimated Fully Printed,
Light Weight Ground Stakes & Ropes,
Black Nylon Carry Bag,
(4) Velcro Loop Added To Inside Of Valance Edge (Easy To Connect Full Walls).

6x6 Canopy Tent with 2 Sidewalls
6.5×6.5ft Canopy Tent Custom Made WHATS IN THE KIT:
6.5′ x 6.5′ Deluxe – Hexagonal Aluminium Canopy Frame,
6.5′ x 6.5′ Dye Sublimated Print Canopy Roof,
2pcs Back Wall With Dye Sublimated Fully Printed,
Light Weight Ground Stakes & Ropes,
Black Nylon Carry Bag,
(4) Velcro Loop Added To Inside Of Valance Edge (Easy To Connect Full Walls).

6x6 Canopy Tent with 3 Sidewalls
6.5×6.5ft Custom Outdoor Canopy Tent WHATS IN THE KIT:
6.5′ x 6.5′ Pro Grade hexagonal 40mm Aluminum Frame,
6.5′ x 6.5′ Dye Sublimated Print Canopy Roof,
3pcs Back Wall With Dye Sublimated Fully Printed,
Light Weight Ground Stakes & Ropes,
Black Nylon Carry Bag,
(4) Velcro Loop Added To Inside Of Valance Edge (Easy To Connect Full Walls).

6x6 Canopy Tent with 4 Sidewalls
6.5×6.5ft Custom Printed Canopies WHATS IN THE KIT:
6.5′ x 6.5′ Deluxe – Hexagonal Aluminium Canopy Frame,
6.5′ x 6.5′ Dye Sublimated Print Canopy Roof,
4pcs Back Wall With Dye Sublimated Fully Printed,
Light Weight Ground Stakes & Ropes,
Black Nylon Carry Bag,
(4) Velcro Loop Added To Inside Of Valance Edge (Easy To Connect Full Walls).
Setting Up & Maintaining Canopy Tent
Use caution when extending and collapsing the frame to avoid injury.
In windy conditions, ensure the tent is properly anchored or consider not using it if conditions are severe.
Setting Up Your Canopy Tent with Sidewalls
Pre-Event Preparation
- Inspect your tent before each use for any damage or wear.
- Clean the canopy and sidewalls if necessary.
- Ensure you have all required parts and accessories.
Step-by-Step Setup Process
- Choose a level area for setup.
- Remove the tent from its carrying case.
- Extend the frame partially, being careful not to pinch fingers.
- Attach the canopy to the frame.
- Fully extend the frame and lock it into place.
- Adjust the leg height as needed.
- Secure the tent using stakes or weight bags.
- Attach sidewalls if desired.
Maintaining Your Canopy Tent with Sidewalls
Cleaning Tips
- Regularly clean your canopy and sidewalls with mild soap and water.
- Allow the tent to dry completely before storage to prevent mold and mildew.
- Spot clean stains promptly to prevent permanent marking.
Storage Best Practices
- Store your tent in a cool, dry place away from direct sunlight.
- Use the provided storage bag or case to protect the tent when not in use.
- Avoid storing heavy items on top of the tent to prevent damage to the frame or fabric.
Regular Maintenance Checks
- Inspect the frame for any bent or damaged parts.
- Check the canopy and sidewalls for tears or worn areas.
- Test zippers and fasteners to ensure smooth operation.
Canopy Tents in Action: Industry Examples
Retail and E-commerce
Canopy tents with sidewalls provide an excellent solution for pop-up shops and outdoor retail events. Brands can create a fully branded shopping experience, complete with display areas and changing rooms using strategically placed sidewalls.
Food and Beverage
Restaurants and food vendors use canopy tents with sidewalls to create temporary outdoor dining spaces or food preparation areas. The enclosed space helps maintain food safety standards while providing a comfortable dining environment.
Sports and Recreation
Sports teams and event organizers utilize canopy tents with sidewalls for registration areas, merchandise sales, and athlete rest zones. The ability to add or remove sidewalls allows for flexibility in creating open or private spaces as needed.
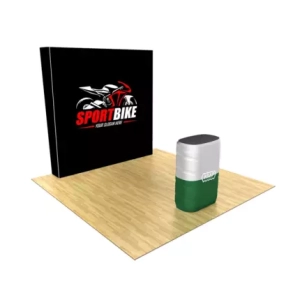
Technology and Gadgets
Tech companies leverage canopy tents with sidewalls to create immersive product demonstration areas at outdoor events. The enclosed space allows for better control of lighting and sound, enhancing the product showcase experience.
Health and Wellness
Medical organizations and wellness companies use canopy tents with sidewalls for mobile health screenings, vaccination clinics, and outdoor fitness classes. The privacy provided by sidewalls is particularly valuable in these applications.
Conclusion
Frequently Asked Questions
A: Setup time varies depending on the size and model, but most 10×10 tents can be erected in 5-10 minutes with two people.
Here’s a step-by-step guide on how to collapse a canopy tent with sidewalls:
- Remove the sidewalls:
- Detach all sidewalls from the canopy frame.
- Fold them neatly and set aside for storage.
- Clear the area:
- Remove any items or furniture from under the canopy.
- Ensure the area around the tent is clear for safe collapsing.
- Lower the canopy:
- If your tent has adjustable height settings, lower it to its lowest position.
- Release the locking mechanisms:
- Locate the locking pins or sliders at each corner of the frame.
- Disengage these to allow the frame to fold.
- Start collapsing the frame:
- Begin at one corner, gently pushing inward and upward.
- Work your way around the tent, repeating this action at each corner.
- The roof should start to lower as you do this.
- Continue folding:
- As the roof lowers, the legs will naturally start to come together.
- Guide the legs inward, ensuring they fold properly along their hinges.
- Secure the collapsed frame:
- Once fully collapsed, secure any straps or velcro fasteners that keep the frame compact.
- Remove the canopy top (if separate):
- If your canopy top is removable, you may choose to detach it now for separate storage.
- Pack it up:
- Place the folded frame into its carrying bag.
- Pack the canopy top (if removed) and sidewalls into their respective storage bags.
- Final check:
- Ensure all parts are accounted for and properly stored to prevent loss or damage.
Remember, the exact process may vary slightly depending on your specific canopy tent model. Always refer to the manufacturer’s instructions for the most accurate guidance. Practice collapsing your tent a few times in a controlled environment to become familiar with the process before attempting it at an event.
A: While canopy tents are designed to withstand some wind, it’s important to properly anchor your tent and use caution in severe weather conditions. Always follow the manufacturer’s guidelines for wind ratings.
A: Use mild soap and water to clean the canopy and sidewalls. Avoid harsh chemicals that could damage the fabric. Always ensure the tent is completely dry before storage.
A: Many manufacturers offer replacement parts, including canopy tops and sidewalls. Check with your specific manufacturer for availability.
A: Custom printing usually adds to the cost, but the investment in brand visibility often outweighs the additional expense for businesses focused on marketing at events.

 5×5 Pop Up Tent
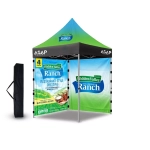 6.5×6.5 Pop Up Tent
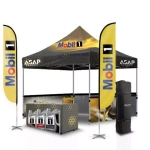 10×10 Canopy Tent
 10×15 Canopy Tent
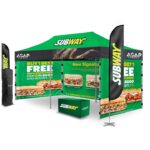 10×20 Canopy Tent
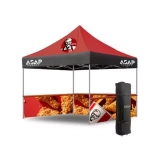 Canopy Options
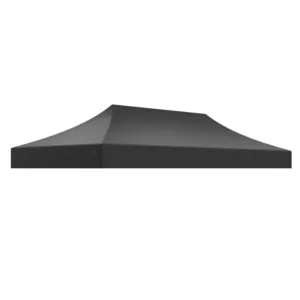
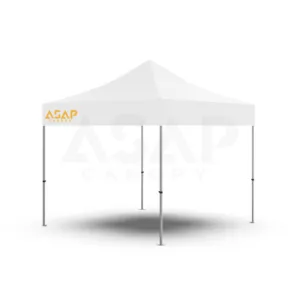
 Blank Canopy Top
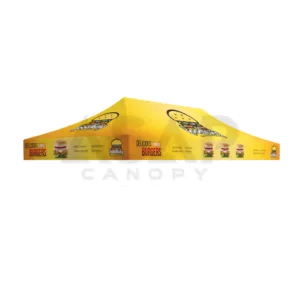
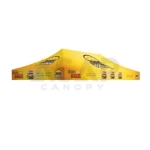 Canopy Top
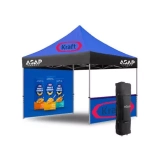 Canopy Walls
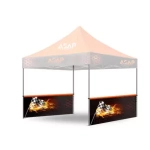 Canopy Side Skirt
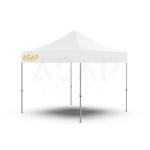 Blank Canopy
 Blank Canopy Kit
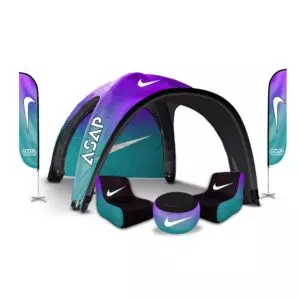
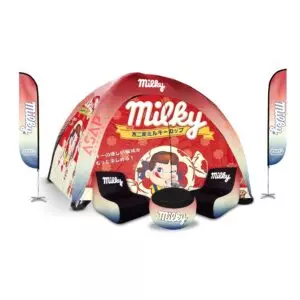
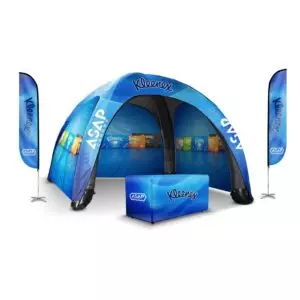
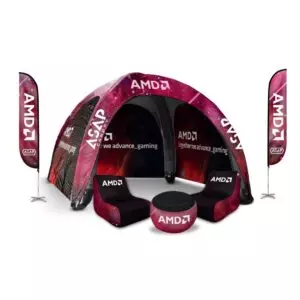
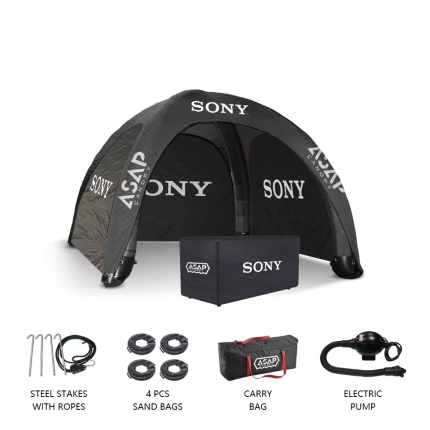
 Inflatable Canopy Tents 10×10
 Inflatable Canopy Tents 13×13
 Inflatable Canopy Tents 16×16
 Inflatable Canopy Tents 20×20
 Inflatable Canopy Tents 23×23
 Inflatable Canopy Tents 26×26
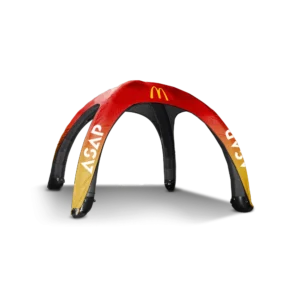
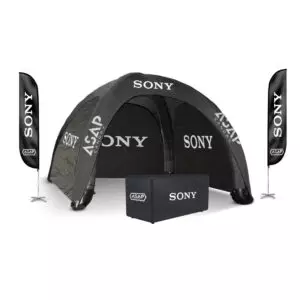
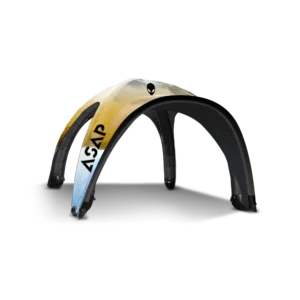
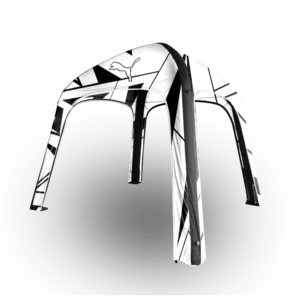
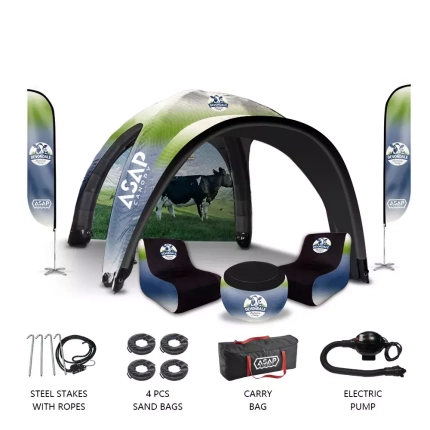
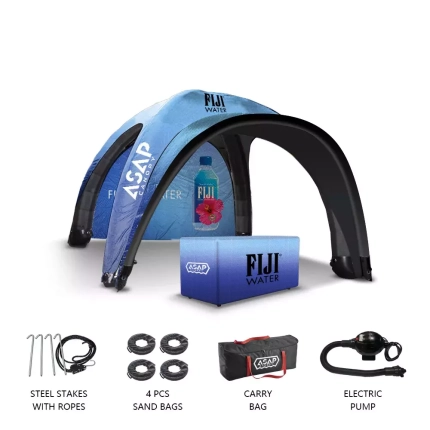
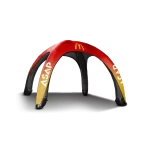 Inflatable Spider Tents
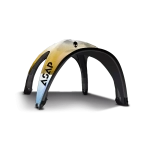 Inflatable Dome Tents
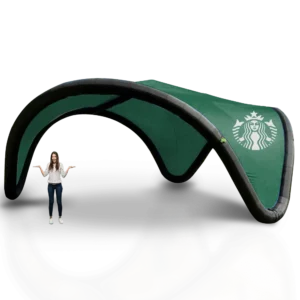
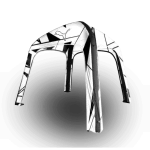 Inflatable Eclipse Tents
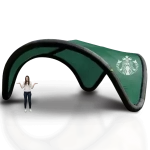 Inflatable Party Tent
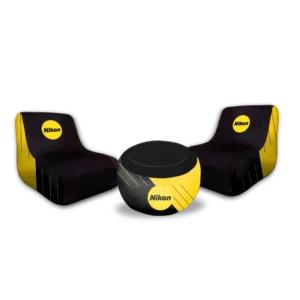
 Inflatable Furniture
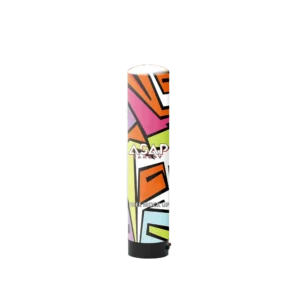
 Inflatable Pillar
 Single Pole Star Tents
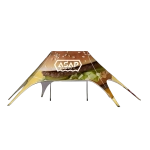 Double Pole Star Tents
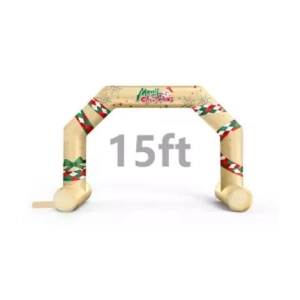
 15FT Inflatable Arches
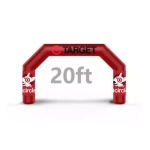 20FT Inflatable Arches
 25FT Inflatable Arches
 30FT Inflatable Arches
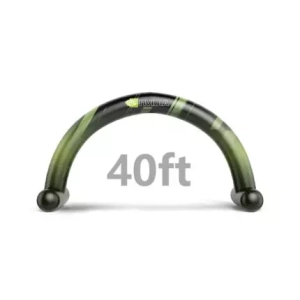
 40FT Inflatable Arches
 50FT Inflatable Arches
 Custom Constant Arches
 Custom Sealed Arches
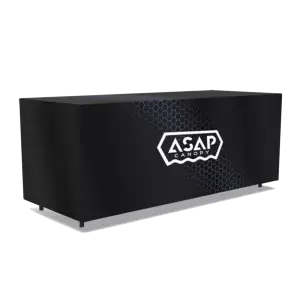
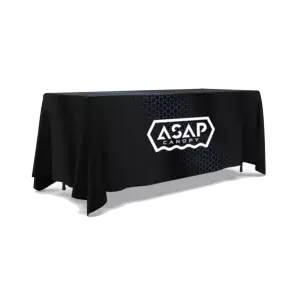
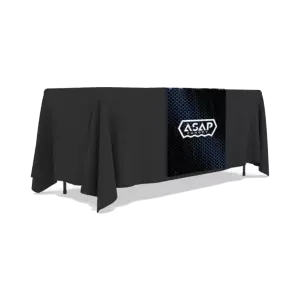
 Fitted Table Covers
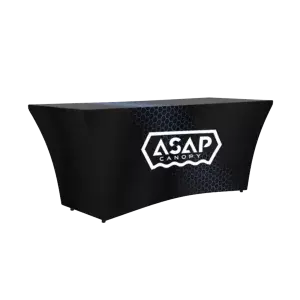
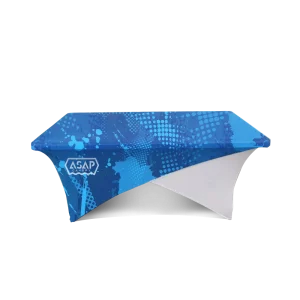
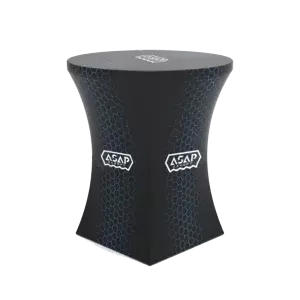
 Stretch-Fit Table Covers
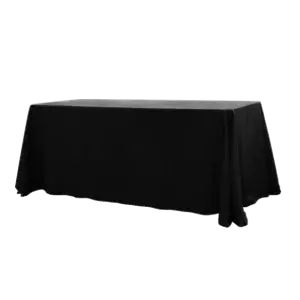
 Loose Table Throws
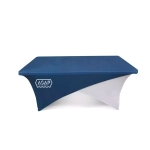 Cross-Over Stretch-Fit Table Cover
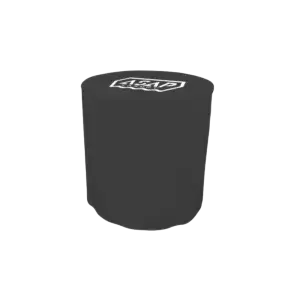
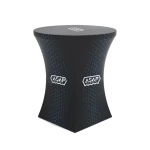 Round Stretch-Fit Table Cover
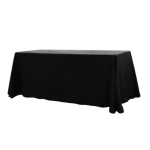 Blank Table Throws
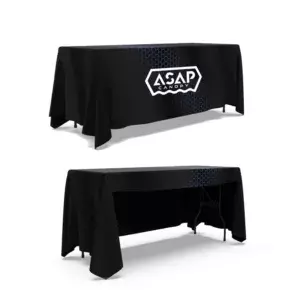
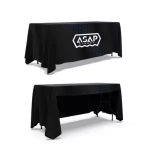 3-Sided Loose Table Throw
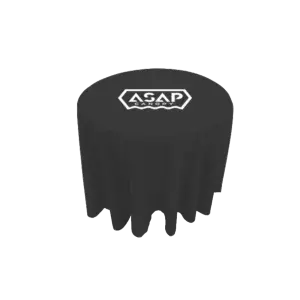
 Round Fitted Table Covers
 Table Runners
 Square Table Covers
 Feather Flags
 Blade Flags
 Feather Banner
 Blade Banner
 Teardrop Flags
 Teardrop Banner
 Rectangle Flags
 Rectangle Banner
 Mesh Event Banners
 Pop Out Banner Horizontal
 Pop-Out Banner Vertical
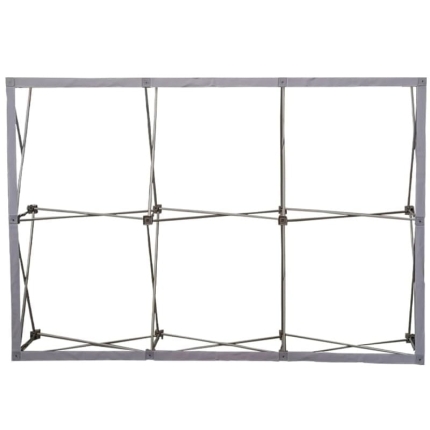
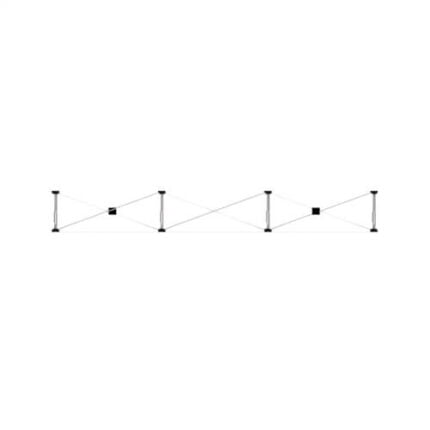
 Trade Show Display
 Trade Show Display Kit
 Pop Up Trade Show Display
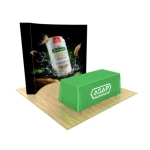 Pop Up Trade Show Display Deluxe Kit
 Pop Up Trade Show Display Kit
 TableTop Displays Kit
 Pop Up Tabletop Display Kit
 Pop Up Tabletop Display
 Tabletop Display
 Straight Trade Show Exhibit Booth
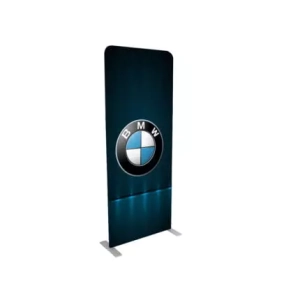
 Banner Stand
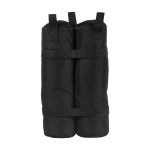 Tent Accessories
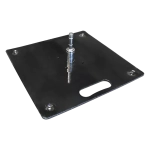 Flag Accessories
 Arch Accessories
 Trade Show Accessories
