


Whether you’re planning an outdoor ceremony or a banquet, building the right layout is key to helping everything run smoothly. To create the right atmosphere, organize logistics and maximize space, this article will take you through how to create a outdoor wedding tent layout for your unique wedding.

1. Choose a outdoor wedding tent shape.
You can choose a square, rectangular, round or oval outdoor wedding tent. If you need multiple Tents for the same purpose, such as a dining area or dance space, we recommend ordering the same shape. Or, if you need tents for different areas of your wedding venue as partitions, order a variety of shapes. For example, you could have a dining table in one area, sit-down dining in a second area, and tabletop or social events in a third area. If you are tight on space or need to economize on your seating plan, choose a square as it is easier to maximize floor space for guests inside and outside the tent.
2. Start organizing your outdoor wedding tent layout.
First, add custom dimensions for tables, dance floor, banquet tables, DJ booths, bars and decorations. Then, mark all electrical outlet access points, possible cable locations, bathrooms, and emergency exits. Next, create multiple versions of the floor plan and compare them side-by-side before finalizing the design. Here are some ideas for each tent shape to help inspire:
(1) Square tent outdoor wedding tent layout options.
a) Dance Floor Center: Place a round or square dance floor in the center of the tent. Place the bar outside the tent or in a corner, away from other activities.
b) No dance floor: Arrange the edges with round tables, but keep the center open.
c) Social only: Replace seated tables with high tops and stools. Fill the space or leave a walkway down the middle for easy access.
(2) Rectangular tent outdoor wedding tent layout options.
a) Dance Floor Front: Place a square dance floor in the middle of the outdoor wedding tent and move it to the top of the floor plan. Place the buffet table on one side of the tent and the bar or gift table on the other side.
b) Center of the dance floor: Place the DJ table on top of the dance floor and place the bar or refreshments below the dance floor. Use round tables on the remaining sides.
c) Thrust dance floor: Put in a rectangular dance floor that starts on one side of the tent and ends in the middle. Mix and match the square and round tables on either side. Put a small rectangular table on the opposite side of the dance floor.
(3) Round tent outdoor wedding tent layout options.
(a) Center of the dance floor: Place a round dance floor in the middle with four rectangular tables evenly distributed outside, pointing to the edge like the sun.
(b) Half and Half: Create a pathway to the center of the outdoor wedding tent. Place a half-moon dance floor on one side and tables on the other.
c) Hotel: Place the stage on one side of the circle. Place high-topped tables in a semicircle and place regular tables on the outside.
(4) outdoor wedding tent layout options for oval tents.
a) Thrust Dance Floor: Place a stage and a stacked dance floor on the flat side of the oval and place stage tables around the perimeter.
b) Banquet seating: Set up a long table for everyone to have dinner. Put your stage or dance floor at the far end of the tent.
c) Dance floor center: Place a circular dance floor in the middle and add two to three rows of rectangular tables on either side.
3. Try the template.
We recommend that you choose staggered, aligned or U-shaped for your outdoor wedding tent layout. Use staggered if you want to encourage communication between tables, aligned if you want to create an audience-like feel for any special dance or performance, and for small wedding parties or mini-weddings, use U-shapes to encourage everyone to eat together and dance in the middle.
4. Consider spacing and capacity.
Leave 60 to 80 inches of space between round or banquet tables. Add at least 52 to 66 inches between the backs of chairs facing each other and between square or rectangular tables. And, if the corners of square tables face each other, aim for 24 inches or more.
If you’re creating a layout for a frequently used venue, be sure to save your settings so you can use it again for a future wedding or event.
5. Create a seating plan.
Wanting simplified day-to-day instructions, smoother logistics and a better wedding guest experience requires creating a wedding seating chart so everyone knows where to go when they arrive at the reception. Using the event chart, you can upload guest lists, track responses, and add detailed notes for each guest file, such as dietary restrictions or mobility accommodations.
Then drag and drop and place each guest. Adding or subtracting guests is just as easy if you have room for more plus signs or want to change the layout after updating a response. Afterwards, share your guest list and seating chart with your catering team. Servers can mark important dining requests, grounds attendants can assist disabled guests to their seats, and chefs can stay on top of important details like food allergies.
6. Choose the best lighting.
Lighting is a very important aspect of an event, especially a wedding. Some of our favorite ideas when it comes to incorporating lighting into your outdoor wedding tent layout include:
(1) Installing weatherproof outdoor bulb lights around the perimeter of the tent.
(2) Having at least six wires crossed within the tent roof to give the space a nice glow at night.
(3) Wrap the lights around the poles if it is safe to do so.
(4) Add a personalized chandelier in the center of or above the heart-shaped table to catch the eye.
(5) If the tent has support beams near the ceiling, you can even add a disco ball at the top.
7. Add all necessary areas and items.
Consider including the following in your outdoor wedding tent layout.
(1) DJ booths
(2) Music cart or tech stand for charging and cables
(3) Speakers with stands
(4) Wave area
(5) Wet and/or dry sticks
(6) Attendant station for easy access
(7) Photo table
(8) Wedding gift table for easy take-away gifts
(9) Gift table
(10) Cake stand or special table
(11) Heater/air conditioner
(12) Trash cans for guests and staff
Remember to figure out where the outlets will be located and how the cables will run around or near certain spaces. Avoid placing them near high-traffic areas. Also, consider placing any activities that involve more conversation (ordering drinks at the bar, sharing memories at the album table) away from speakers and music so that people can hear each other better.
8. Mark tent pole locations.
Note the number of poles and the space between each pole. Make sure not to place chairs in front of them or people will not have enough room to get to and from their seats. Specify which tent poles will be the exit and/or entrance areas. Create a floor plan that directs traffic by merging the walkways leading to the obvious entrance and exit locations.
These are 8 tips about outdoor wedding tent layout. If you need more detailed information, feel free to contact us!


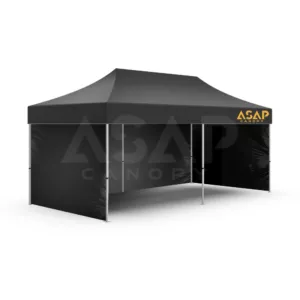
 5×5 Pop Up Tent
 6.5×6.5 Pop Up Tent
 10×10 Canopy Tent
 10×15 Canopy Tent
 10×20 Canopy Tent
 Canopy Options
 Blank Canopy Top
 Canopy Top
 Canopy Walls
 Canopy Side Skirt
 Blank Canopy
 Blank Canopy Kit
 Inflatable Canopy Tents 10×10
 Inflatable Canopy Tents 13×13
 Inflatable Canopy Tents 16×16
 Inflatable Canopy Tents 20×20
 Inflatable Canopy Tents 23×23
 Inflatable Canopy Tents 26×26
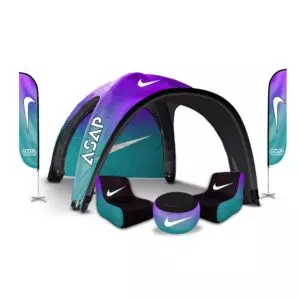
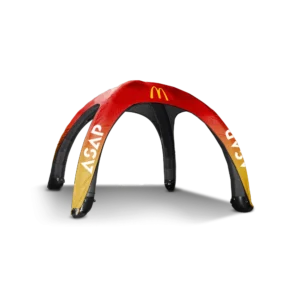
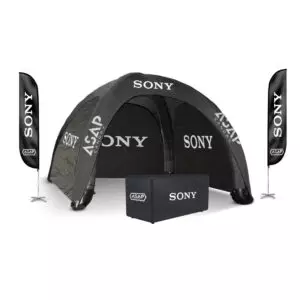
 Inflatable Spider Tents
 Inflatable Dome Tents
 Inflatable Eclipse Tents
 Inflatable Party Tent
 Inflatable Furniture
 Inflatable Pillar
 Single Pole Star Tents
 Double Pole Star Tents
 15FT Inflatable Arches
 20FT Inflatable Arches
 25FT Inflatable Arches
 30FT Inflatable Arches
 40FT Inflatable Arches
 50FT Inflatable Arches
 Custom Constant Arches
 Custom Sealed Arches
 Fitted Table Covers
 Stretch-Fit Table Covers
 Loose Table Throws
 Cross-Over Stretch-Fit Table Cover
 Round Stretch-Fit Table Cover
 Blank Table Throws
 3-Sided Loose Table Throw
 Round Fitted Table Covers
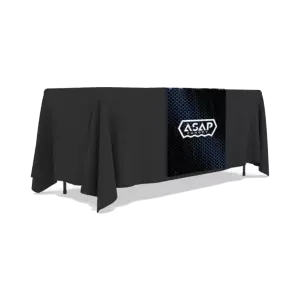
 Table Runners
 Square Table Covers
 Feather Flags
 Blade Flags
 Feather Banner
 Blade Banner
 Teardrop Flags
 Teardrop Banner
 Rectangle Flags
 Rectangle Banner
 Mesh Event Banners
 Pop Out Banner Horizontal
 Pop-Out Banner Vertical
 Trade Show Display
 Trade Show Display Kit
 Pop Up Trade Show Display
 Pop Up Trade Show Display Deluxe Kit
 Pop Up Trade Show Display Kit
 TableTop Displays Kit
 Pop Up Tabletop Display Kit
 Pop Up Tabletop Display
 Tabletop Display
 Straight Trade Show Exhibit Booth
 Banner Stand
 Tent Accessories
 Flag Accessories
 Arch Accessories
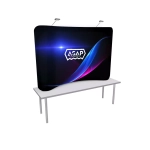 Trade Show Accessories
