


Recommendations:
- Exercise caution when folding and unfolding the star bell tent frame.
- Before setting up the tent, carefully read the installation instructions.
- Regularly inspect the condition of the ropes and all screw connections of the base and the crown. Replace any loose screw connections with new washers and self-locking nuts.
- Ensure you have an appropriate number of people for mounting and dismounting the star shade tents: one-person tent – 2 persons, two-person tent – 2 persons, three-person tent – 3 persons.
- Clean the structure thoroughly before disassembling it. The producer is not liable for damage resulting from multiple assemblies/disassembly of a dirty structure.
- Clean and dry the fabric (roof and sidewalls) before packing it into transport bags. The producer is not responsible for stains caused by storing wet or dirty fabric.
- Systematically check the anchoring in case of recurring gusts of wind.
- Use a suitable instrument (not included in the standard tent equipment) to remove the pins and anchors.
Safety Guidelines:
- Star shade tents should not be used during strong winds, blizzards, hail, storms, etc.
- Never leave the tent unattended.
- The tents are not designed for use under heavy snow loads. Remove accumulated snow from the roof if it reaches a depth of 2 cm or more.
- Promptly remove any water pooling on the roof.
- Polyester fabrics marked with the OG/FR symbol are fire-resistant and comply with the PN-EN 13501-1 norm.
- Tents in sizes Mini 1, Mini 2, Mini 3, Base 1, Base 2, Base 2 Stage, Base 3 may be used in winds up to 28 m/s (100 km/h) if protected against wind gusts. During stronger winds, it is recommended to disassemble the tent, starting with removing the walls and then folding the roof. Mechanical damage resulting from failure to follow these recommendations is not covered by the warranty.
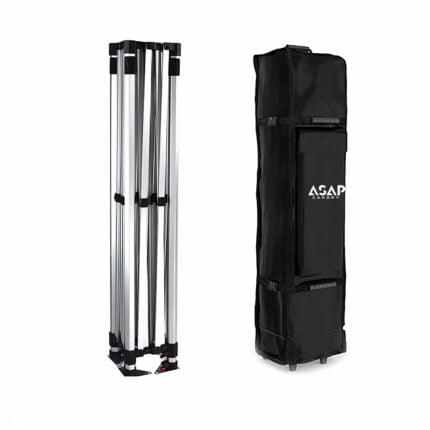
DISASSEMBLY
- Remove all items from underneath the cheap star event tent.
- Release the ratchet (see fig. 2, point 12) to the “unlock” position, ensuring you hold the winch with your other hand.
PLEASE NOTE: If you release the winch without holding it, there is a risk of being hit. Slowly roll the winch to lower the roof to three-quarters of its height. Slide the ratchet of the mechanism to the “lock” position.
- Detach and fold the walls; place them into the bag.
- Lower the roof completely.
- Remove the pins securing the arms of the tent to the anchors.
- Take the pole(s) out of the base and remove the string from the base of the mechanism.
- Lower the roof to the ground and fold the pole(s).
- Remove the pins from the base and the anchors from the ground, and clear any debris from them.
Place all items into their appropriate bags.

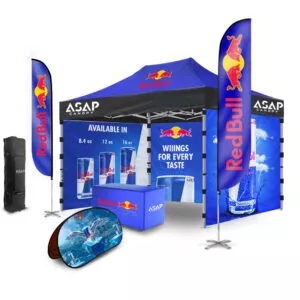
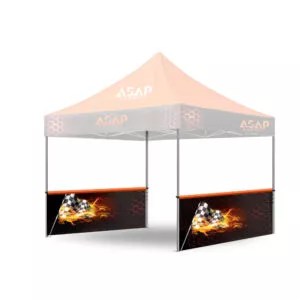
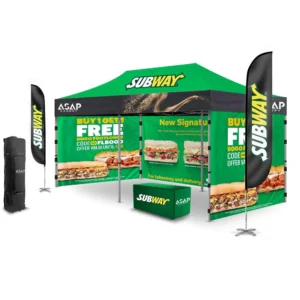
Customized-advertising -tents


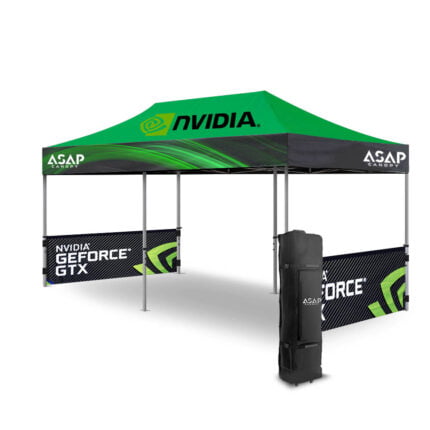

 5×5 Pop Up Tent
 6.5×6.5 Pop Up Tent
 10×10 Canopy Tent
 10×15 Canopy Tent
 10×20 Canopy Tent
 Canopy Options
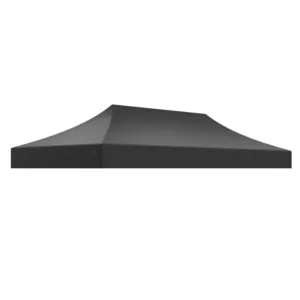
 Blank Canopy Top
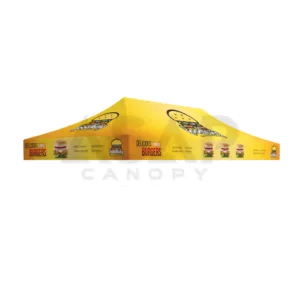
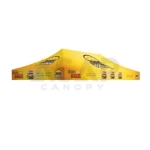 Canopy Top
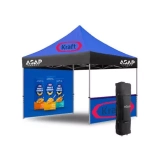 Canopy Walls
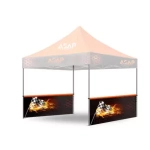 Canopy Side Skirt
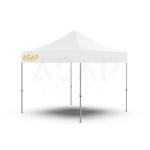 Blank Canopy
 Blank Canopy Kit
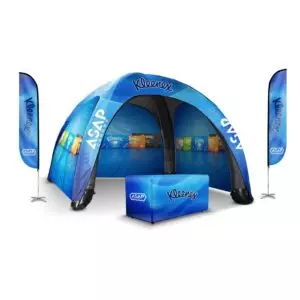
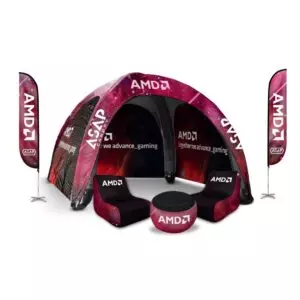
 Inflatable Canopy Tents 10×10
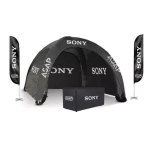 Inflatable Canopy Tents 13×13
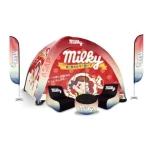 Inflatable Canopy Tents 16×16
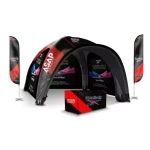 Inflatable Canopy Tents 20×20
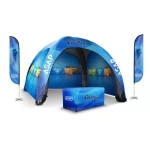 Inflatable Canopy Tents 23×23
 Inflatable Canopy Tents 26×26
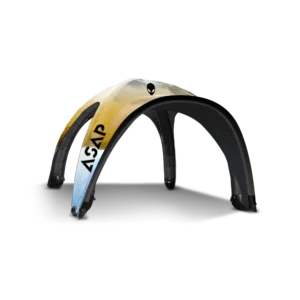
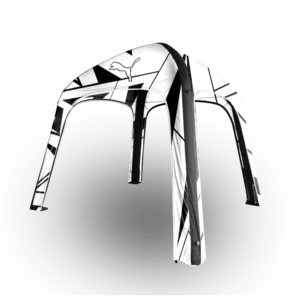
 Inflatable Spider Tents
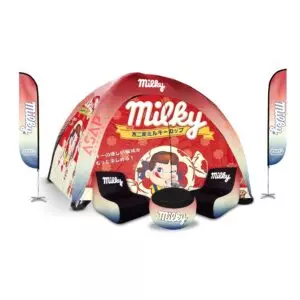
 Inflatable Dome Tents
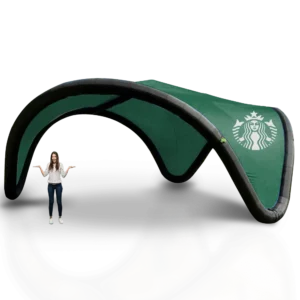
 Inflatable Eclipse Tents
 Inflatable Party Tent
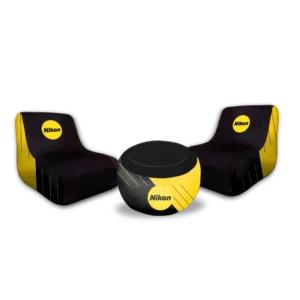
 Inflatable Furniture
 Inflatable Pillar
 Single Pole Star Tents
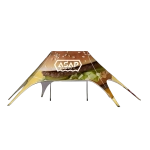 Double Pole Star Tents
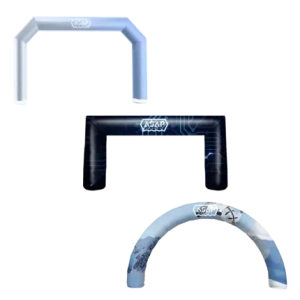
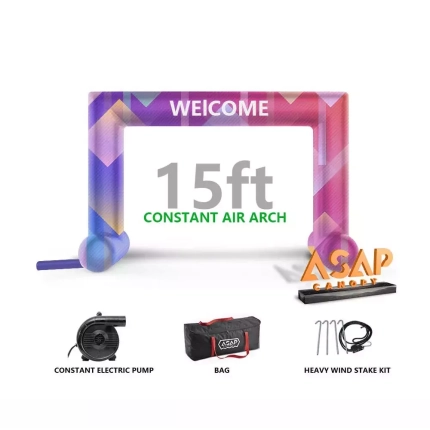
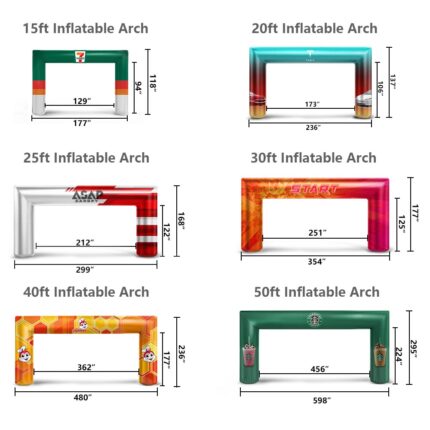
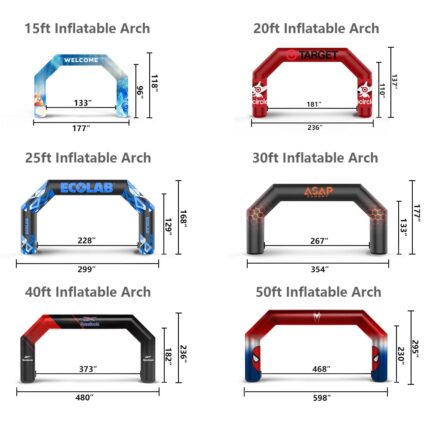
 15FT Inflatable Arches
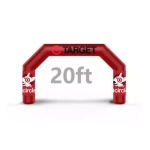 20FT Inflatable Arches
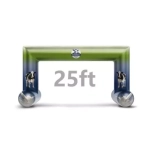 25FT Inflatable Arches
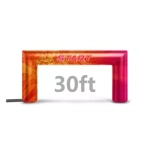 30FT Inflatable Arches
 40FT Inflatable Arches
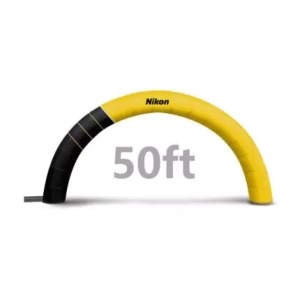
 50FT Inflatable Arches
 Custom Constant Arches
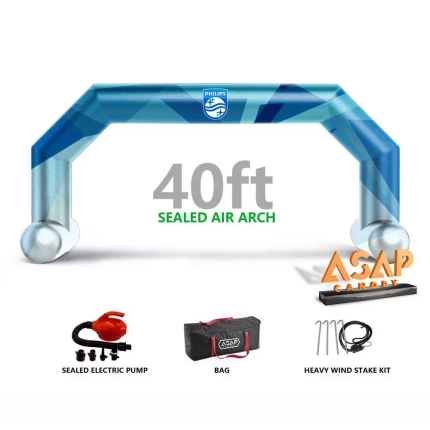
 Custom Sealed Arches
 Fitted Table Covers
 Stretch-Fit Table Covers
 Loose Table Throws
 Cross-Over Stretch-Fit Table Cover
 Round Stretch-Fit Table Cover
 Blank Table Throws
 3-Sided Loose Table Throw
 Round Fitted Table Covers
 Table Runners
 Square Table Covers
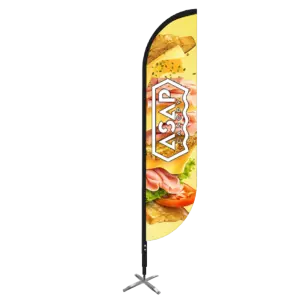
 Feather Flags
 Blade Flags
 Feather Banner
 Blade Banner
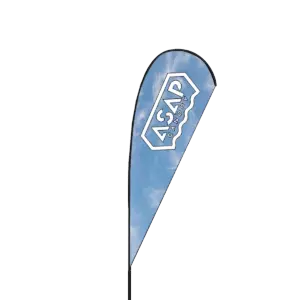
 Teardrop Flags
 Teardrop Banner
 Rectangle Flags
 Rectangle Banner
 Mesh Event Banners
 Pop Out Banner Horizontal
 Pop-Out Banner Vertical
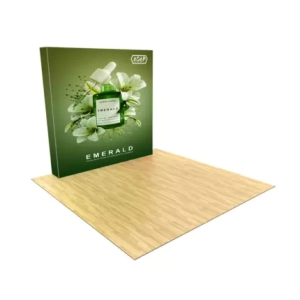
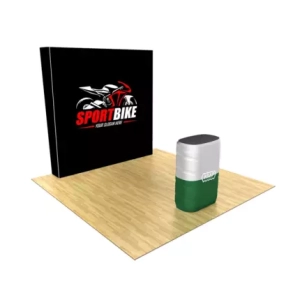
 Trade Show Display
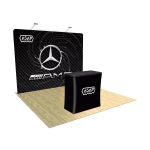 Trade Show Display Kit
 Pop Up Trade Show Display
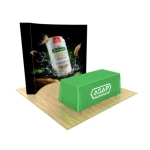 Pop Up Trade Show Display Deluxe Kit
 Pop Up Trade Show Display Kit
 TableTop Displays Kit
 Pop Up Tabletop Display Kit
 Pop Up Tabletop Display
 Tabletop Display
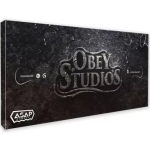 Straight Trade Show Exhibit Booth
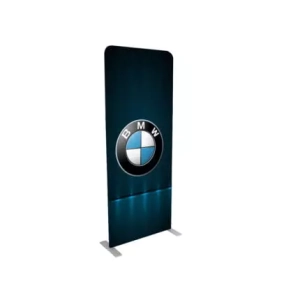
 Banner Stand
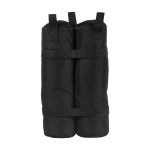 Tent Accessories
 Flag Accessories
 Arch Accessories
 Trade Show Accessories
