


Are you looking to quickly build an outdoor sunshade ceiling? Look no further than the 10 foot x 10 foot Dye Transfer Printed Canvas Ceiling Kit! This easy-to-use kit provides all the materials and instructions needed to create a beautiful and functional sunshade ceiling in no time. In this usage guide, we will walk you through the process of building and using this durable and stylish canopy kit.
Introduction to the Dye Sublimated Canopy Kit
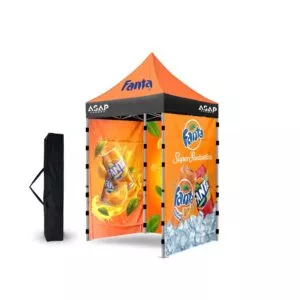
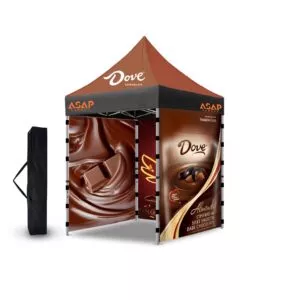
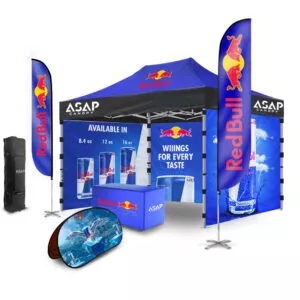
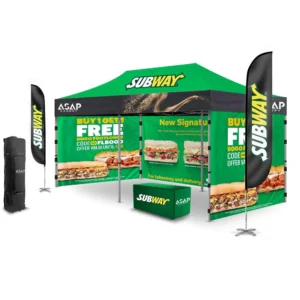
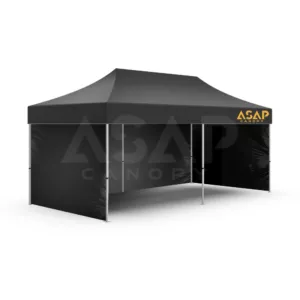
The 10 foot x 10 foot Dye Transfer Printed Canvas Ceiling Kit is a versatile and portable sunshade solution for your outdoor space. Made from high-quality materials, this canopy kit offers excellent UV protection, waterproofing, and durability. The dye transfer printed canvas adds a touch of elegance and customization to your outdoor area.
Step-by-Step Guide: Building the Sunshade Ceiling
Step 1: Preparing the Area
Before starting the construction process, ensure that the area where you plan to install the sunshade ceiling is clean and level. Remove any obstacles that may hinder the construction process. It is important to have a clear and open space to work with.
Step 2: Unpacking the Kit
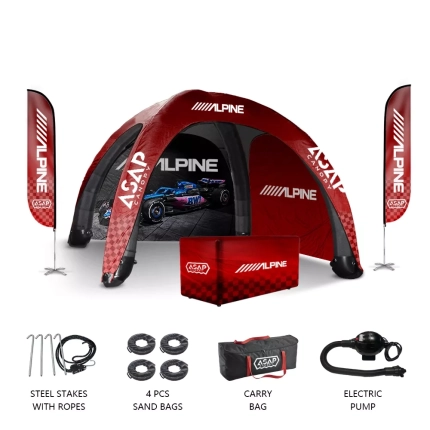
Unpack the dye sublimated canopy kit and lay out all the components. Familiarize yourself with each piece and its purpose. The kit should include the following:
- Support poles
- Canopy fabric
- Connectors
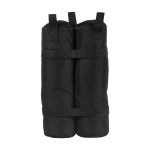
- Stakes or weights
- Assembly instructions
Ensure that all components are present and in good condition.
Step 3: Assembling the Framework
Begin by connecting the support poles using the provided connectors. Follow the assembly instructions carefully to ensure a secure and stable framework. It is important to pay attention to the orientation of the poles and connectors to ensure proper alignment.
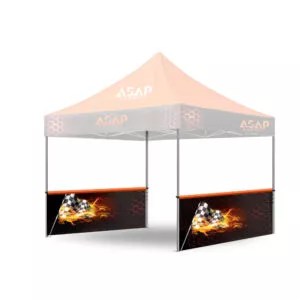
Step 4: Attaching the Canopy Fabric
Once the framework is assembled, it’s time to attach the canopy fabric. Lay the fabric over the framework, ensuring that it is centered and properly aligned. Start by securing one corner of the fabric to the framework using the provided attachments. Gradually work your way around, attaching the fabric to the framework at regular intervals. Make sure the fabric is taut and wrinkle-free for a professional finish.
Step 5: Securing the Sunshade Ceiling
Depending on the design of the kit, you may need to secure the sunshade ceiling to the ground using stakes or weights. Follow the instructions provided with the kit to ensure proper installation. This step is crucial to prevent the canopy from being blown away by strong winds or inclement weather.
Step 6: Adjusting the Height and Tension
Most dye sublimated canopy kits allow for adjustable height and tension. Take advantage of these features to customize the sunshade ceiling according to your needs and preferences. Adjust the height to accommodate different activities or to provide maximum shade. Ensure that the tension is evenly distributed across the canopy fabric to avoid sagging or flapping.
Using the 10 foot x 10 foot Dye Transfer Printed Canvas Ceiling Kit
Shade and Sun Protection
Once the sunshade ceiling is constructed, it will provide excellent shade and protection from harmful UV rays. The dye transfer printed canvas enhances the aesthetic appeal of your outdoor space, while also blocking out a significant amount of sunlight. Whether you’re hosting a backyard party or simply relaxing on a sunny day, the sunshade ceiling will create a comfortable and shaded area for you and your guests.
Weather Resistance and Durability
The 10 foot x 10 foot Dye Transfer Printed Canvas Ceiling Kit is designed to withstand various weather conditions. The canopy fabric is waterproof, protecting you from unexpected rain showers. Additionally, the sturdy support poles and connectors ensure stability even in windy conditions. Invest in this durable canopy kit for long-lasting sunshade solutions.
Easy Portability and Storage
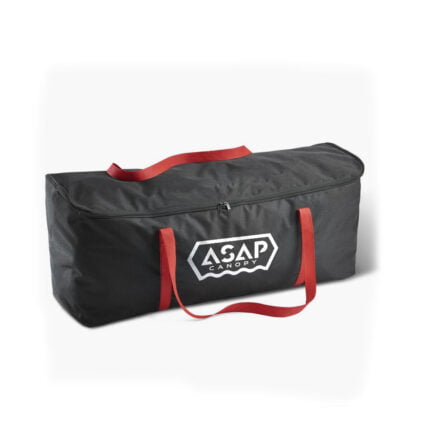
One of the advantages of the 10 foot x 10 foot Dye Transfer Printed Canvas Ceiling Kit is its portability. The lightweight and compact design allow for easy transportation to different outdoor locations. Whether you’re going camping, to the beach, or simply moving the sunshade ceiling around your backyard, this kit is easy to set up and dismantle. After use, simply pack it away in the provided storage bag for safekeeping.
Cleaning and Maintenance
Keeping your sunshade ceiling clean is essential for its longevity and appearance. The dye sublimated canopy fabric can be easily cleaned using mild soap and water. Ensure that the fabric is completely dry before storing it to prevent mold and mildew growth. Regular maintenance, such as tightening screws and checking for any wear and tear, will prolong the life of your canopy kit.
Conclusion
The 10 foot x 10 foot Dye Transfer Printed Canvas Ceiling Kit is a versatile and practical solution for quickly constructing an outdoor sunshade ceiling. With its easy assembly process, durable materials, and customizable features, this kit provides a comfortable and stylish outdoor space for a variety of activities. Follow the step-by-step guide provided in this usage guide to ensure a successful construction process. Enjoy the benefits of shade, protection, and portability with the 10 foot x 10 foot Dye Transfer Printed Canvas Ceiling Kit!


 5×5 Pop Up Tent
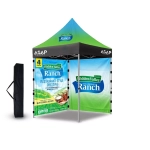 6.5×6.5 Pop Up Tent
 10×10 Canopy Tent
 10×15 Canopy Tent
 10×20 Canopy Tent
 Canopy Options
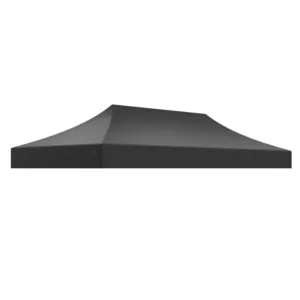
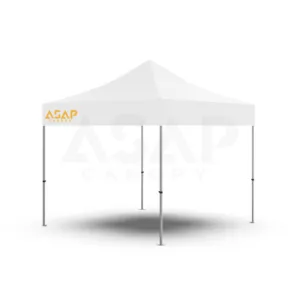
 Blank Canopy Top
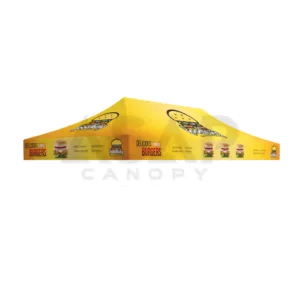
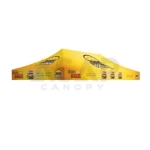 Canopy Top
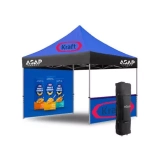 Canopy Walls
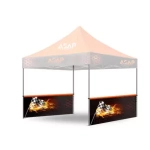 Canopy Side Skirt
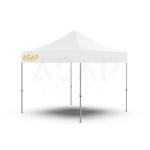 Blank Canopy
 Blank Canopy Kit
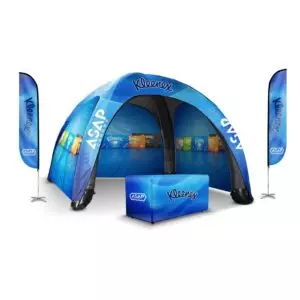
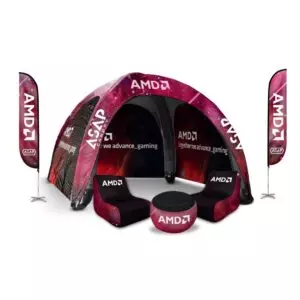
 Inflatable Canopy Tents 10×10
 Inflatable Canopy Tents 13×13
 Inflatable Canopy Tents 16×16
 Inflatable Canopy Tents 20×20
 Inflatable Canopy Tents 23×23
 Inflatable Canopy Tents 26×26
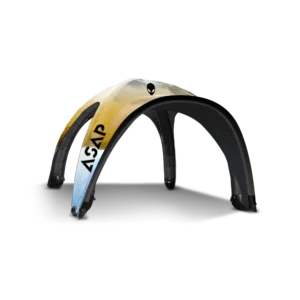
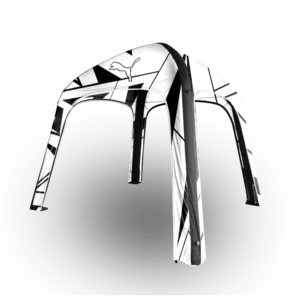
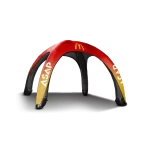 Inflatable Spider Tents
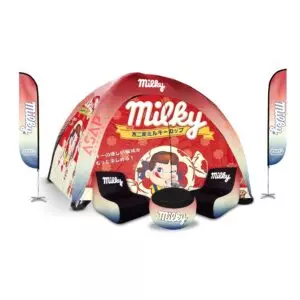
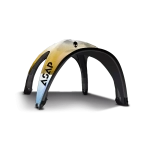 Inflatable Dome Tents
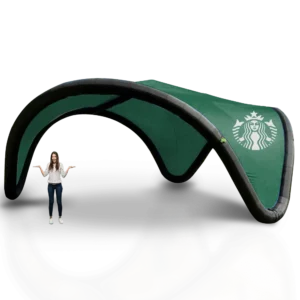
 Inflatable Eclipse Tents
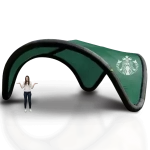 Inflatable Party Tent
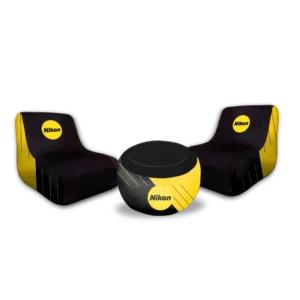
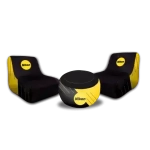 Inflatable Furniture
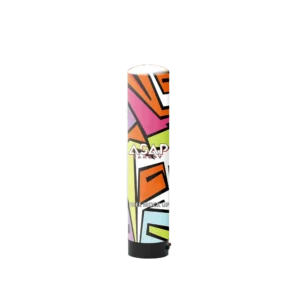
 Inflatable Pillar
 Single Pole Star Tents
 Double Pole Star Tents
 15FT Inflatable Arches
 20FT Inflatable Arches
 25FT Inflatable Arches
 30FT Inflatable Arches
 40FT Inflatable Arches
 50FT Inflatable Arches
 Custom Constant Arches
 Custom Sealed Arches
 Fitted Table Covers
 Stretch-Fit Table Covers
 Loose Table Throws
 Cross-Over Stretch-Fit Table Cover
 Round Stretch-Fit Table Cover
 Blank Table Throws
 3-Sided Loose Table Throw
 Round Fitted Table Covers
 Table Runners
 Square Table Covers
 Feather Flags
 Blade Flags
 Feather Banner
 Blade Banner
 Teardrop Flags
 Teardrop Banner
 Rectangle Flags
 Rectangle Banner
 Mesh Event Banners
 Pop Out Banner Horizontal
 Pop-Out Banner Vertical
 Trade Show Display
 Trade Show Display Kit
 Pop Up Trade Show Display
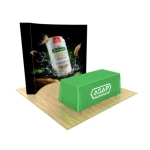 Pop Up Trade Show Display Deluxe Kit
 Pop Up Trade Show Display Kit
 TableTop Displays Kit
 Pop Up Tabletop Display Kit
 Pop Up Tabletop Display
 Tabletop Display
 Straight Trade Show Exhibit Booth
 Banner Stand
 Tent Accessories
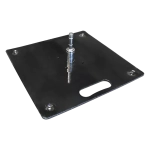 Flag Accessories
 Arch Accessories
 Trade Show Accessories
