


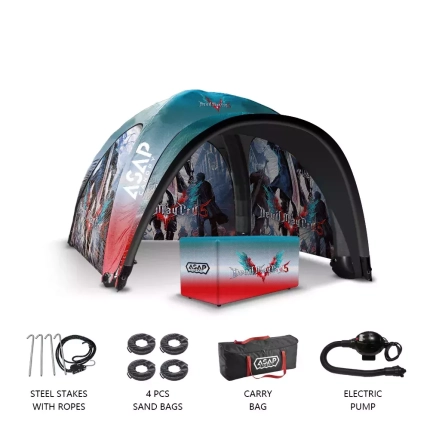
Welcome to our comprehensive guide on how to build and install a super large outdoor sunshade using the Sublimated Print Canopy by ASAP CANOPY. This revolutionary and innovative product is designed to provide you with a spacious and stylish outdoor shade solution, featuring a dye transfer printed canvas ceiling kit. In this blog post, we will take you through the step-by-step process of unpacking and installing this amazing sunshade, ensuring that you get the maximum benefit and enjoyment out of your outdoor space.
Why Choose the Sublimated Print Canopy by ASAP CANOPY?
Outdoor sunshades have become an essential addition to any backyard, patio, or outdoor space. They provide protection from the harsh elements, such as sun, rain, and wind, allowing you to enjoy the outdoors in comfort and style. However, not all sunshades are created equal. The Sublimated Print Canopy by ASAP CANOPY stands out from the competition for several reasons:
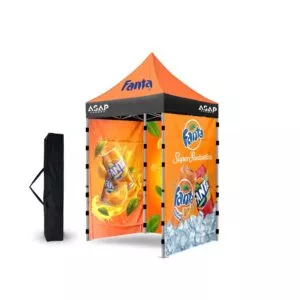
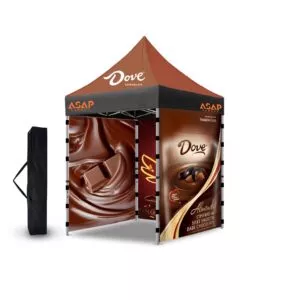
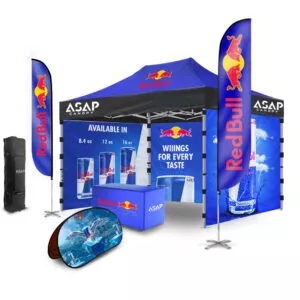
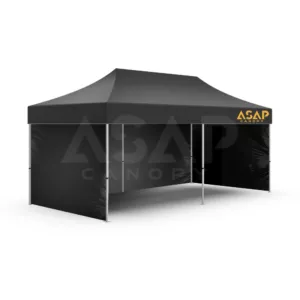
- Extra Large Size: With dimensions of 10 feet by 15 feet, this sunshade offers an extensive coverage area, allowing you to create a large shaded space in your backyard. Whether you’re hosting a summer party or simply seeking refuge from the hot sun, this super large sunshade has got you covered.
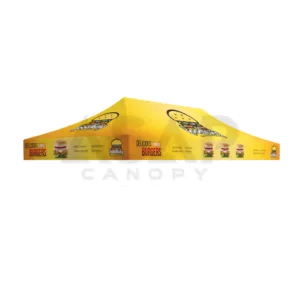
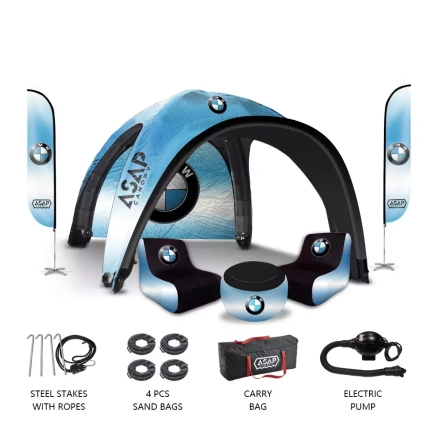
- Stylish Design: The dye transfer printed canvas ceiling kit features a stunning and vibrant print that adds a touch of elegance and sophistication to your outdoor space. The high-quality sublimated print ensures that the design remains vibrant and fade-resistant, even under the harshest weather conditions.
- Easy Installation: Thanks to its innovative design, the Sublimated Print Canopy can be easily installed by following a few simple steps. In this guide, we will provide you with a detailed walkthrough of the unpacking and installation process, ensuring a hassle-free experience.
- Durable and Weather-Resistant: Made from high-quality materials, the Sublimated Print Canopy is built to withstand the elements. The strong steel frame and water-resistant canvas ensure that your sunshade will last for years to come, providing you with reliable shelter and protection.
Unpacking the Sublimated Print Canopy by ASAP CANOPY
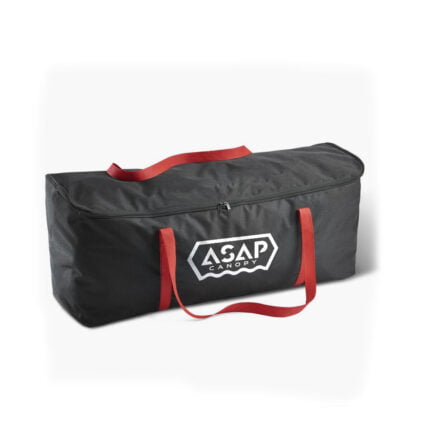
Before you can start building and installing your outdoor sunshade, it is crucial to unpack the product carefully. Follow these steps to ensure a smooth and organized unpacking process:
- Locate the package containing your Sublimated Print Canopy by ASAP CANOPY. The package should be labeled and delivered securely to your doorstep.
- Using a sharp utility knife or scissors, carefully cut open the packaging, ensuring not to damage the contents inside.
- Gently remove the packaging material, including any bubble wrap or foam padding, to reveal the components of the sunshade.
- Take inventory of the items and compare them to the included user manual to ensure that all parts are present and accounted for. If any parts are missing or damaged, contact ASAP CANOPY’s customer support for assistance.
- Once you have verified that all components are intact, you are ready to move on to the installation process.
Installing the Sublimated Print Canopy by ASAP CANOPY
Now that you have unpacked the Sublimated Print Canopy, it’s time to start the installation process. Follow these step-by-step instructions to set up your sunshade:
- Select the Installation Location: Choose a suitable location in your backyard or outdoor space where you intend to install the sunshade. Ensure that the ground is level and clear of any obstacles.
- Assemble the Frame: Start by assembling the steel frame of the sunshade. Lay out all the frame pieces according to the instructions provided. Connect the frame sections using the included connectors and screws. Use the supplied wrench or Allen key to tighten the screws securely.
- Attach the Canvas Ceiling: After assembling the frame, unfold the canvas ceiling and identify the designated attachment points. Carefully slide the corners of the canvas into the corresponding brackets on the frame. Make sure that the canvas is securely attached and evenly tensioned.
- Secure the Canopy: Once the canvas is attached, use the included stakes or weights to secure the sunshade to the ground. Hammer the stakes into the ground or place weights on the base of the frame, ensuring that the sunshade is stable and won’t be easily blown away by wind or other weather conditions.
- Customize and Personalize: Now that your Sublimated Print Canopy is installed, take some time to customize and personalize the space. Add outdoor furniture, decorative lighting, or plants to create a cozy and inviting outdoor oasis.
- Maintenance and Care: To ensure the longevity of your sunshade, it is essential to perform regular maintenance and care. Clean the canvas regularly with mild soap and water, and store the sunshade in a dry and protected area during the winter months or when not in use for an extended period.
Conclusion
The Sublimated Print Canopy by ASAP CANOPY offers a super large outdoor sunshade solution that combines functionality, durability, and style. Its extra-large size, stylish design, and easy installation make it an ideal choice for transforming your outdoor space into a comfortable and stylish retreat. By following the unpacking and installation guide provided in this blog post, you can quickly and efficiently set up your sunshade and start enjoying the benefits of a shaded outdoor area. Remember to maintain and care for your sunshade regularly to ensure its long-lasting performance. With the Sublimated Print Canopy by ASAP CANOPY, you’ll have the perfect outdoor oasis for relaxation and entertainment all year round.


 5×5 Pop Up Tent
 6.5×6.5 Pop Up Tent
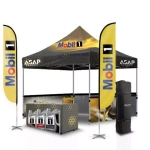 10×10 Canopy Tent
 10×15 Canopy Tent
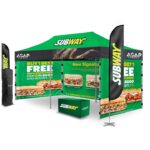 10×20 Canopy Tent
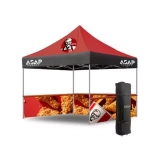 Canopy Options
 Blank Canopy Top
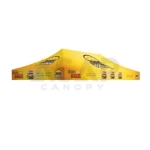 Canopy Top
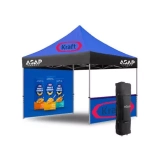 Canopy Walls
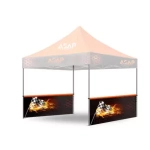 Canopy Side Skirt
 Blank Canopy
 Blank Canopy Kit
 Inflatable Canopy Tents 10×10
 Inflatable Canopy Tents 13×13
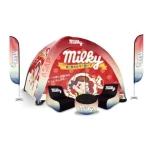 Inflatable Canopy Tents 16×16
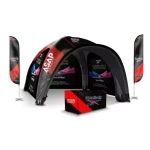 Inflatable Canopy Tents 20×20
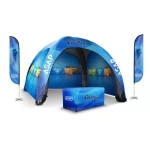 Inflatable Canopy Tents 23×23
 Inflatable Canopy Tents 26×26
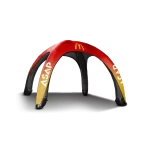 Inflatable Spider Tents
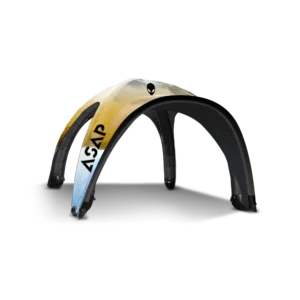
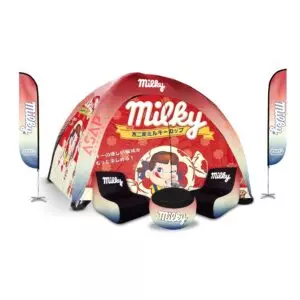
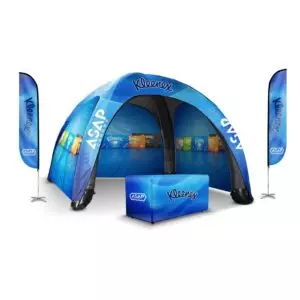
 Inflatable Dome Tents
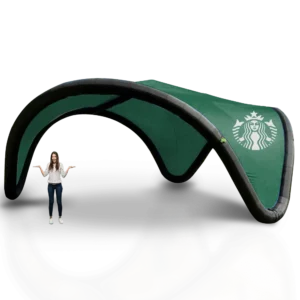
 Inflatable Eclipse Tents
 Inflatable Party Tent
 Inflatable Furniture
 Inflatable Pillar
 Single Pole Star Tents
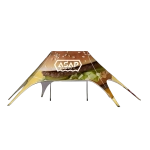 Double Pole Star Tents
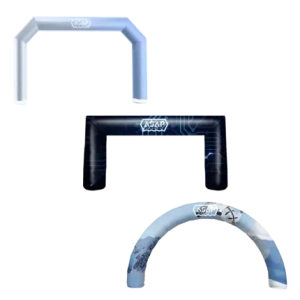
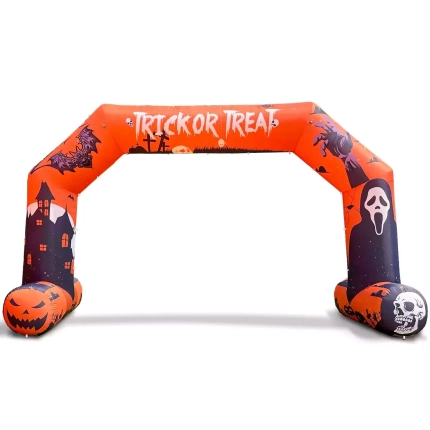
 15FT Inflatable Arches
 20FT Inflatable Arches
 25FT Inflatable Arches
 30FT Inflatable Arches
 40FT Inflatable Arches
 50FT Inflatable Arches
 Custom Constant Arches
 Custom Sealed Arches
 Fitted Table Covers
 Stretch-Fit Table Covers
 Loose Table Throws
 Cross-Over Stretch-Fit Table Cover
 Round Stretch-Fit Table Cover
 Blank Table Throws
 3-Sided Loose Table Throw
 Round Fitted Table Covers
 Table Runners
 Square Table Covers
 Feather Flags
 Blade Flags
 Feather Banner
 Blade Banner
 Teardrop Flags
 Teardrop Banner
 Rectangle Flags
 Rectangle Banner
 Mesh Event Banners
 Pop Out Banner Horizontal
 Pop-Out Banner Vertical
 Trade Show Display
 Trade Show Display Kit
 Pop Up Trade Show Display
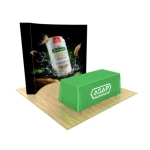 Pop Up Trade Show Display Deluxe Kit
 Pop Up Trade Show Display Kit
 TableTop Displays Kit
 Pop Up Tabletop Display Kit
 Pop Up Tabletop Display
 Tabletop Display
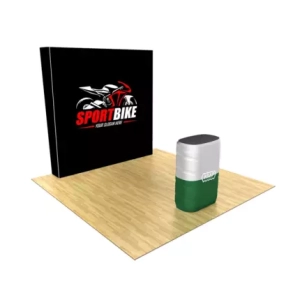
 Straight Trade Show Exhibit Booth
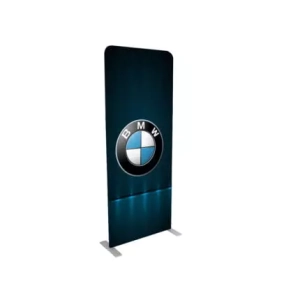
 Banner Stand
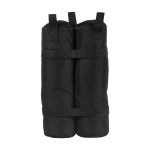 Tent Accessories
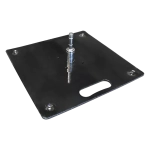 Flag Accessories
 Arch Accessories
 Trade Show Accessories
