


How to Set Up A Hanging Banner-ASAP Canopy tent
✅ASAP is a professional outdoor advertising printing manufacturer specifically designed for trade exhibition exhibitors.
Our main products include: canopy tent, Advertising tent, Custom printed FLAGS and banners, Table covers, Trade show displays, Inflammable arches; We support customized design, and all of our designers are American locals. They not only design for free, but also understand the design needs of American merchants.
Our entire inventory is located in Florida, and it only takes 3 days from order to delivery. We opened in 2013 and have since served thousands of businesses.
Our hope is to continue our development through innovation and introducing exciting new products to diverse customers. Our goal is to leave a deep impression on our customers with our products, and we will strive to provide the best products and services in the coming years.

Why?
For any company promoting at a convention or tradeshow, getting people to visit their booth is a challenge. A booth must demand attention. What better way is there to be spotted across a room than with a hanging banner looming above a sea of booths with your brand displayed across it?
come in multiple shapes (circular, square, and triangular) and sizes (5 feet across to quadrupling in 20 feet across) making them super customizable.
You can provide your own design following our or schedule a consultation with our designers if you don’t have one already. Once your design is finalized, submitted, proofed and approved, we produce the product and ship it to you.
Your new hanging banner will arrive in a nylon bag with hardware that can be assembled with ease, all assembly tools, and quality fabric that is dye-sublimation printed with your design. After setting up your hanging banner, expect a boost in your brand’s visual impact at your next convention.
How to Set Up a Hanging Banner
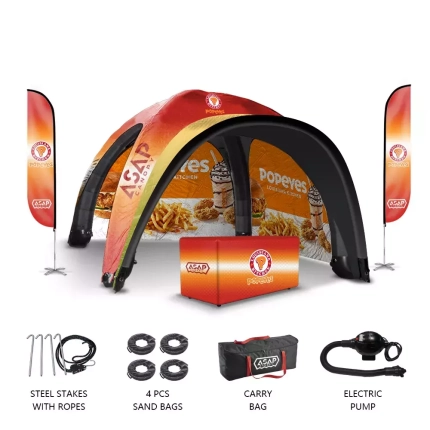
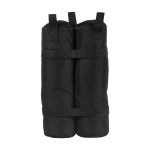
Hanging banners are a striking way to make a bold statement and grab attention at events, tradeshows, or in retail spaces. While the setup process may seem intimidating at first, it’s relatively straightforward when you follow the right steps. Your hanging banner order should include the following components:
- Hardware (top frame, base, and connecting poles)
- Design fabric graphic
- Screws
- Allen keys for tightening screws
- Eye bolts
- Wire ropes or cables
Once you have all the necessary components, follow these step-by-step instructions to assemble and mount your hanging banner successfully.
Step 1: Assembling the Hardware Frame
- Locate the top frame piece, which should be labeled with a “T,” and the base piece, labeled with a “B.”
- Connect the top and base pieces using the numbered poles, following the manufacturer’s instructions or labeling system (e.g., T1 connects to T2, T2 connects to T3, and so on).
- Secure the poles to the top and base frames using the provided screws and an appropriate Allen key or tool.
- Double-check that all connections are tight and secure, ensuring a sturdy and stable frame.
Step 2: Slipping on the Fabric Graphic
- Lay the assembled hardware frame on a flat surface, with the open side facing up.
- Locate the fabric graphic and orient it correctly, ensuring the printed design is facing outwards and the zipper or closure mechanism is accessible.
- Gently slip the fabric graphic over the assembled frame, starting from the base and working your way up to the top.
- Once the fabric is in place, locate the zipper or closure mechanism and secure it tightly, ensuring the graphic hugs the frame snugly without wrinkles or bunching.
Step 3: Mounting the Hanging Banner
- Identify the locations on the top frame where you will attach the eye bolts or hanging points.
- Using the appropriate tools (e.g., wrench or screwdriver), securely fasten the eye bolts to the designated locations on the top frame.
- Attach one end of the wire rope or cable to each eye bolt, ensuring a secure connection.
- Locate the overhead mounting points (e.g., ceiling hooks, beams, or truss system) where you will suspend the hanging banner.
- With assistance from another person or appropriate lifting equipment, carefully raise the assembled hanging banner and attach the free ends of the wire ropes or cables to the overhead mounting points, ensuring a secure and level attachment.
Pro Tips:
- Always follow the manufacturer’s specific instructions for assembling and mounting the hanging banner.
- Consider the weight of the hanging banner and ensure the overhead mounting points can support the load safely.
- If mounting indoors, be mindful of clearance heights and potential obstructions.
- For outdoor installations, factor in wind loads and secure the banner appropriately to prevent movement or damage.
- Test the stability and tension of the hanging banner before leaving it unattended, making any necessary adjustments.
By following these steps meticulously, you’ll be able to create a striking and professional hanging banner display that effectively showcases your brand, message, or product. Remember, proper setup and safety precautions are crucial for a successful and secure installation.


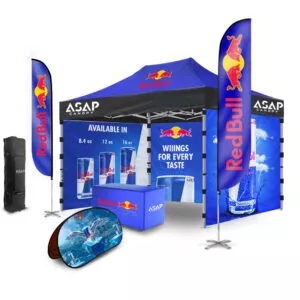
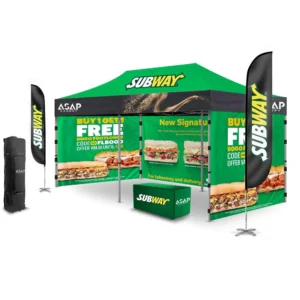
 5×5 Pop Up Tent
 6.5×6.5 Pop Up Tent
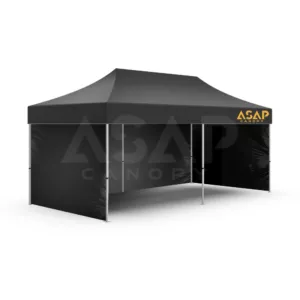
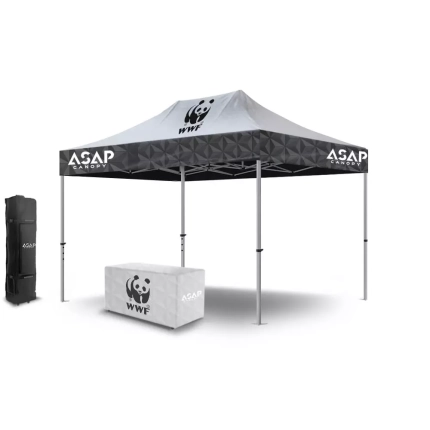
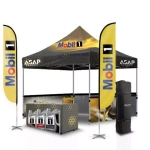 10×10 Canopy Tent
 10×15 Canopy Tent
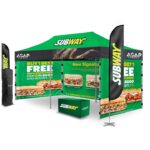 10×20 Canopy Tent
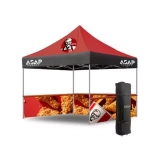 Canopy Options
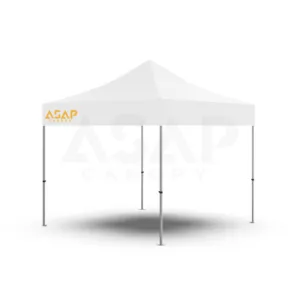
 Blank Canopy Top
 Canopy Top
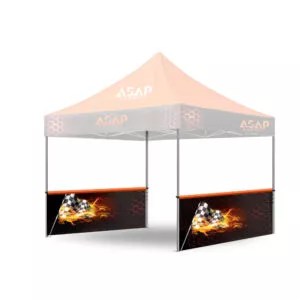
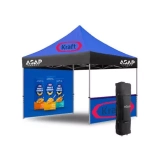 Canopy Walls
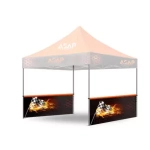 Canopy Side Skirt
 Blank Canopy
 Blank Canopy Kit
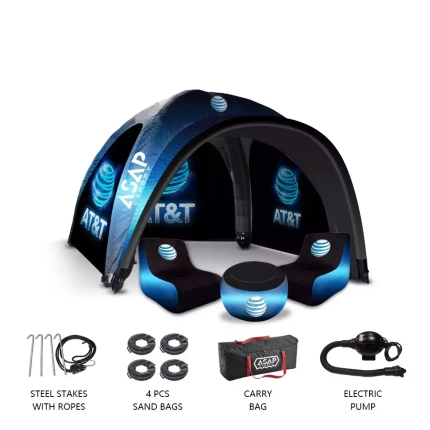
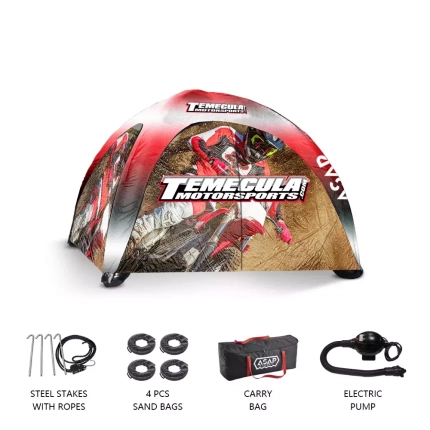
 Inflatable Canopy Tents 10×10
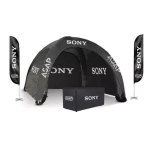 Inflatable Canopy Tents 13×13
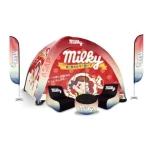 Inflatable Canopy Tents 16×16
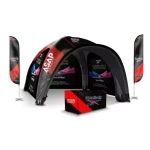 Inflatable Canopy Tents 20×20
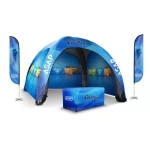 Inflatable Canopy Tents 23×23
 Inflatable Canopy Tents 26×26
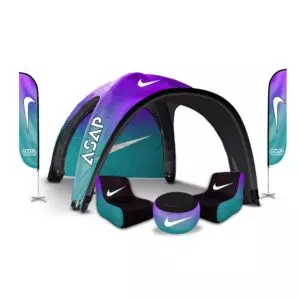
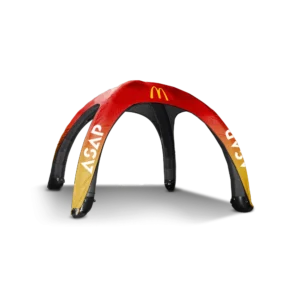
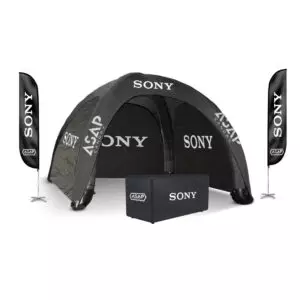
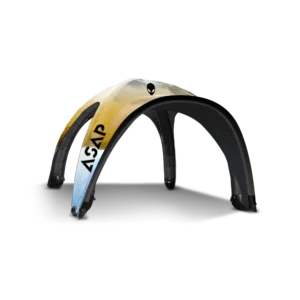
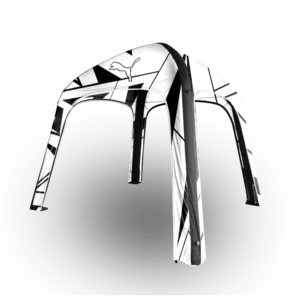
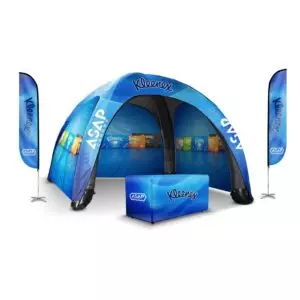
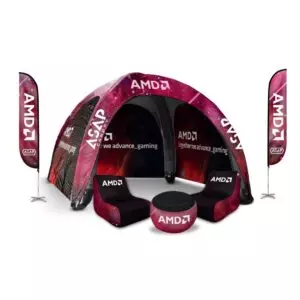
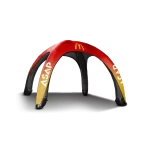 Inflatable Spider Tents
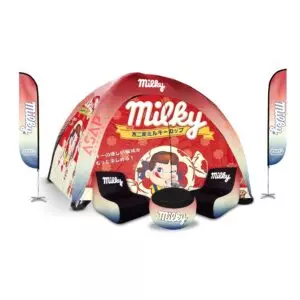
 Inflatable Dome Tents
 Inflatable Eclipse Tents
 Inflatable Party Tent
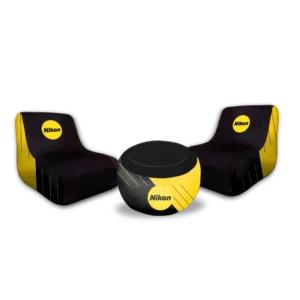
 Inflatable Furniture
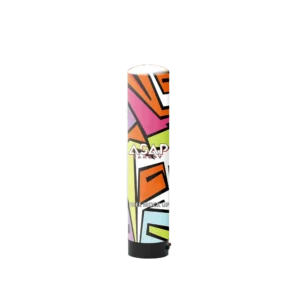
 Inflatable Pillar
 Single Pole Star Tents
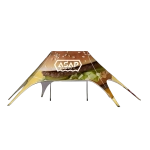 Double Pole Star Tents
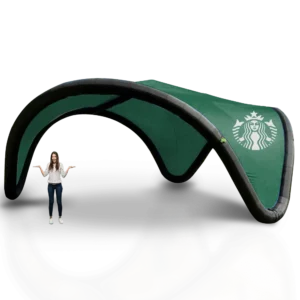
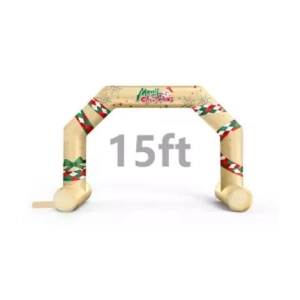
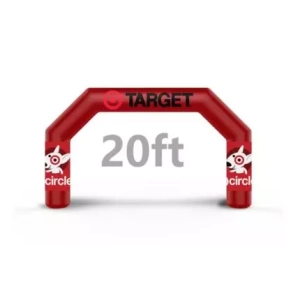
 15FT Inflatable Arches
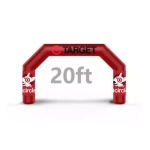 20FT Inflatable Arches
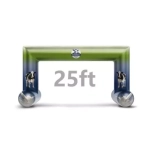 25FT Inflatable Arches
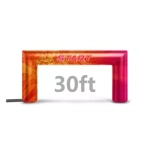 30FT Inflatable Arches
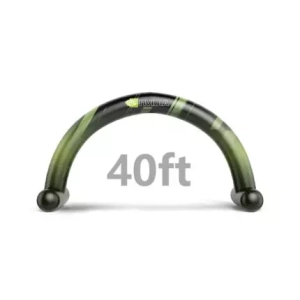
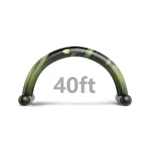 40FT Inflatable Arches
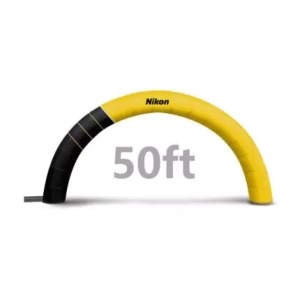
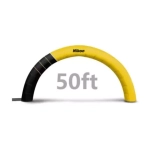 50FT Inflatable Arches
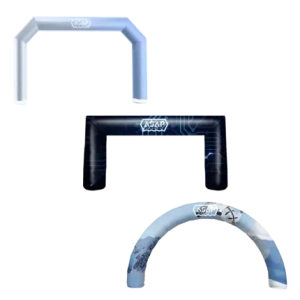
 Custom Constant Arches
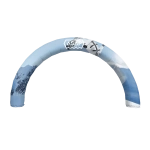 Custom Sealed Arches
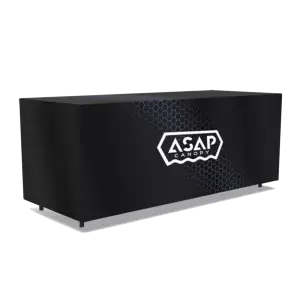
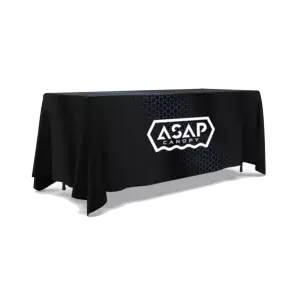
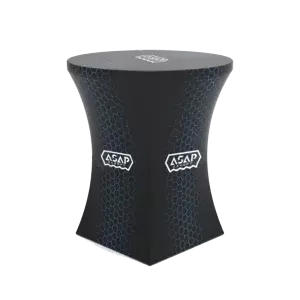
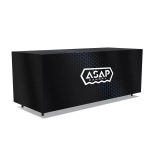 Fitted Table Covers
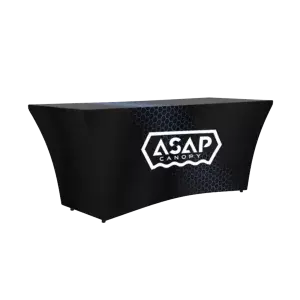
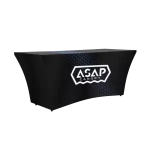 Stretch-Fit Table Covers
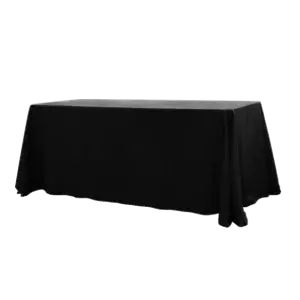
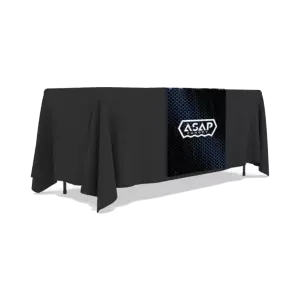
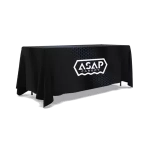 Loose Table Throws
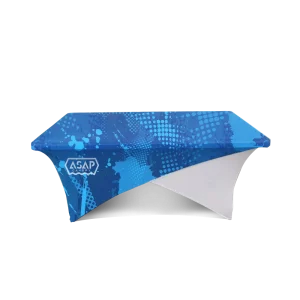
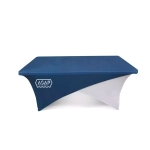 Cross-Over Stretch-Fit Table Cover
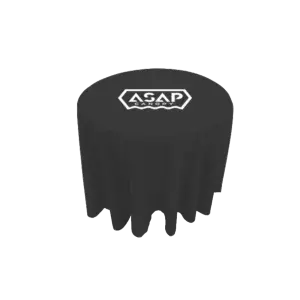
 Round Stretch-Fit Table Cover
 Blank Table Throws
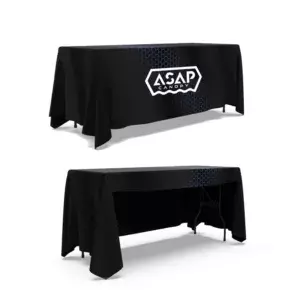
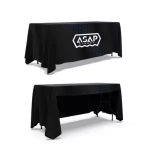 3-Sided Loose Table Throw
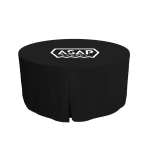 Round Fitted Table Covers
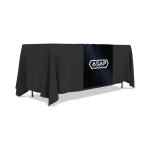 Table Runners
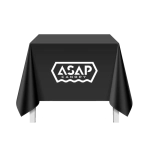 Square Table Covers
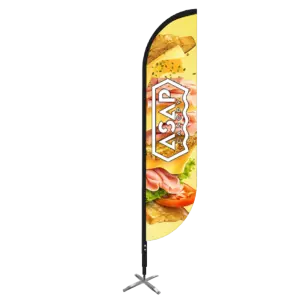
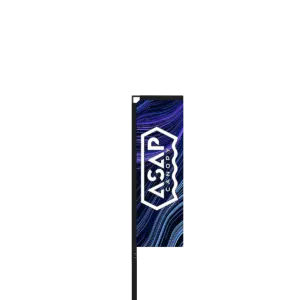
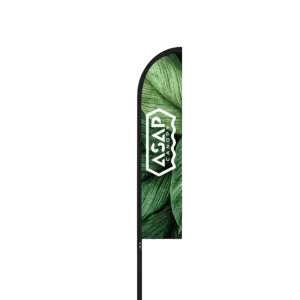
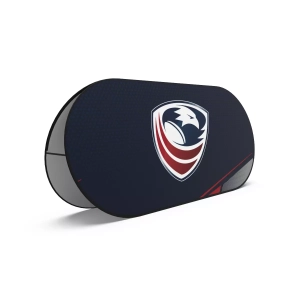
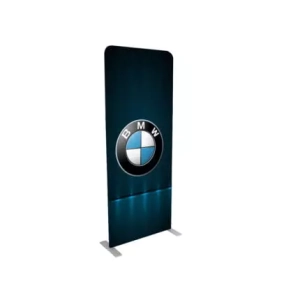
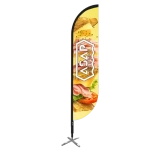 Feather Flags
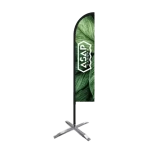 Blade Flags
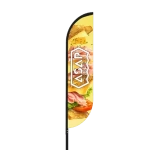 Feather Banner
 Blade Banner
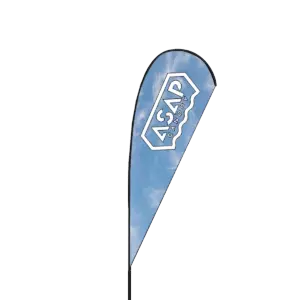
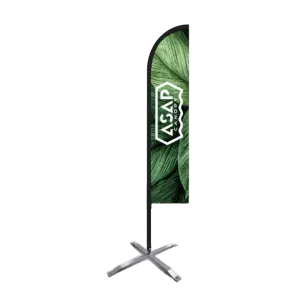
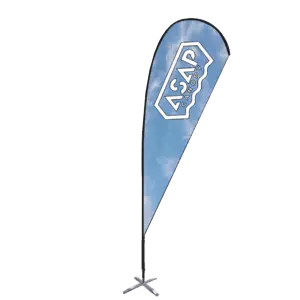
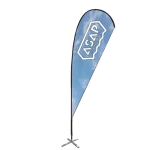 Teardrop Flags
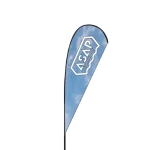 Teardrop Banner
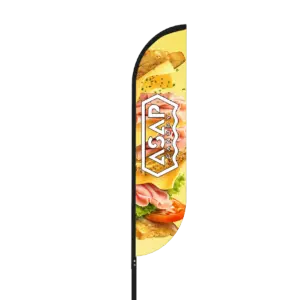
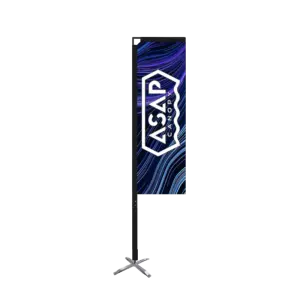
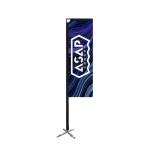 Rectangle Flags
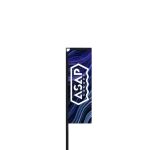 Rectangle Banner
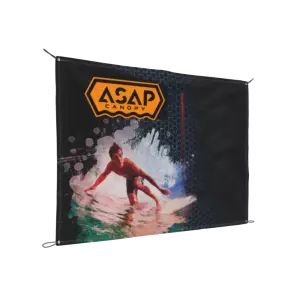
 Mesh Event Banners
 Pop Out Banner Horizontal
 Pop-Out Banner Vertical
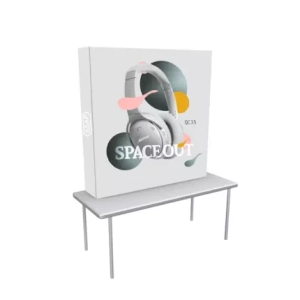
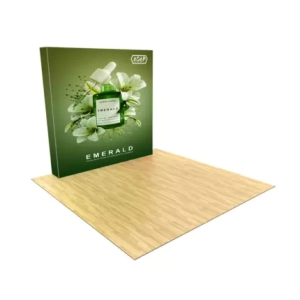
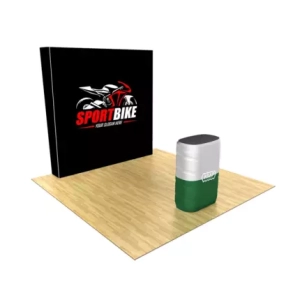
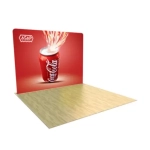 Trade Show Display
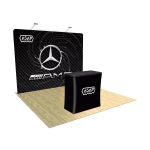 Trade Show Display Kit
 Pop Up Trade Show Display
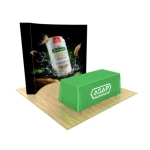 Pop Up Trade Show Display Deluxe Kit
 Pop Up Trade Show Display Kit
 TableTop Displays Kit
 Pop Up Tabletop Display Kit
 Pop Up Tabletop Display
 Tabletop Display
 Straight Trade Show Exhibit Booth
 Banner Stand
 Tent Accessories
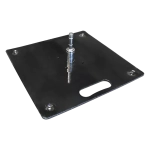 Flag Accessories
 Arch Accessories
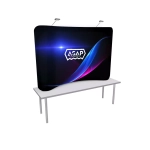 Trade Show Accessories
