


How To Set Up A Retractable Banner Stand Wall-Canopy tent
✅ASAP is a professional outdoor advertising printing manufacturer specifically designed for trade exhibition exhibitors. Our main products include: canopy tent, Advertising tent, Custom printed FLAGS and banners, Table covers, Trade show displays, Inflammable arches; We support customized design, and all of our designers are American locals. They not only design for free, but also understand the design needs of American merchants. Our entire inventory is located in Florida, and it only takes 3 days from order to delivery. We opened in 2013 and have since served thousands of businesses. Our hope is to continue our development through innovation and introducing exciting new products to diverse customers. Our goal is to leave a deep impression on our customers with our products, and we will strive to provide the best products and services in the coming years.
How to Set Up a Banner Stand Wall For Your Trade Show Booth
Creating an eye-catching and professional backdrop for your trade show booth is essential for making a lasting impression on attendees. One versatile and cost-effective solution is a banner stand wall, which combines multiple retractable banner stands to form a seamless, high-impact display. Follow these steps to set up a banner stand wall that will elevate your booth’s presence and effectively showcase your brand or product.
Prepare Your Banner Stands
- Unpack and Inspect Components: Remove all banner stands and printed graphics from their carrying cases. Ensure you have the correct number of stands and that all components are accounted for and in good working condition.
- Choose Your Layout: Determine the desired layout for your banner stand wall, considering the size of your booth space and the dimensions of your printed graphics. Common layouts include straight lines, curved configurations, or even freestanding kiosks or towers.
- Connect Banner Stands (If Applicable): Some banner stand systems feature connectors that allow multiple units to be linked together. Follow the manufacturer’s instructions to securely join the stands, creating a sturdy foundation for your wall.
Assemble the Banner Stands
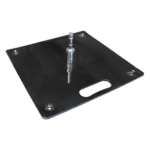
- Extend the Base: Start by opening the tripod or base of each banner stand, ensuring it’s stable and level on the ground.
- Raise the Pole: Carefully extend the telescopic pole to the desired height, locking it in place according to the manufacturer’s guidelines.
- Attach the Graphic: Locate the graphic leader on the retractable base and gently pull it up, attaching it to the top of the pole using the provided clips, adhesive rails, or channels.
- Tension the Graphic: Once the graphic is attached, slowly retract the base to remove any slack and create a taut, wrinkle-free display.
- Secure the Graphic (If Applicable): Some banner stand systems feature additional components, like pole covers or graphic tensioners, to ensure a seamless and taught graphic appearance. Follow the instructions to properly secure these elements.
Align and Finalize the Wall
- Position the Stands: Arrange the assembled banner stands in your desired layout, ensuring they are evenly spaced and aligned with one another.
- Connect the Graphics (If Applicable): If your layout involves a continuous graphic spanning multiple banner stands, use the provided graphic connectors or overlapping techniques to create a seamless visual flow.
- Adjust for Levelness: Use the adjustable feet or leveling mechanisms on the banner stand bases to ensure the entire wall is level and stable, even on uneven surfaces.
- Add Lighting (Optional): To enhance the visual impact of your banner stand wall, consider incorporating lighting elements like spotlights or LED strips. Proper lighting can highlight your graphics, create depth, and draw attention to your display.
- Secure the Wall (If Necessary): Depending on the size and configuration of your banner stand wall, you may need to use weights, sandbags, or other anchoring systems to ensure it remains stable throughout the event.
By following these steps, you’ll create a professional and visually striking banner stand wall that effectively showcases your brand or product messaging. Remember to double-check all connections, alignments, and graphic tensions for a flawless presentation.
Step-by-Step Instructions for Setting Up a Banner Stand
Banner stands offer a convenient and portable way to make a bold statement at trade shows, events, or in retail settings. Their straightforward setup allows you to quickly create a professional, eye-catching display. Follow these step-by-step instructions to ensure a hassle-free experience when assembling your banner stand.
- Unpack and Inspect Components: Once your order is delivered and the shipping box is unpacked, you will find a soft case that holds the frame and other components. Carefully remove everything from the case and lay it out on a flat surface. Inspect each item to ensure nothing is missing or damaged.
- Identify the Parts: Within the case, you should find the frame components (base, middle support pole, extendable pole), the printed graphic or banner, and any necessary hardware like clips, screws, or pole connectors. Set the hardware aside for later use.
- Set Up the Base: Locate the weighted base and place it on a flat, stable surface where you want the banner stand to be positioned. Some bases may require assembly, so refer to the manufacturer’s instructions if necessary.
- Insert the Middle Support Pole: Next, take the middle support pole and insert it securely into the designated slot or opening on the base. This pole will provide stability and support for the extendable top pole.
- Attach the Printed Graphic: With the base and middle pole in place, locate the printed graphic or banner. At the center of the base, you’ll find a mechanism for attaching and retracting the graphic. Gently pull the graphic towards the top of the middle pole, being careful not to crease or damage it.
- Clip or Secure the Graphic: Once the graphic is extended, use the provided clips, adhesive rails, or channels to securely attach it to the top of the middle pole. Ensure the graphic is taut and wrinkle-free.
- Extend the Banner Stand Pole: Next, take the extendable top pole and insert it into the top of the middle pole. Slowly raise the pole to the desired height, following the manufacturer’s locking mechanism or twist-lock instructions.
- Secure the Frame: As you extend the top pole, ensure the frame remains stable and secure. Many banner stands feature a locking mechanism or twist-lock system that allows you to lock the pole in place at the desired height. Follow the specific instructions for your model to ensure the frame is properly secured.
- Repeat for Additional Height (If Necessary): Some banner stand models may have multiple extendable pole sections. If this is the case, repeat steps 7 and 8 until the banner stand reaches its maximum desired height.
- Adjust and Finalize: Once the banner stand is fully extended and secured, take a step back and examine the display. Make any necessary adjustments to ensure the graphic is centered, taut, and free of wrinkles or creases. If needed, use the provided tensioning tools or mechanisms to achieve a smooth, professional appearance.
By following these step-by-step instructions, you’ll be able to quickly and easily set up your banner stand, creating an attention-grabbing display that effectively showcases your brand, product, or message.
Remember, proper setup and care for your banner stand will not only ensure a polished presentation but also prolong the lifespan of your investment, allowing you to reuse it for multiple events or displays.


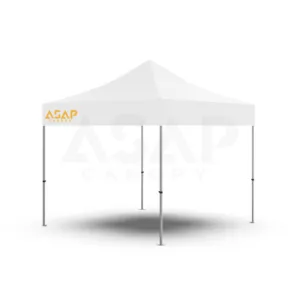
 5×5 Pop Up Tent
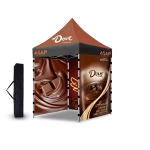 6.5×6.5 Pop Up Tent
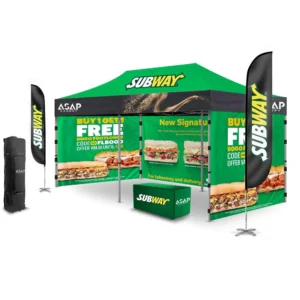
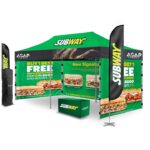 10×20 Canopy Tent
 Canopy Options
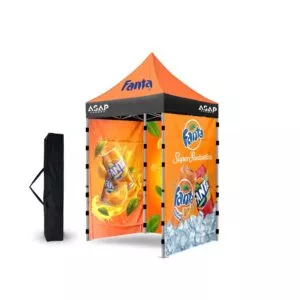
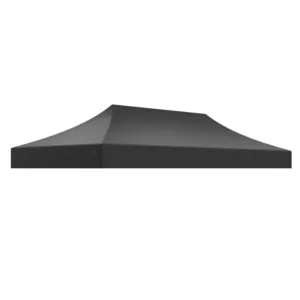
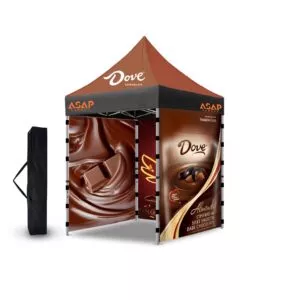
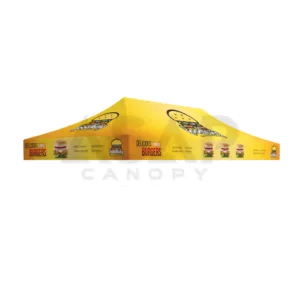
 Blank Canopy Top
 Canopy Top
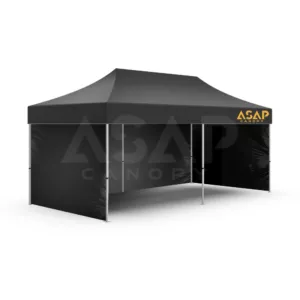
 Canopy Walls
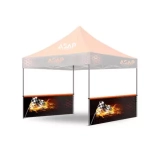 Canopy Side Skirt
 Blank Canopy
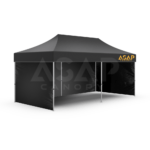 Blank Canopy Kit
 Inflatable Canopy Tents 10×10
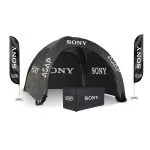 Inflatable Canopy Tents 13×13
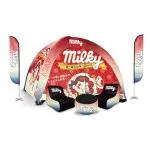 Inflatable Canopy Tents 16×16
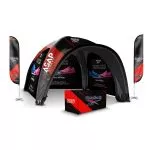 Inflatable Canopy Tents 20×20
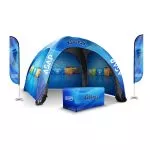 Inflatable Canopy Tents 23×23
 Inflatable Canopy Tents 26×26
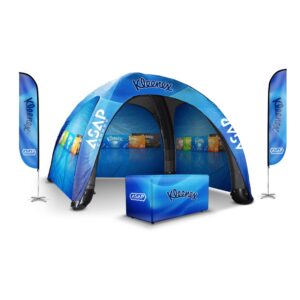
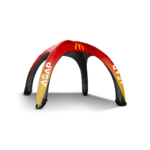 Inflatable Spider Tents
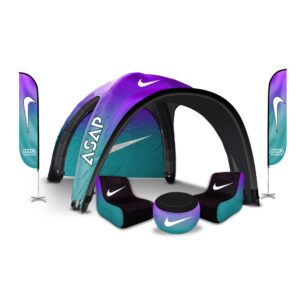
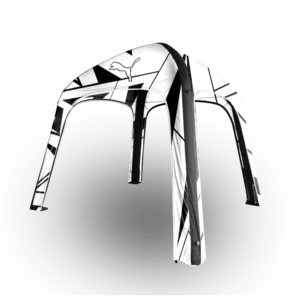
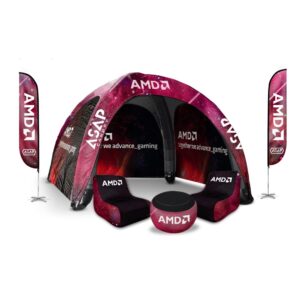
 Inflatable Dome Tents
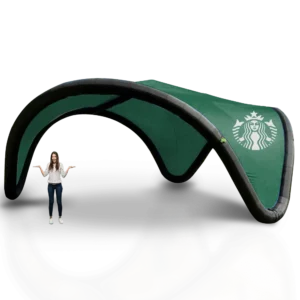
 Inflatable Eclipse Tents
 Inflatable Party Tent
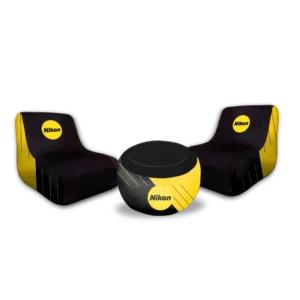
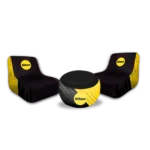 Inflatable Furniture
 Inflatable Pillar
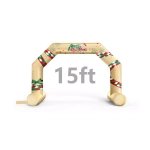 15FT Inflatable Arches
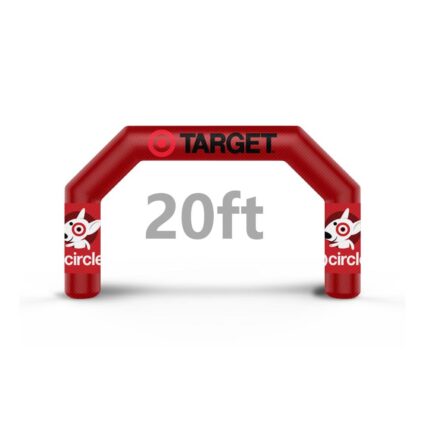
 20FT Inflatable Arches
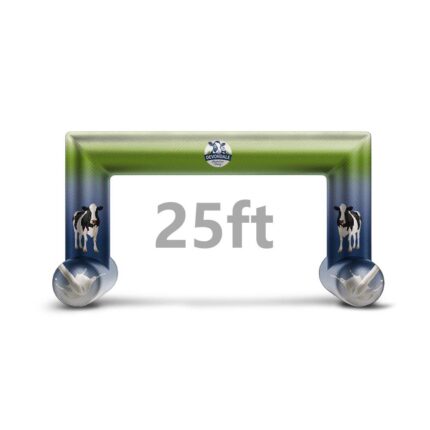
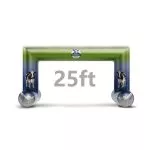 25FT Inflatable Arches
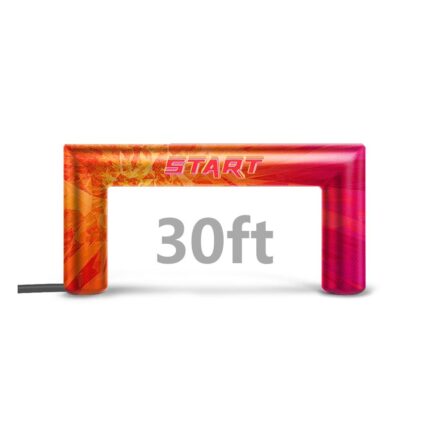
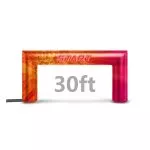 30FT Inflatable Arches
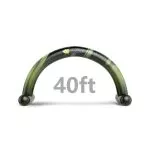 40FT Inflatable Arches
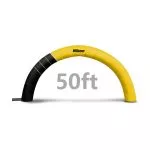 50FT Inflatable Arches
 Custom Constant Arches
 Custom Sealed Arches
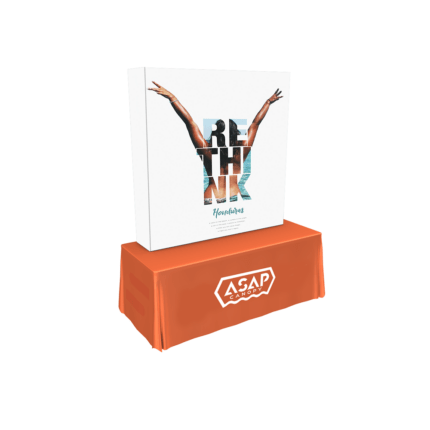
 Fitted Table Covers
 Stretch-Fit Table Covers
 Loose Table Throws
 Cross-Over Stretch-Fit Table Cover
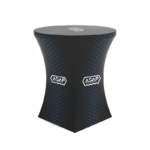 Round Stretch-Fit Table Cover
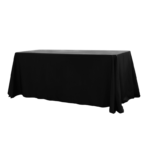 Blank Table Throws
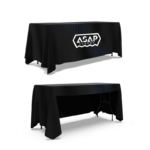 3-Sided Loose Table Throw
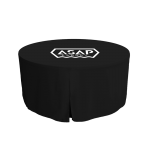 Round Fitted Table Covers
 Table Runners
 Square Table Covers
 Single Pole Star Tents
 Double Pole Star Tents
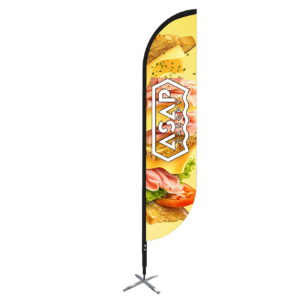
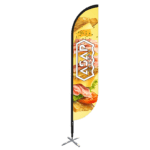 Feather Flags
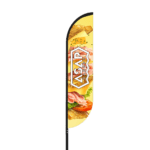 Feather Banner
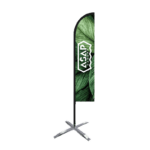 Blade Flags
 Blade Banner
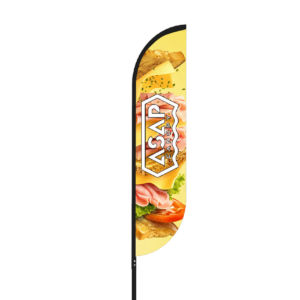
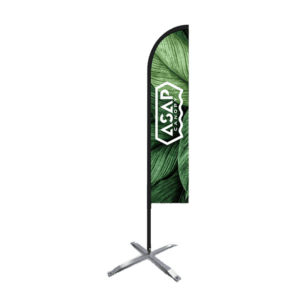
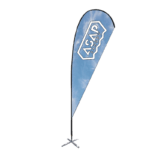 Teardrop Flags
 Teardrop Banner
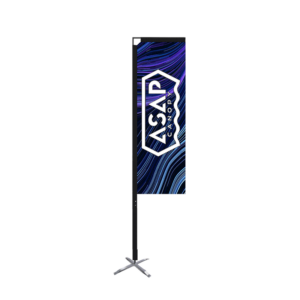
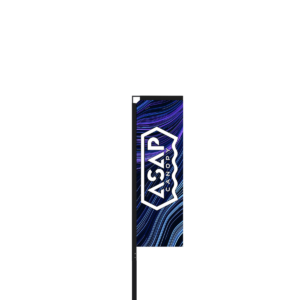
 Rectangle Flags
 Rectangle Banner
 Mesh Event Banners
 Pop Out Banner Horizontal
 Pop-Out Banner Vertical
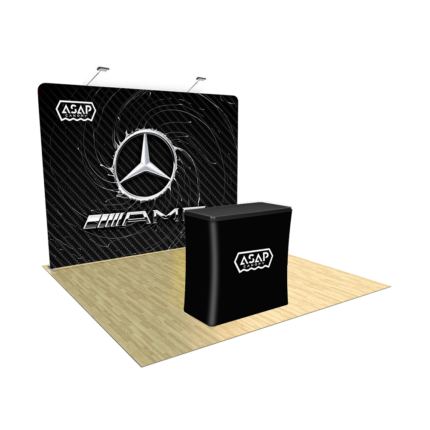
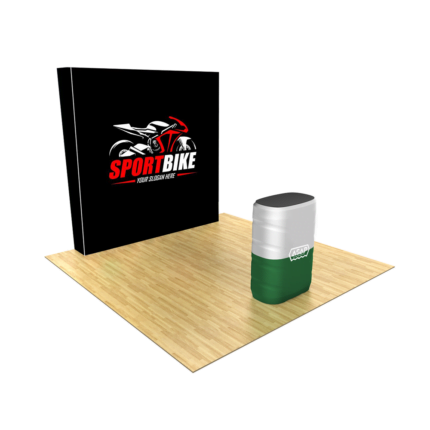
 Trade Show Display
 Trade Show Display Kit
 Pop Up Trade Show Display
 Pop Up Trade Show Display Deluxe Kit
 Pop Up Trade Show Display Kit
 TableTop Displays Kit
 Pop Up Tabletop Display Kit
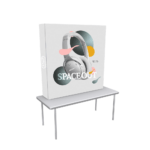 Pop Up Tabletop Display
 Tabletop Display
 Straight Trade Show Exhibit Booth
 Banner Stand
 Flag Accessories
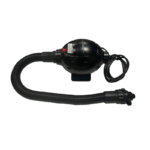 Arch Accessories